
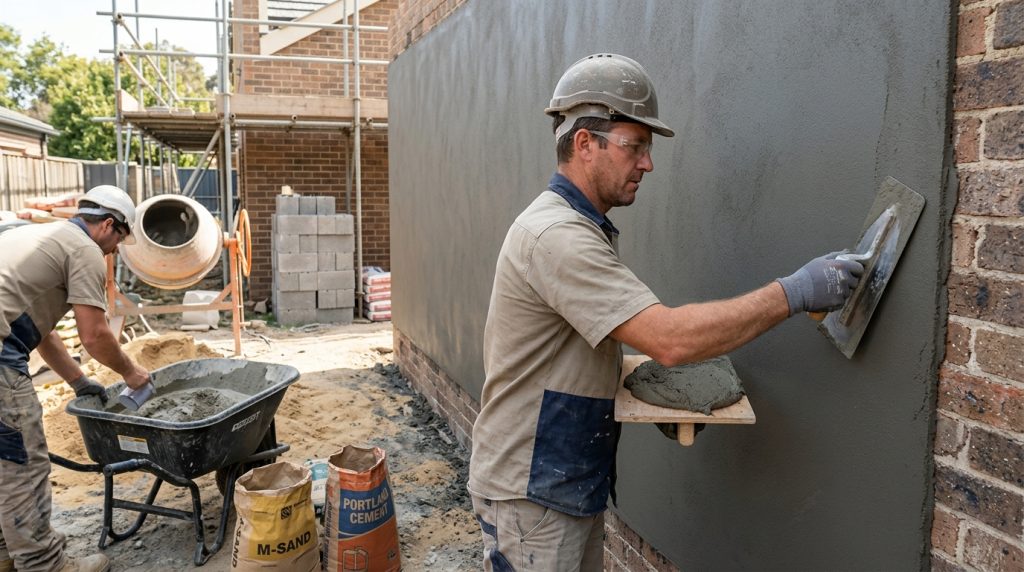
Sand grading and cement ratio work together to determine whether cement rendering dries into a durable, breathable finish or develops shrinkage cracks. A commonly used starting point is six parts washed sharp sand to one part cement for base coats, with a carefully selected finish mix, but no single recipe suits every wall. Substrate, exposure, water content and curing all influence the result.

Sand grading for crack-resistant cement rendering
Sand is not simply a filler. Its particle shape, grading and cleanliness affect how the render packs together, bonds to the substrate and responds as it dries. For general rendering, choose clean, washed sharp sand, commonly graded up to around 4 mm, rather than soft building sand with a high proportion of clay or silt.
A suitable range of particle sizes helps reduce voids without making the mix excessively rich in fine particles. Angular grains create a stronger mechanical key, while clay and excess fines can increase water demand and drying shrinkage. When a coloured finish is required, use sand from a consistent source to avoid visible variations between batches.
Before ordering or mixing, check that the aggregate is intended for mortar or rendering and is free from organic debris. The guidance in this overview of wall rendering preparation also highlights why the surface and materials must work together.
Cement ratios for base and finish coats
A practical starting mix for a traditional cement render is six parts sand to one part cement by volume for the scratch coat and base coat. Depending on the finish specification and exposure, a top coat may use five or four parts sand to one part cement; however, a stronger outer coat is not automatically safer.
The key is compatibility: each layer should suit the layer beneath it and the wall itself. A rigid, cement-rich finish over a weaker or more flexible base can restrict movement and contribute to cracking or separation. Ratios are therefore starting points, not universal rules, and proprietary render systems should be mixed according to their manufacturer’s instructions.
Where lime is suitable, it can improve workability and flexibility. A traditional proportion for cement, lime and sand is 1:1:6 for base coats, with a finish mix sometimes adjusted to 1:1:5. These figures are expressed in that order: cement, lime, then sand. Lime is particularly relevant to compatible traditional masonry, where breathability matters; the choice should reflect the wall’s construction rather than habit.
The table compares common starting points. Actual specifications may vary with the substrate, climate and chosen system.
| Coat or system | Typical proportion by volume | Purpose |
|---|---|---|
| Scratch coat | 6 parts sand to 1 part cement | Provides the initial bonded and keyed layer |
| Base or float coat | 6:1 or 5:1 sand to cement | Builds thickness and levels the surface |
| Finish coat | 5:1 or 4:1 sand to cement, when appropriate | Creates the final texture and weathering surface |
| Lime-cement base | 1:1:6 cement, lime and sand | Improves workability and accommodates compatible movement |
Water content and render mix design
Even a well-chosen cement ratio can fail if the mix contains too much water. Excess water makes render easier to spread at first, but it can increase drying shrinkage and reduce the hardened material’s strength. Add water gradually until the mix holds its shape on a trowel and remains workable without slumping or showing free water.
The water-cement ratio is a useful concept, but it should not be treated as a single fixed target for every site-mixed render. Sand moisture, aggregate grading, lime and additives all affect the amount of water needed. Measure each batch consistently, and follow product instructions when using plasticisers, bonding agents or waterproofer; excessive additive can also undermine performance.
Application and curing methods that limit shrinkage cracks
Apply render in controlled layers rather than relying on one thick coat to correct uneven masonry. A scratch coat is typically keyed to help the next layer bond; allow it to firm up before continuing, and follow the render system’s specified coat thickness and waiting times. A rushed sequence can trap moisture or cause layers to move and crack independently.
For consistent crack prevention, keep these practical checks in view:
- Measure sand, cement and lime by volume using the same container for every batch.
- Use clean, appropriately graded sharp sand and avoid clay-rich soft sand.
- Prepare the substrate carefully and choose a compatible bonding method where needed.
- Apply suitable coat thicknesses and allow adequate time between layers.
- Shield fresh render from rapid drying, heavy rain and freezing conditions.
For large elevations, historic masonry, exposed coastal locations or walls with existing damage, a qualified renderer can assess the substrate and specify an appropriate sand grading, cement content and curing plan. A well-balanced mix helps, but long-lasting cement rendering depends on the whole system: materials, preparation, application and aftercare working in concert.