Renovating your space with drywall can effortlessly elevate the aesthetics and functionality of your home. However, it’s crucial to know that drywall renovation isn’t just about hanging sheets of board; there’s a meticulous process involved. Avoiding common mistakes can save you not only time but also money down the line. Here’s a deep dive into the most prevalent mishaps that homeowners face.
Mistake #1: Choosing the Wrong Type of Drywall
Selecting the appropriate type of drywall is fundamental to the success of your renovation. Homeowners often overlook this aspect and end up with panels unsuitable for their specific needs.
For instance, using standard drywall in areas prone to moisture, like bathrooms, can lead to significant mold issues. In contrast, using moisture-resistant drywall is essential for these spaces. Additionally, neglecting to utilize fire-rated drywall around heat sources poses safety risks and can even violate local building codes.
To avoid these pitfalls, ensure that you pick the right drywall for each room in your home. For garages, opt for fire-rated variants, while using thicker drywall (5/8-inch) in ceiling installations can avert sagging.
Mistake #2: Incorrect Measurements and Cutting
Effective measurement and cutting are the pith of a successful drywall installation. A minor miscalculation can leave you with unsightly seams or poorly fitting panels.
Incorrectly cut drywall can lead to excess gaps, complicating the taping process. Furthermore, tight cuts can result in cracks or bulging over time. The golden rule here is to measure twice and cut once!
Always utilize a T-square and a sharp utility knife to ensure straight cuts, and remember to leave about a quarter-inch gap at the floor to prevent moisture absorption.
Mistake #3: Failing to Stagger Drywall Seams
Seam staggering is an essential technique that many installers often neglect, leading to structural issues.
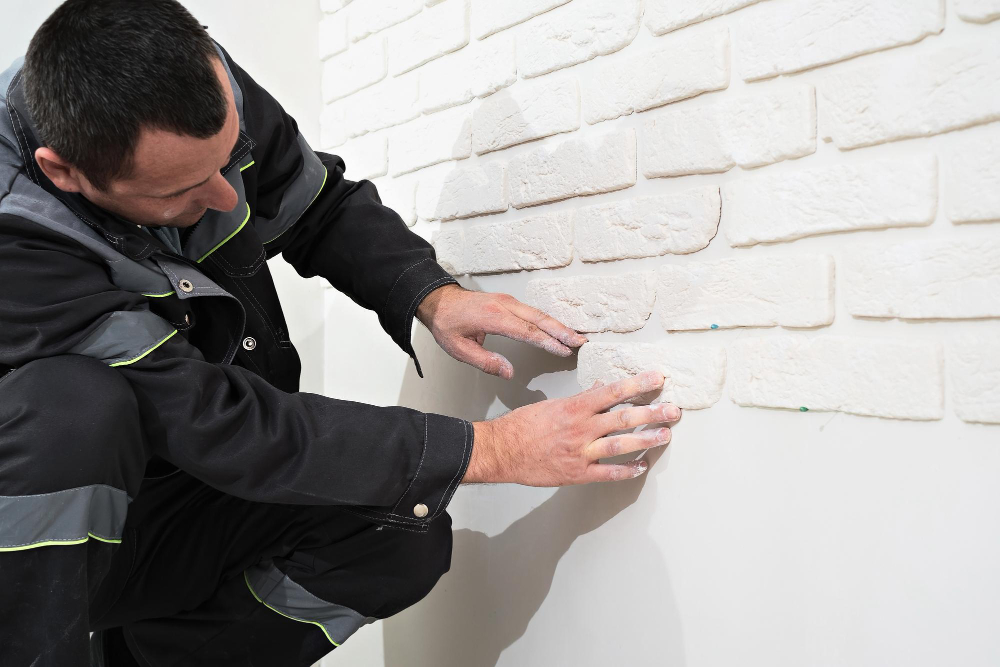
Lining up seams may seem aesthetically pleasing, but it actually weakens the strength of the wall and increases the likelihood of cracks appearing. Instead, lay the seams in a staggered pattern akin to bricks; this enhances durability and distributes weight evenly.
Planning your drywall layout ahead of time will guarantee that seams remain concealed and robust.
Mistake #4: Using Too Many Screws (or Too Few)
Fastening your drywall requires precision since both over-screwing and under-screwing can lead to future problems.
Over-screwing can compromise the integrity of the drywall, while too few screws can leave panels loose, causing them to sag. Use approximately one screw every 12 inches on walls and every 8 inches on ceilings. Slightly dimpling the screw heads will ensure a tight fit without breaking the exterior paper.
Employing specialized drywall screw setters can greatly improve accuracy and efficiency.
Mistake #5: Skipping or Rushing the Taping & Mudding Process
The importance of a proper mudding and taping process cannot be overstated in achieving a seamless drywall finish. Rushing through these steps guarantees a below-par aesthetic.
Misapplied tape can lead to glaring seams post-painting, while thick coats of joint compound can lead to bumpy surfaces. Patience is key—apply 2-3 thin coats of joint compound, allowing ample time for each layer to dry before sanding.
This meticulous approach will yield a professional finish and ensure long-lasting results.
Mistake #6: Skipping Sanding or Over-Sanding
Sanding is vital in ensuring a smooth surface for your drywall; neglecting it can ruin an otherwise successful installation.
Failing to sand properly leaves behind unsightly rough patches, while excessive sanding might erase too much material, exposing the tape underneath. Using a fine-grit sandpaper (120-150 grit) will soften imperfections without causing damage.
Moreover, holding a light at an angle while sanding can illuminate trouble spots that need more attention.
Mistake #7: Painting Over Wet or Poorly Primed Drywall
Lastly, one of the gravest errors is rushing to paint over wet joint compound. This mistake can lead to bubbling, peeling, and overall unsatisfactory results.
A waiting period of at least 24 hours after sanding is essential before applying paint. Moreover, don’t overlook the priming process, which is vital to achieving an even finish. Opt for a high-quality primer to minimize absorption and blotchiness.
Matte or satin paints are preferable as they conceal imperfections better than glossy finishes.
Correcting these seven prevalent drywall renovation mistakes can mitigate stress and save you from significant expenses. Whether you’re working on a simple renovation or a major overhaul, adherence to these tips can lead to flawless results.
Ready to tackle your drywall project efficiently? Contact Niagara Drywall Contractor for expertise tailored to your needs and let’s ensure that your home is both beautiful and functional!
https://www.youtube.com/watch?v=nYWod2vvFRg