Decorating your space can sometimes feel overwhelming, especially when it comes to dividing large areas into functional zones. If you’re seeking an affordable and stylish solution, a DIY room divider using wood slats can be an ideal project. This craft project not only adds aesthetic value to your home but also contributes to better spatial management in your interior design. Imagine transforming a large open-plan living area or separating a shared workspace from a cozy relaxation corner. This article will guide you through the various steps of creating a wooden slat room divider, highlighting its benefits, styling tips, and essential considerations while ensuring that the process remains engaging and accessible.
Understanding the Appeal of Wood Slats in Interior Design
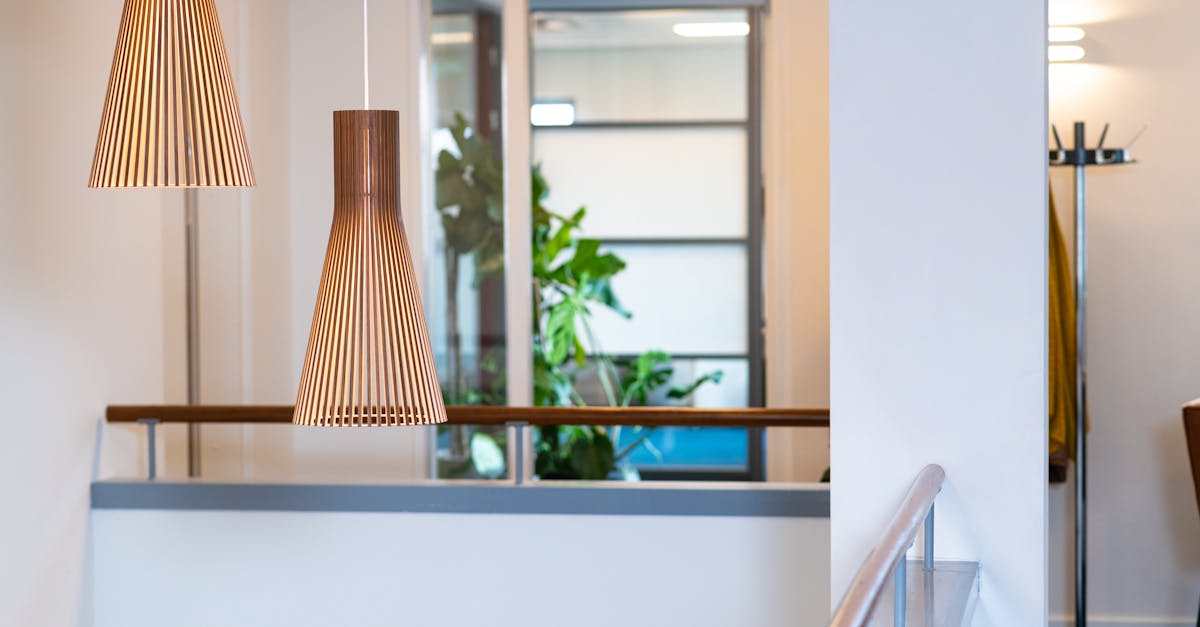
The use of wood slats in interior decor has surged in popularity over recent years. This is due, in part, to their versatility and the warm, organic feel that wood brings to any space. Wood slats can be utilized in various styles ranging from rustic and industrial to sleek and modern. They not only act as functional partitions but also serve aesthetic purposes, enhancing the overall ambiance of your space.
The Aesthetic and Functional Benefits
One of the fascinating aspects of a wood slat room divider is that it allows for both privacy and openness. Unlike solid walls, wood slats create a partition that subtly divides spaces while still allowing light to flow through. This feature is particularly beneficial in apartments or small homes where natural light is cherished.
- Versatile Design: You can customize the width, spacing, and material of the wood slats to suit your taste and existing decor.
- Cost-Effective: DIYing your room divider can significantly decrease costs compared to purchasing pre-made options.
- Easy to Personalize: As a handmade project, it can incorporate personal touches like color, finish, or additional decorative elements.
Another important consideration is how a wood slat divider contributes to better spatial flow. Properly designed dividers can guide movement within a room without constraining it, maintaining that open-air feeling.
Essential Materials and Tools for Your DIY Wood Slat Room Divider
Before diving into the construction process, it’s vital to gather all necessary materials and tools. The simplicity of this project makes it accessible even for beginners in woodworking.
Materials Needed
- Wood Slats: Choose high-quality wood (like oak or pine) that fits your aesthetic. You can purchase them at a local hardware store.
- Fasteners: Depending on your design, you may need screws, brackets, or glue to hold the slats together.
- Support Structure: Consider purchasing wood panels or frames to provide structure if you want a freestanding divider.
- Finish: A stain or paint will help enhance the appearance and solutions for durability.
Tools Required
Ensure you have the following tools handy before starting your project:
- Measuring Tape: Accurate measurements will avoid unnecessary mistakes.
- Saw: A circular or jigsaw will suit best for cutting wood slats to required sizes.
- Drill: To create pilot holes and drive in screws.
- Sander: A smooth finish is key to a professional look.
- Safety Gear: Always wear goggles and masks to protect against dust and debris.
With the right materials and tools ready, you’re set to embark on this exciting DIY adventure!
Step-by-Step Guide to Building Your Wood Slat Room Divider
Now that you have all the materials and tools, it’s time to break down the construction process into manageable steps.
Step 1: Design and Measure
Start by deciding how you want your divider to look. Consider the height, width, and spacing of slats. Use a measuring tape to take accurate measurements of your space and mark them on a piece of paper. A well-thought-out design will guide your construction and ensure a successful build.
Step 2: Cut the Wood Slats
Using your saw, cut wood slats to the desired lengths. Be cautious and maintain a steady hand for clean cuts. After cutting, use a sander to smooth the edges and surfaces of each slat, preparing them for finishing.
Step 3: Assemble the Frame
Construct a frame using the larger pieces of wood, securing them with brackets or screws for added stability. This structure will hold your slats in place and give your divider its form.
Step 4: Attach the Slats
Begin attaching your wood slats vertically or horizontally, depending on your design. Ensure consistent spacing between them for a cohesive look. Use a level to confirm that the slats are straight throughout the assembly.
Step 5: Finishing Touches
Once assembled, it’s time to paint or stain your divider. Applying a finish helps protect the wood and enhances its colors. Let the divider dry completely before placing it in your desired location.