Choosing a mix by colour alone can lead to poor adhesion or premature cracking, while removing sound material too aggressively may damage the surrounding brick or stone. A reliable approach starts with an assessment of the existing mortar and roof conditions, then considers composition, joint depth, profile and curing. These decisions are especially important on older buildings, where hard, dense replacement mortar can behave differently from softer historic materials. Matching the original mortar is not simply a finishing detail; it is part of a repair that must accommodate weather, movement and moisture. Understanding the steps involved makes it easier to assess proposed work and recognize when specialist masonry repair is appropriate.
Mortar matching for roof repointing
Successful mortar matching begins with examining the existing joints in several locations, since previous repairs may not reflect the original mix. Colour, texture, aggregate size and hardness all provide useful clues, but the visible surface alone cannot reliably establish the mortar composition.
Traditional roofing mortar often contains lime, while later work may use cement-rich mixes. The replacement should be compatible with the units around it: mortar that is substantially harder or less permeable than old brick or stone can concentrate stress and encourage damage to the masonry. A specialist may assess a sample or test small trial mixes before work proceeds.
Mortar color is affected by the binder, sand, moisture and surface finish. A fresh joint may look darker than the existing work and change as it cures, so comparisons are most useful when samples have dried fully and are viewed in natural light. Matching aggregate and texture can matter as much as adjusting the shade.
Preparing the Roof for Repointing
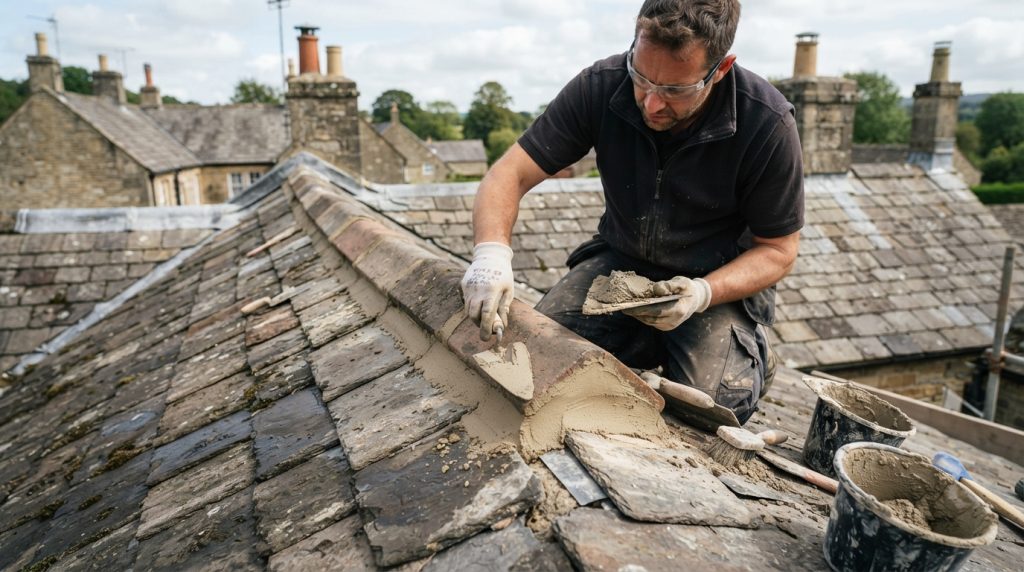
Before applying new mortar, damaged joints must be carefully prepared. Loose or deteriorated material should be removed to a suitable depth without damaging surrounding tiles, bricks or masonry. Dust, debris and loose particles must then be cleared to help the replacement mortar bond properly.
The joints may also need light dampening, depending on the mortar type and weather conditions. This helps prevent dry masonry from drawing moisture out of the fresh mix too quickly, which could weaken the bond and affect curing.
Applying Mortar and Achieving a Consistent Finish
The replacement mortar should be pressed firmly into the prepared joints to minimize air gaps and create a durable seal. The chosen joint profile should follow the existing roof details to maintain a consistent appearance.
Weather conditions also influence the application process. Excessive heat, frost or heavy rain can interfere with curing, so appropriate protection and drying time are essential.
Common Mortar Matching Considerations
|
Factor |
Why It Matters |
|---|---|
|
Colour |
Maintains visual consistency |
|
Aggregate |
Influences texture and appearance |
|
Mortar composition |
Ensures compatibility with existing masonry |
|
Joint depth |
Supports proper adhesion and durability |
|
Curing conditions |
Reduces the risk of cracking and premature deterioration |
Conclusion
Successful roof repointing requires more than matching the colour of existing mortar. Careful assessment, compatible materials, proper joint preparation and controlled application all contribute to durable results. For older roofs or extensive deterioration, specialist advice can help prevent further masonry damage and ensure repairs remain effective over time.