How to Identify a Water Leak on Your Roof
Summary
– Step 1: Water leaks and roof pitch
– Step 2: Roof windows: checking the joints
– Step 3: Inspecting the tiles
– Step 4: Check the gutter
– Step 5: If the problem persists
A leaky roof means moisture is entering the house. That’s why it’s essential to quickly identify the source of the leak and fix it as soon as possible.
There are two categories of leaks:
– the visual leak that you can repair in a few moments;
– the more subtle leak, which will require further investigation.
1. Water leaks and roof pitch
The first element to check for a new roof is the compatibility between the type of tiles installed on the roof and the minimum slope. Indeed, the company which carries out the roofing may forget to check this detail:
Tile manufacturers impose precise installation conditions for each type of tile, among which the minimum slope is to be respected to have good drainage of rainwater.
– Below this slope, water does not “slide” quickly enough on the tile and will tend to stagnate. Stagnant water means possible infiltration, for example, in the case of wind.
– To calculate the slope of your roof, know that it corresponds to the elevation per horizontal meter. In other words, if the roof rises 30 cm over the space of one meter, the slope is 30%.
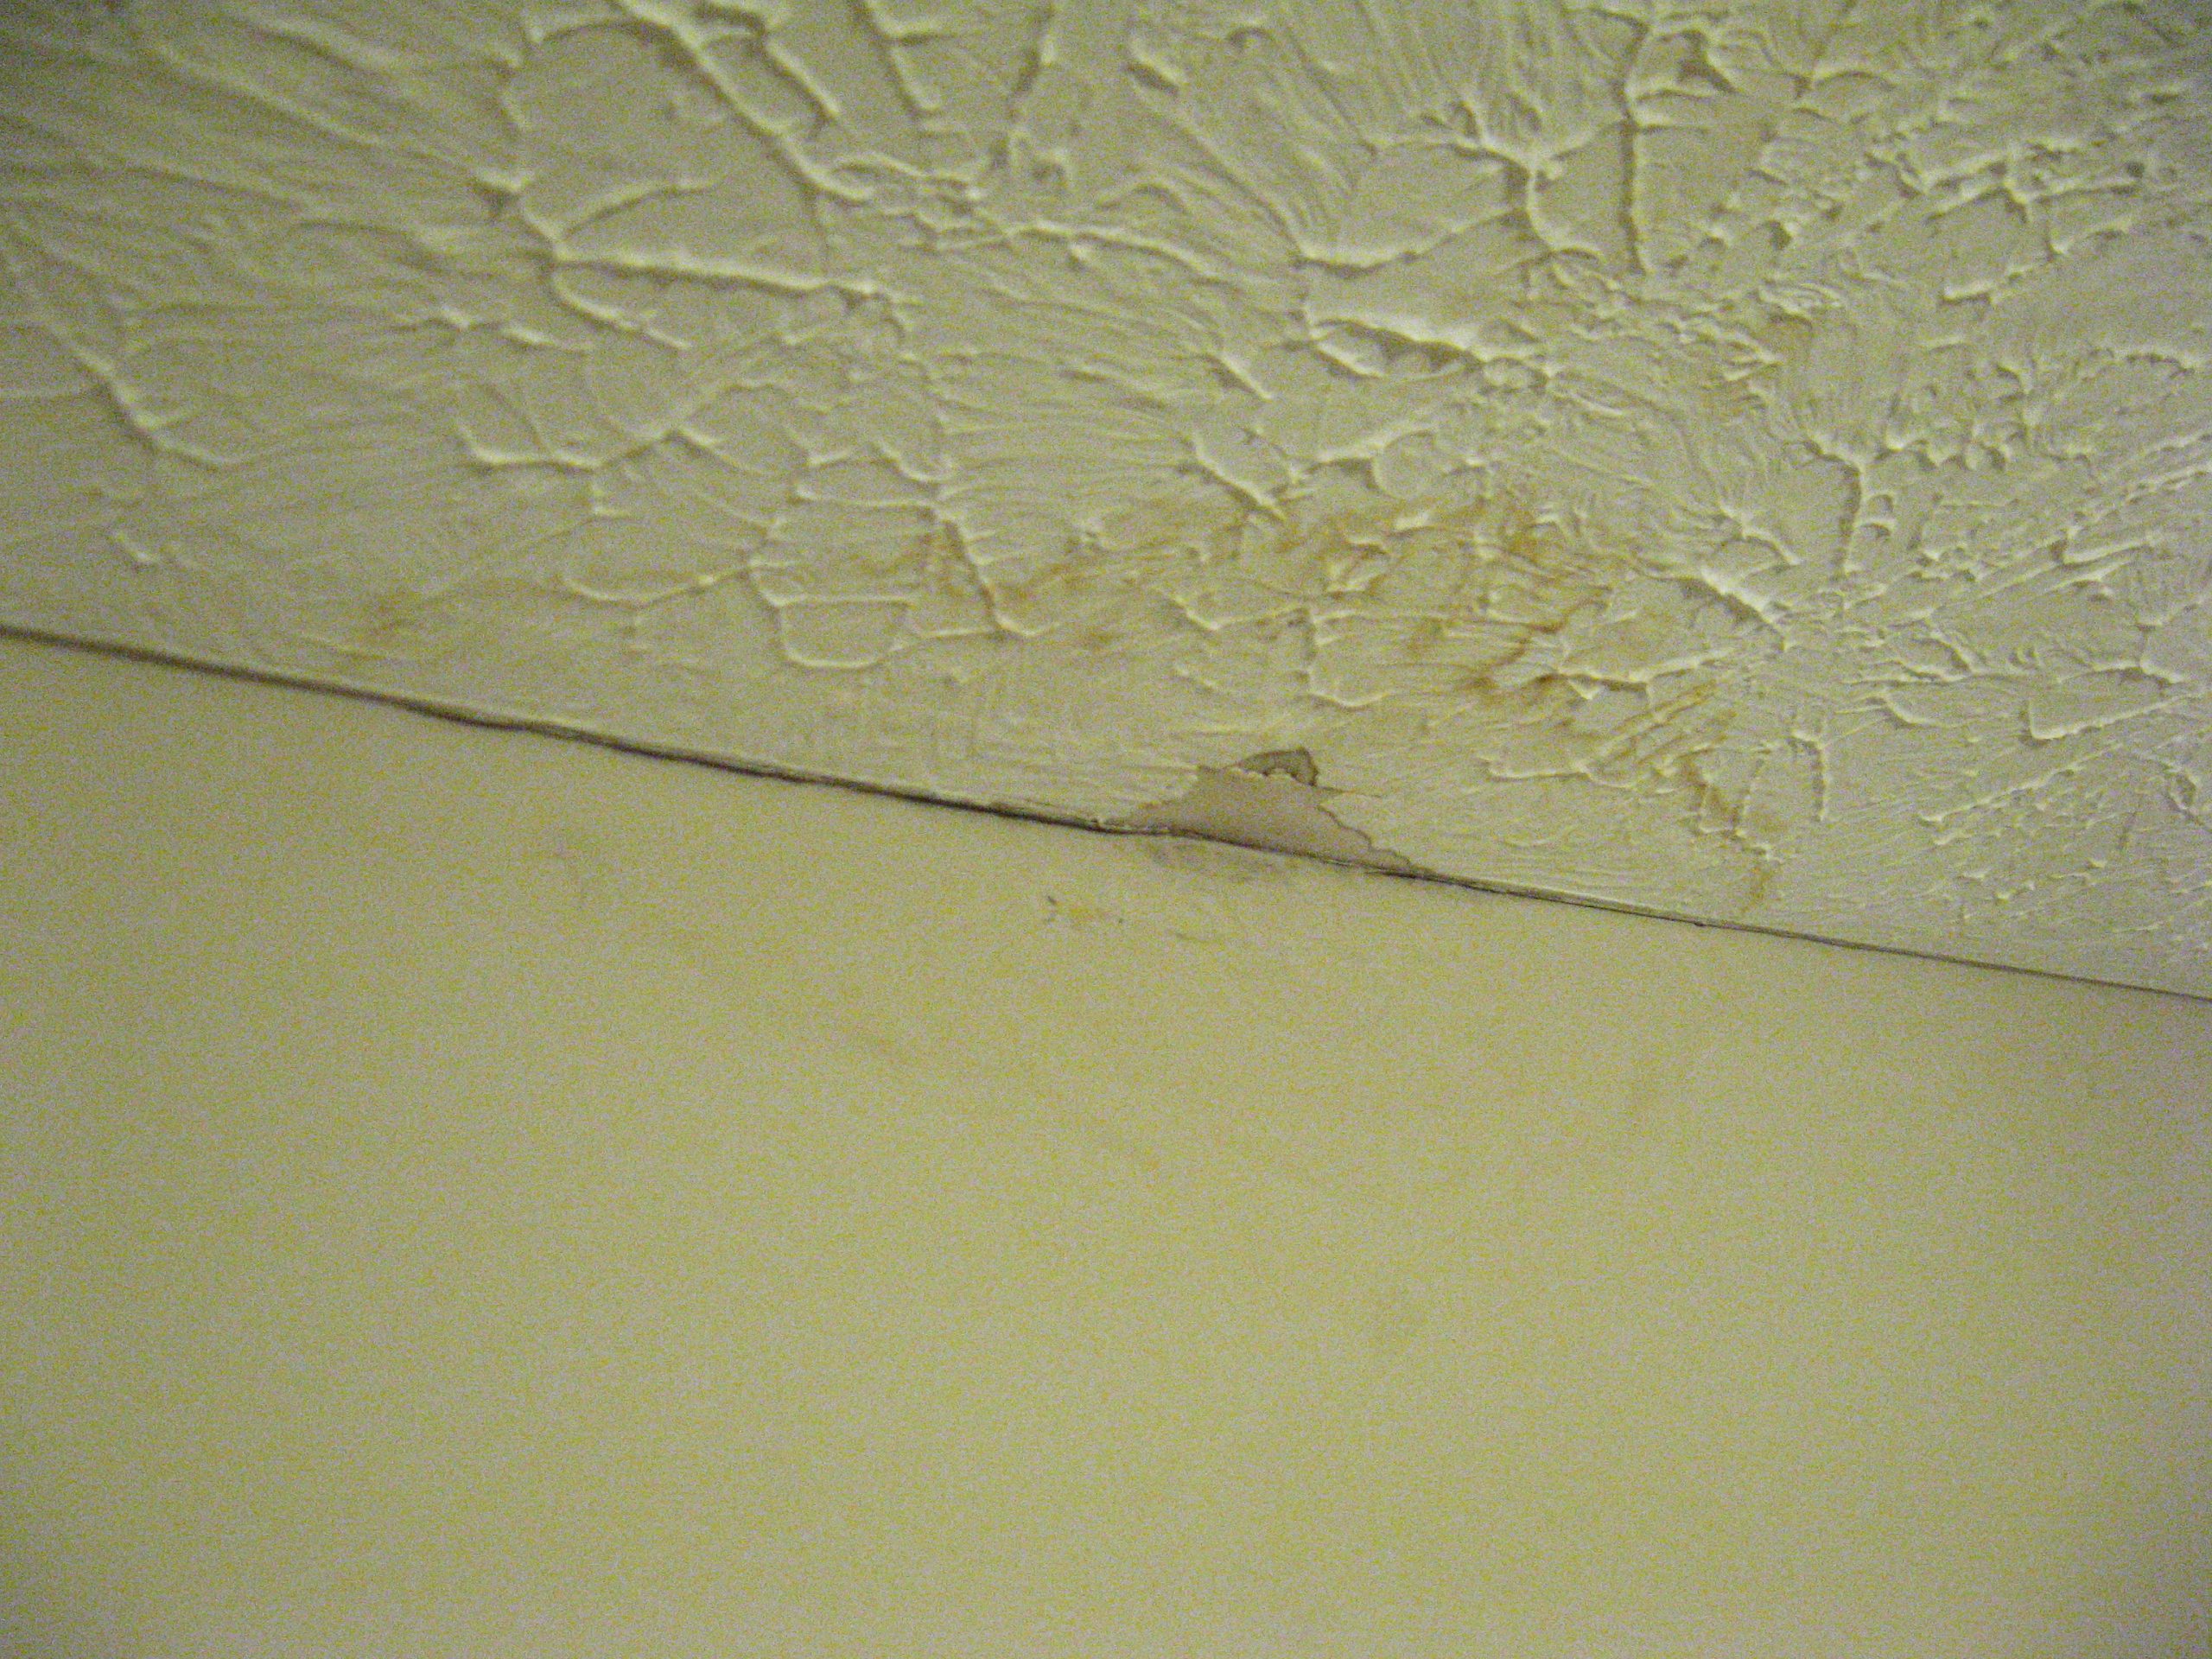
2. Roof windows: checking the seals
Roof window joints must be perfect:
– Do a visual check of the window’s perimeter. The slightest trace of moisture will mean that there is a leak.
– Be careful; you must treat these leaks quickly. Roof windows are usually clad with plaster, which is not water-friendly.
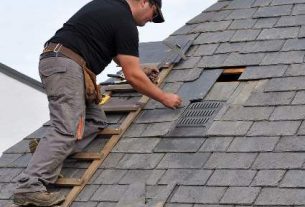
3. Inspect the tiles
The problem of leaks can come from the tiles, either cracked or displaced.
Cracked tiles
A roof leak may come from one or more cracked tiles:
– If you have a roof without a vapour barrier, you’ll be able to see this even more quickly:
◦ Just look at the underside of the tiles from the attic.
◦ This way, you will be able to identify the affected tiles precisely.
If you have a vapour barrier, the situation is much more delicate: you need to climb on the roof in dry weather, visually check the tiles’ external appearance, and thus detect which one or ones are affected. It would help if you did this investigation primarily in rainy weather.
Caution: follow the safety instructions carefully if you have to climb on your roof.
Displaced tiles
This is the most straightforward mess to fix. A little too much wind can be enough to displace some tiles, which can cause moisture.
A visual inspection of the roof will immediately reveal the displaced tiles, which you can then put back in their original place.
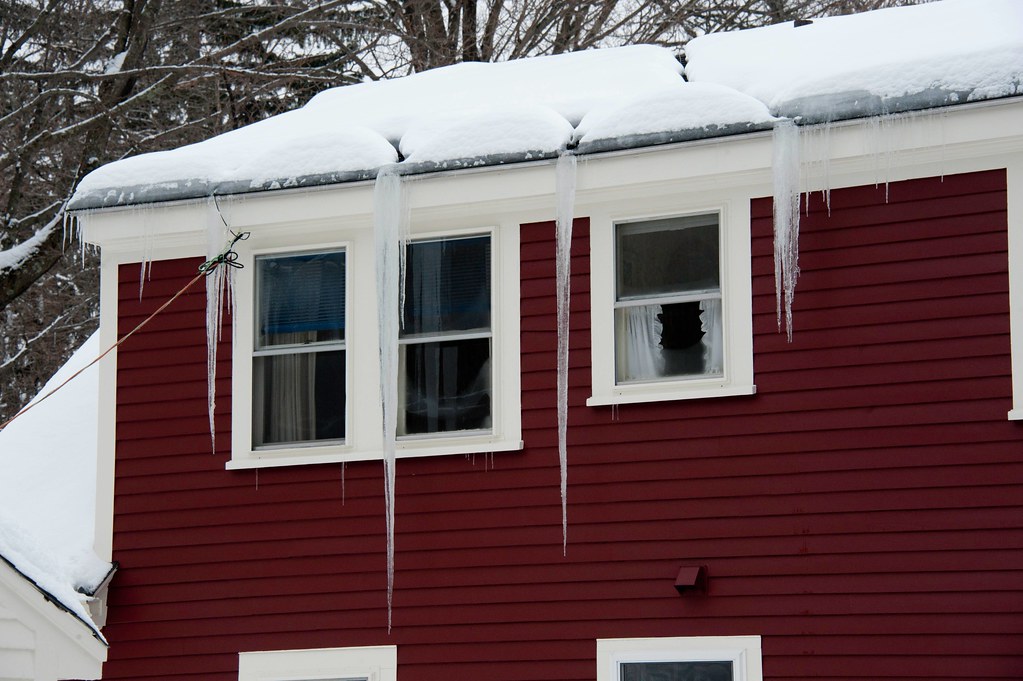
4. Check the gutter
Another element that may be at fault is the gutter. Check its condition: it must be empty, without leaves, foreign bodies, etc.
5. If the problem persists
If the problem is not apparent or cannot be identified:
– You must then detach from the location where you notice the leak to the ridge.
– Then, visually check the area immediately below the tiles: vapour barrier, framing.
– Replace with new tiles.
Hope you have found this post helpful. We are more than ready to bring a topic of your choice. For that, kindly leave your comments below, and we’ll get back to you in a short time.
Read more:
– Building Materials and the Use of Plaster in Construction;


2 thoughts on “How to Identify a Water Leak on Your Roof”