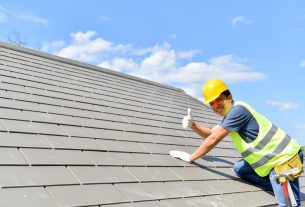
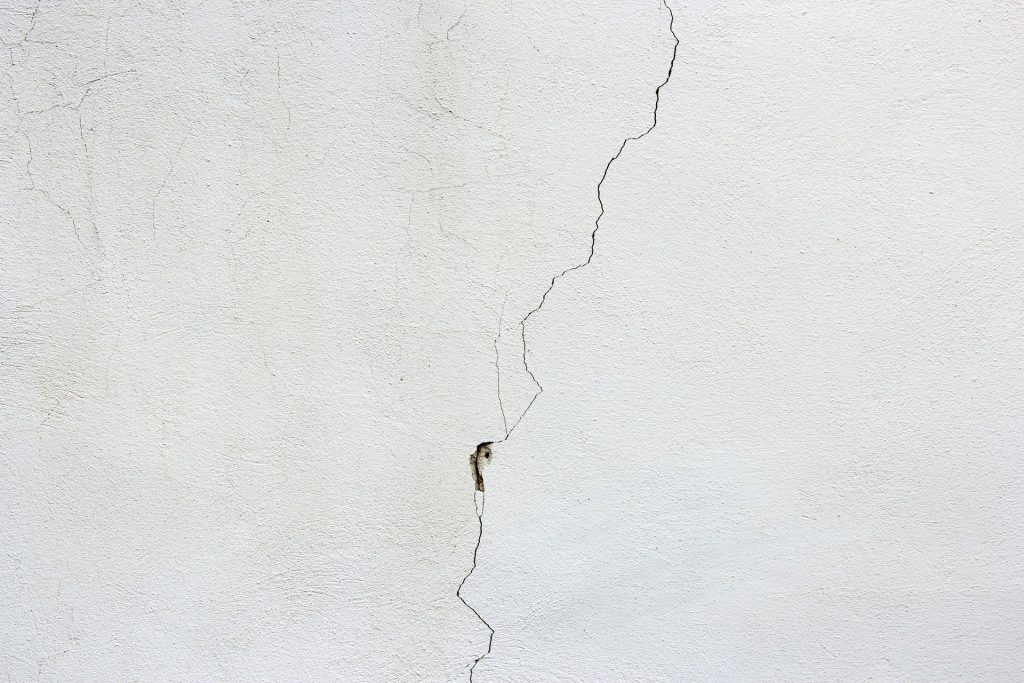
If your roof has cracked, it will result in many issues. The first issue that you will notice are the leaks from the roof that may keep on growing. Usually, when rainwater seeps into the crack, it eventually drizzles through your ceiling and into the ground below. The leak will unavoidably result in damages like mildew issues in your insulation, or you will need to switch the ceiling drywall or tiles alike. At this point, you need to fix your roof straight off before the house starts to look like a haunted house in a horror movie! The good news is that it is relatively simple to repair a crack within the roof, but if you are not the kind of person to dirty your hands or you are unsure about how to fix your roof, CANADA HOME INSULATION is here to help you out.
Checklist of the materials that you will need
1. Roof mastic
2. Trowel
3. Reinforcement webbing
4. Scissors
5. Rubber gloves
Locating the crack
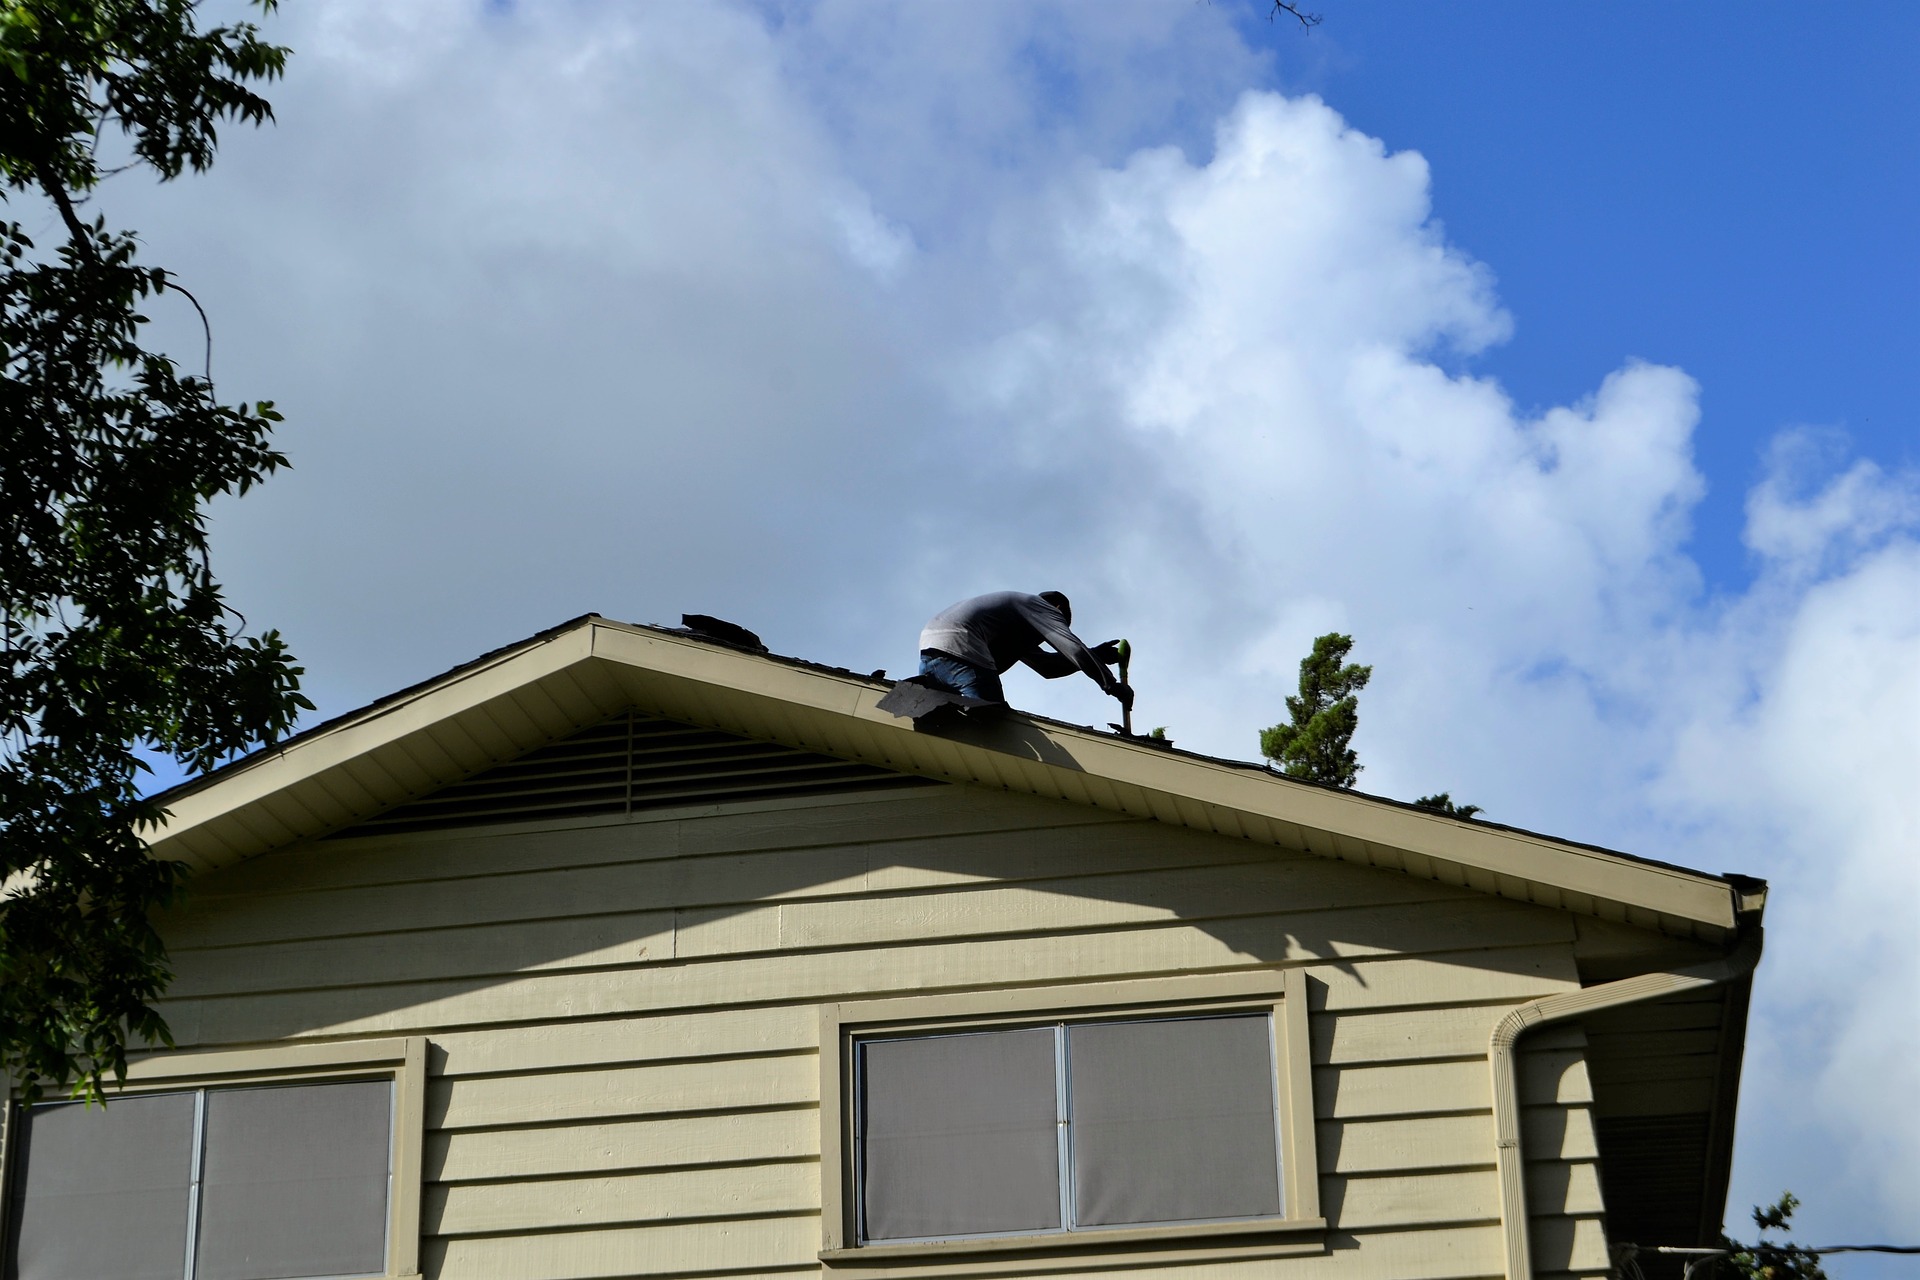
It can be tricky to find the source of a leaking roof. First of all, you need to climb over the roof safely. Find the crack within the roof by inspecting the tiles or alternative surfaces (it can be challenging if the roof is dirty). When you have managed to locate the visible leak within the roof, mark the whole area to find the overall space of the crack. Note that the roof should have dried up before the crack is apparent within the roof. And once spotted, you will begin to repair the crack and stop the leak quickly as follows.
Apply roofing mastic to the crack
Note that this compound is highly sticky and usually black. Using a trowel, you will dip the mastic out and spread it evenly over the crack – 1 / 4 inch thick. At this stage, you don’t have to worry about it looking messy as it will seal that crack just fine. To confirm a good seal, you will need to unfold the mastic generously over the whole crack and add some more on the far side of the perimeters of the crack.
Unroll and cut a strip of reinforcement webbing
You will find this product at your local hardware store. It reinforces the mastic to form a robust base similar to the original building material – probably even stronger. Wear a pair of protective rubber gloves and work the webbing down into the wet mastic by press it into the mastic, so it stays in place and covers the whole cracked and damaged space.
Furthermore, use your hands to render the webbing smooth, so it does not bunch up. Despite wearing gloves, your hands will get dirty while doing this step; however, it is essential for the webbing to be as smooth as possible to create a good seal.
Finally, you should add another 1/4 inch of mastic over the webbing. Use the trowel once again as you did earlier with the first coat. This extra layer of mastic should cover the entire webbing, making it invisible to the eye. This way, a floor covering will be formed – a waterproof seal that will erase the crack in your roof.
Tip
The mastic works better on dry days in a low humidity temperature. However, if you urgently need to prevent a leak from a crack during a rainy period, you can use a piece of tarp weighted with bricks, which will prevent the cracked space from getting wet.
But if the job is too difficult for you to perform on your own, you can always call a professional like CANADA HOME INSULATION. The company has over ten years of experience in insulating roofs, and they will quickly seal the leaks and gaps in your roof in Richmond Hill.