How to Install Roofing Bitumen
Bitumen has many qualities, including insulation and waterproofing. Therefore, bitumen is very often used for the repair of roofs, whether in the form of bituminous felt, bituminous roller, bituminous shingle or paint: the technique of laying bitumen will be different each time.
Installing bituminous shingles: a new roof in a few hours
Bituminous shingles must be installed on a continuous support:
– particle board: 19 or 22 mm thick.
– plywood panels.
You will find below a summary table of the steps to follow in the installation of bituminous shingles:
|
Installation steps |
Explanations |
|---|---|
|
Nail the particleboard to the rafters of the exposed roof. |
A support is necessary before installing the shingles, to support the weight of the shingles. |
|
Install the bitumen roll underlayment from the bottom of the roof. |
– The rolls will run parallel to the ridge if the roof slope is greater than 30%. – Conversely, if the roof slope is less than 30%, the bitumen roll will run perpendicular. |
|
Mark your marks with a chalk line. |
Make a relatively visible mark on the bitumen roll so that your shingles are perfectly horizontal. |
|
Install your shingles. |
– Lay the first row of shingles starting at the bottom of the roof. – Place any cut-outs towards the bottom. – Fasten them with nails. Reinforce the heat-adhesive strips with special shingle adhesive. – Continue the installation gradually, interspersing the cutouts. Note: according to the NF EN 544 standard, the minimum length of the nail shank is 21 mm for a solid wood or plywood support and 25 mm for a particleboard support. |
|
Install a shingled ridge cap. |
– Cut the shingles at an angle from the top of the notch. – Fold the ridges in half and nail them to either side of the roof ridge. – In cold weather, heat the shingles with a flashlight before folding. |
Important: shingles should not be installed in temperatures below 5°C.
Different fastening options depending on the roof
There are several ways to install the bitumen roll, to be chosen according to the type of roofing:
– cold gluing;
– nailing;
– hot gluing by heating with a blowtorch.
You will find below a summary table of the different ways of fixing the bitumen roll:
|
Type of product to be fixed |
Tools required |
Fixing method |
|---|---|---|
|
Bitumen roll for sloped roofs |
– Brush and broom to be dried for preliminary cleaning. – A good cutter. – Safety gloves. – Hammer and large head nails for mechanical fastening. – Cold glue specially designed for the bitumen roller. |
– Mechanical fastening method: ◦ the bitumen roll will be cut with a cutter. ◦ An adhesion primer will be applied by roller or brush. ◦ The bitumen will be nailed every 20 cm or so. – Adhesive fixing method: ◦ The bitumen roll will be cut with a cutter. ◦ An adhesion primer will be applied by roller or brush. ◦ The adhesive will be spread with a wide squeegee. |
|
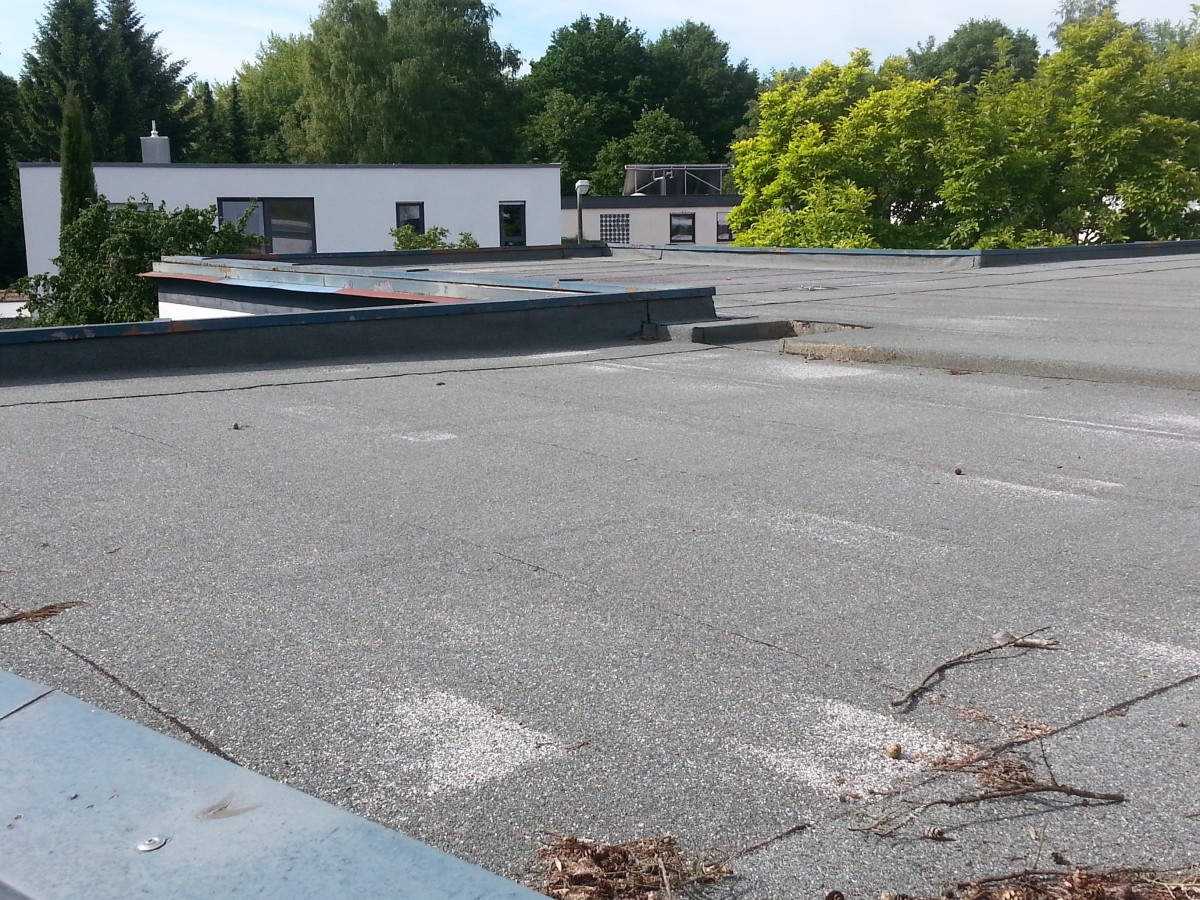
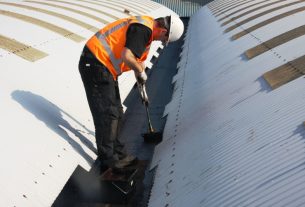
Bitumen roll for flat roofs |
– Brush and broom to dry for pre-cleaning. – A good cutter. – Safety gloves. – Cold glue specially designed for the bitumen roller. – Flashlight for hot gluing. |
– Glue fixing method: ◦ the bitumen roll will be cut with a cutter. ◦ An adhesion primer will be applied by roller or brush. ◦ The adhesive will be spread with a wide squeegee. – Blowtorch attachment method: ◦ the bitumen roll will be cut with a cutter. ◦ Allow for 10 cm of overlap. ◦ An adhesion primer will be applied by roller or brush. ◦ The plastic film present on the roller will melt under the heat of the flashlight and fix the layers together. |
Tar paint: easy to use
Tar paint is a very fluid and viscous liquid that can be applied with:
– a brush,
– a roller,
– a squeegee,
– a paint gun,
– a brush.
The support must be clean and dry, and be free of any grease: use an acid detergent before application. If the surface has been painted, it is also essential to strip it.
Finally, the material used for the application is cleaned with white spirit.
Installation of bituminous felt: mechanical installation with nails and tape
|
Type of roofs |
1st step |
2nd step |
Various tips |
|---|---|---|---|
|
Small roof (garden shed, pergola, etc.) |
– Fasten the first length of bituminous felt by nailing directly to the wood of the roof. – The nails used should have a flat head. |
– The second length will overlap the first length by a few centimeters, and so on. – The nails will be spaced about 10 cm apart. |
There is a specially adapted tape that will allow you to reinforce the insulation between each length: its use does not replace nailing. |
|
Large roof |
Lay down the lengths of felt and nail them down. |
Then fasten the assembly with moisture-proofed wood strips laid perpendicular to the felt strips. |
If the roof is small but you live in a windy area, this installation is recommended. |


1 thought on “How to Install Roofing Bitumen”