
Draining the water heater on a yearly basis can help ensure that the heater keeps running smoothly. You will find below a step-by-step to show you how to perform this.
But before you start, gather the following materials:
- A hose
- A bucket
- Some gloves (Use it to protect yourself from hot steam and or water that may come out of the heater during the process.)
Step 1: Determine If You are Dealing with a Gas or an Electric Water Heater
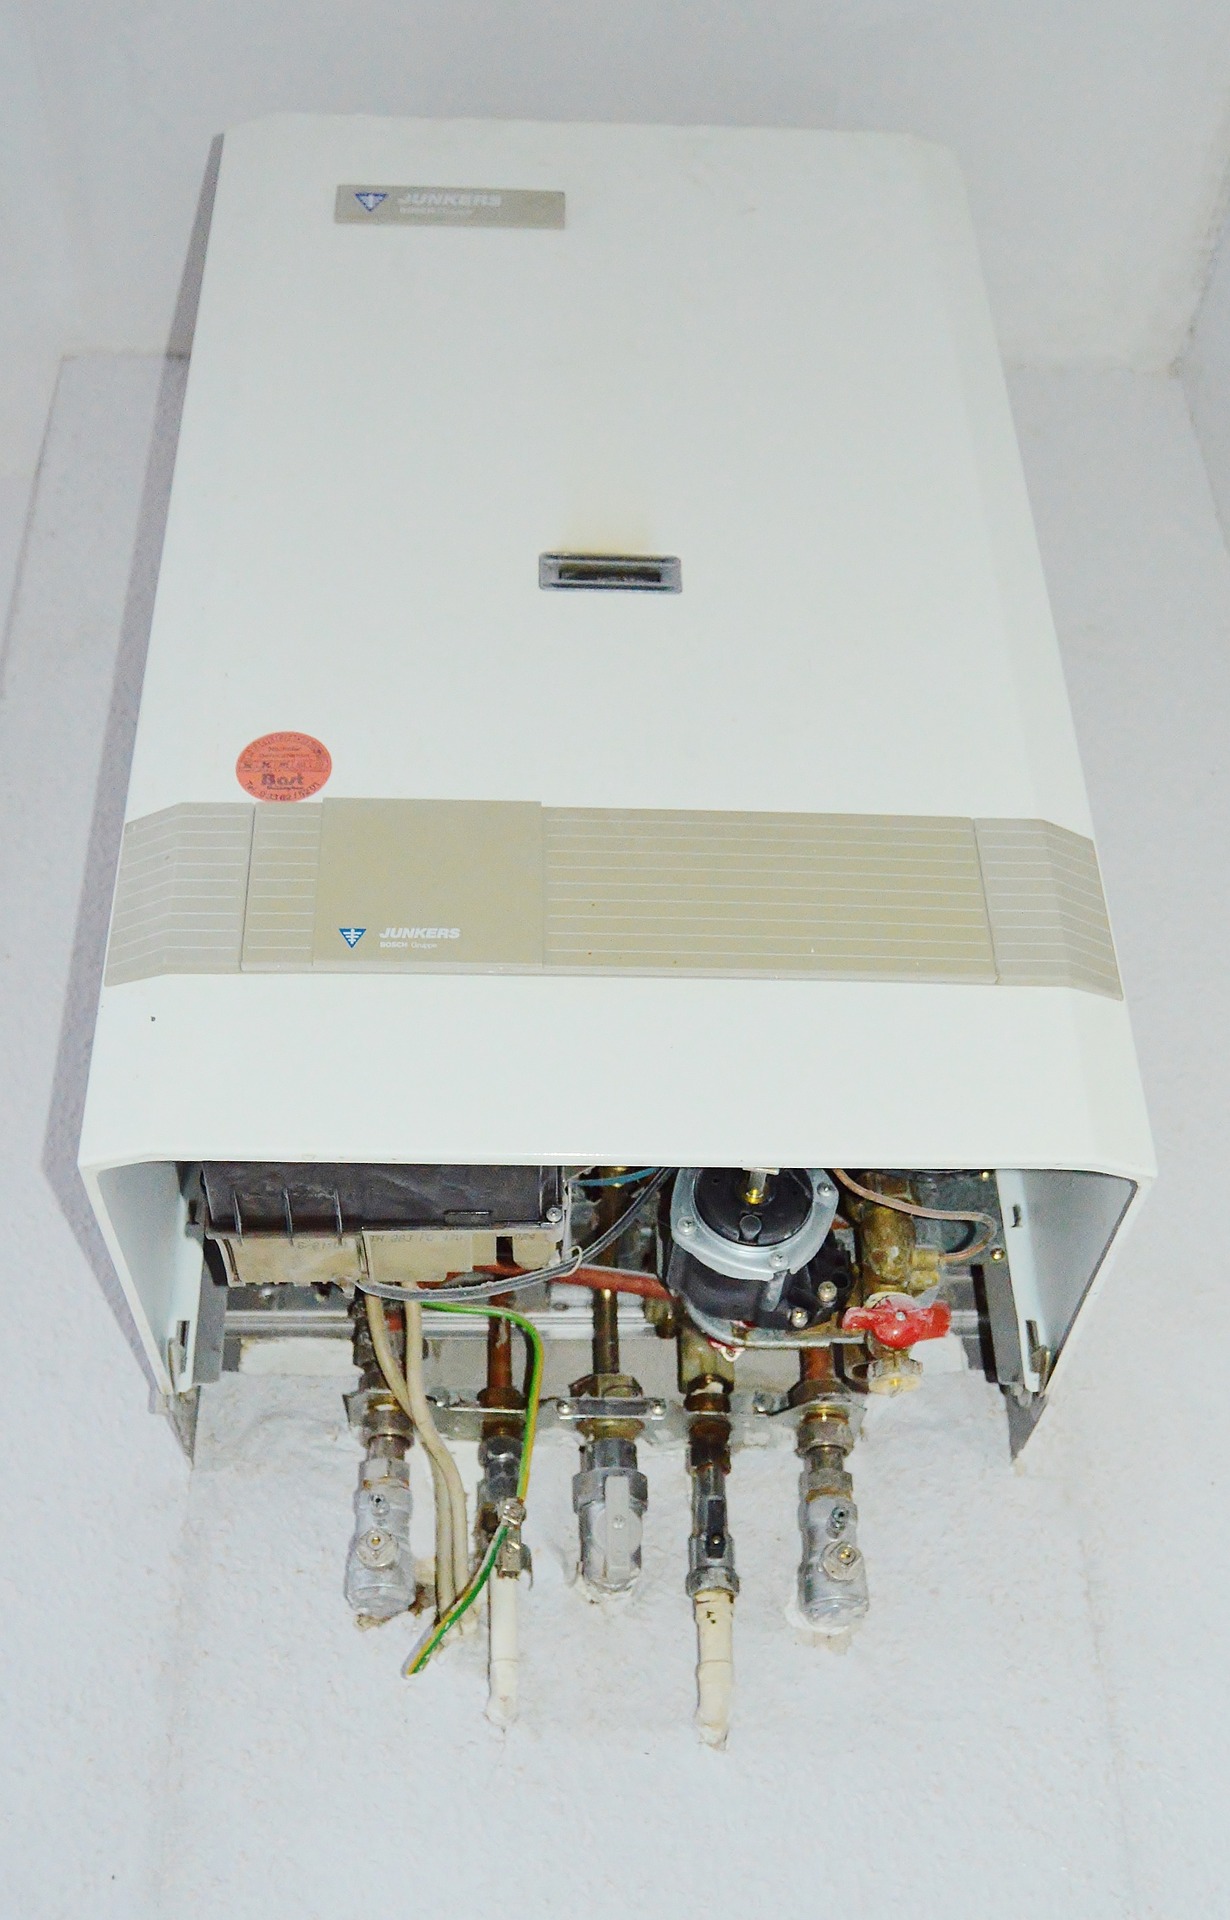
Before you can even start you will have to determine the type of water heater you own. It’s a relatively simple process. Most people’s water heater is located in their garage. Once you are there, look around the tank itself. It will typically be mentioned on the warnings and labels on the tank. If you see nothing on the labels, check to see if you see pilot lights. If you see it, odds are your water heater is gas-operated. Otherwise, you probably have an electric water heater.
A word of caution before you start:
You are going to be dealing with very hot water and steam. Whether it’s a gas or electricity-powered water heater, you have to be very prudent.
If you don’t feel confident doing this, do NOT under any circumstance attempt this. Instead, get in touch with a local HVAC technician or your supplier and have them send someone to perform the annual maintenance. You do not want to put your life at risk just for a couple of bucks. It’s not worth it. Really.
Additionally, if the heater is in the garage, raise it so the pilot light is 18 inches above the floor. This ensures that the gasoline vapours that collect near the floor do not ignite and set off a fire.
Step 2: Turning off the Water Heater
Now that you’ve determined the type of water heater you own, you are ready for this step. You should have gotten a manual with the heater. Read it carefully and find the instructions about turning off the gas or electricity: Follow them to the letter.
Step 3: Locate the Pressure Release Valve, the Water Shut Off Valve and the Water Drain
You need to know where these are because you will use them when you begin the maintenance. This should be easy.
- Start at the top of the water heater.
This is usually where the pressure release valve and water shut off valve are found. You will be able to tell one from the other based on their labelling and shape:
- The pressure release valve will have labelling near it and will also have pipes leading away from it. The piping comes out of the water heater, into the wall and usually in the entryway or in the front yard. Go outside to where the piping leads and ensure that it is not obstructed. Remove paper, dust or other combustibles if necessary.
- The next thing you will see is the water valves. They are very similar to the circular water valves you have in your front and back yards.
- Not look at the bottom of the water heater
This is where the water drain is usually located. You will notice a spout that has threads. These threads will come in handy later on.
Step 4: Turn Off the Heating Source
Now that you have all your materials ready and you know where everything is, you are ready to start. Take out that manual again and follow along to turn off the gas to the water heater (if operated by gas) or shut off the circuit breaker (if it’s an electric heater).
Step 5: Turn Off Water
Turn off the water by closing the water valves.
Step 6: Attach the Hose
Remember the threads you saw in the water drains? That’s where they come in handy. They are used for attaching a hose. So, attach the hose you got to it.
Step 7: Turn on the Water Drain
Once the hose has been attached, turn on the water drain. This will cause the water to leave the water heater tank. You will notice that the water draining from the hose will gradually slow down become coming to a stop altogether. This happens because the pressure release valve is closed. That brings us to the 8th step.
Step 8: Open the Pressure Release Valve
With the water draining, a vacuum will have formed. Unless this vacuum is opened and removed, no additional water will be drained from the tank. To remove that vacuum, the pressure release valve needs to be opened. It will allow air back into the tank.
You will typically have to wait for about half an hour for all the water to drain.
Step 9: Turn off the Water Drain and Turn on the Water
Once you’ve turned off the water drain and removed the hose, place a bucket underneath it. Leave the pressure valve open, turn on the water to the water tank and then turn on the water drain again. This will flush out any sediment that’s still left in the heater. Once the water draining out is crystal clear, move on the last step.
Step 10: Refill the Tank
Turn off the water drain, close the pressure release valve and leave the tank to be filled. Ensure the tank is full before you turn the gas or circuit breaker back on.
There you go! Not that complicated, right? You won’t have to worry about this until next year now.