Summary
– Step 1: Clean the surface
– Step 2: Prepare the media
– Step 3: Find the spot
– Step 4: Install the mouldings
– Step 5: Do the finishing touches
– Step 6: Cut the cornices
– Step 7: Place a rosette
Ceiling mouldings are ornaments of various shapes and styles that you can use to highlight a room’s decoration.
Polystyrene mouldings are very inexpensive but poorly finished. They are available in plaster and polyurethane, at a higher price, but with a much better finish. They are glued down (the glue to be used is dependent on the material).
These decorations are modern, baroque, classical, fixed in the cornice or rose window, are effortless to install. You will have to respect a few small instructions for the support.
Here is how to install mouldings on the ceiling.
Caution: Try to adopt the most comfortable position on your stepladder, never work at arm’s length!
1. Clean the surface
The substrate must be free of dust, grease, and dry to optimize the moldings’ adhesion.
– Sponge the ceiling with St Marc detergent diluted in water.
– Wait for it to dry completely before starting to install the mouldings.
2. Prepare the surface
– If the substrate has some cracks or unevenness, use a filler to fill them.
3. Find the spot

– Position the moulding in its final location.
– Draw its support line on the ceiling with a light pencil stroke.
– This is an important operation to ensure that you don’t hesitate when installing the moulding. It is even more important when installing a cornice.
4. Install the mouldings
– Read the instructions carefully for using the adhesive, especially the setting time.
– Apply the glue:
◦ In blocks, using a spatula if the glue is in a pot.
◦ In strings, if the glue is in cartridge form.
– Also, glue the ceiling surface for polystyrene and plaster mouldings.
– Install the moulding.
– Press evenly.
– Remove excess glue with a damp cloth.
Caution: Use the correct glue for the moulding material; other adhesives may attack incompatible materials.
5. Finishing
– Wait for the glue to dry.
– Hide the joints between several elements (if existing).
– Use ready-to-use filler, applied with a spatula or finger.
– After the filler has dried, you can even paint the mouldings.
6. Cutting the cornices
– Put the cornice in place.
– Draw the cutting line with a pencil.
– Use a miter box and its saw to make clean cuts.
– Cut at 45° for corner joints, but also in a straight line.
– Hold the cornice firmly in place inside the box when sawing.
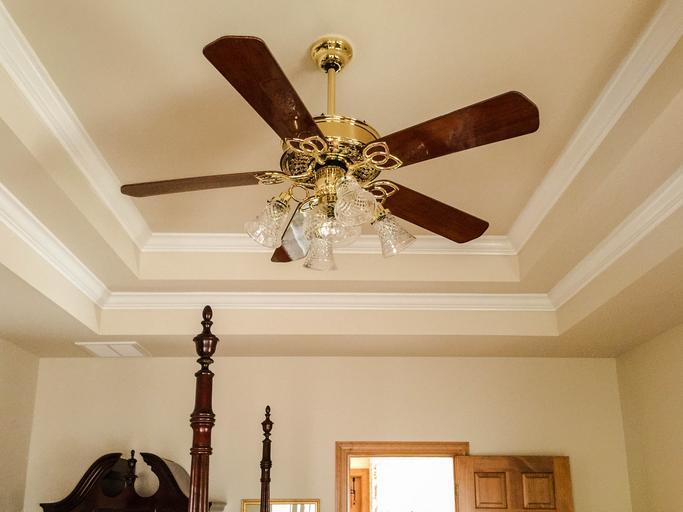
7. Install a rosette
In addition to the aesthetic function, the rosette can also be used to conceal the mounting of a luminaire.
– Before intervening, turn off the electricity at the meter.
– Cut a hole of a few centimetres in the centre of the meter with a cutter. This hole will allow the passage of electrical wires.
– Proceed for the installation in the same way as simple moulding.
– Take good care of the finish; the rosette will be in full light.
Materials for installing ceiling mouldings
|
Alkaline detergent |
$3 approx. |
|
Sponge |
$1 approx. |
|
Stepladder |
$20 approx. |
|
Spatula |
Starting from $1. |
|
Cloth |
Rag. |
|
Glue |
About $20 per 8 kg. |
|
Filler (tube) |
Starting from $3. |
|
Seal Gun |
Starting at $6. |
|
Saw |
Starting from $3. |
|
Mitre box |
Starting from $4. |
Hope the above helps you out. Please remember to leave your comments below and share this post.


1 thought on “How to Install Ceiling Mouldings”