3 Steps on How to Install Shingles
Summary
– Step 1: Mark the installation lines on the roof
– Step 2: Install the first shingles
– Step 3: Install and nail the subsequent shingles
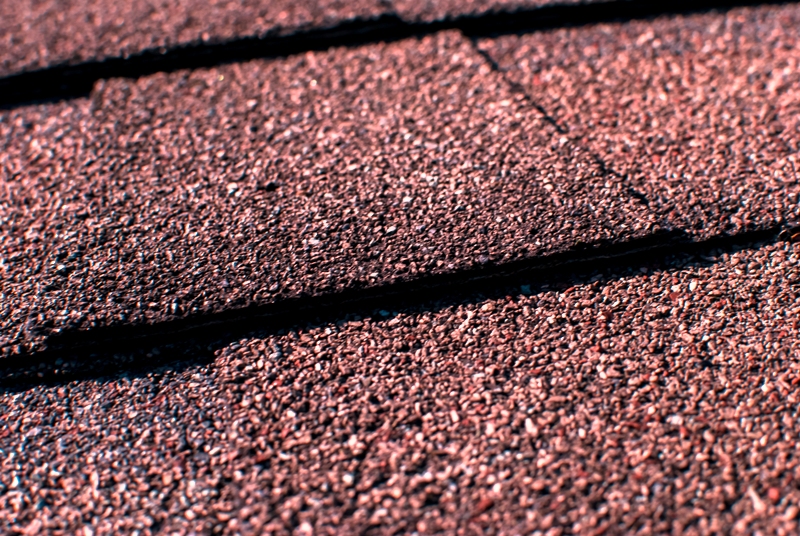
Shingle, also known as “bitumen shingles”, is a roofing material made of a sheet of asphalt or bitumen felt reinforced with glass fibres.
It is ideal for small roofs as it is flexible, lightweight, and easy to install. It is the perfect choice for garden sheds, cabins or niches, provided that the top has a minimum slope of 20%.
Good to know: shingle is not suitable for covering the roof of a house because its lifespan is relatively short (25 years), and it becomes a fragile material if it is poorly installed.
Materials needed to install shingle.
Galvanized finish staples
Wall stapler
Nailer
Brushed aluminum nails
Powder line
Cutter
Square
Tape measure
Flat brush
Glue gun
Ruler 60 cm
1. Mark the installation lines on the roof
Important: Shingle is attached to a continuous roof deck. This can be made of solid wood planks, particleboard or exterior plywood.
– Mark a horizontal line parallel to the edge of the roof, about 20 cm from the edge, with a powder line. This line will be used as a reference when installing the first row of shingles.
– Then, draw a perpendicular line to this line to mark the vertical alignment of the shingles.
Important: check the right angle of the 2 marks with a square. The squareness must be perfect for a good alignment of the shingles.
– Draw lines parallel to the horizontal, spacing them 11 to 15 cm apart. It would help determine this spacing according to the roof slope to ensure the necessary overlap.
The lower the slope, the more significant the overlap to facilitate the flow of rainwater and ensure a good seal.
2. Install the first shingles
Shingle is installed from the bottom to the top of the roof.
– Start by attaching a zinc eave strip.
– Coat the edge of the roof with special shingle mastic glue to a height corresponding to half the shingle’s width.
– Place the first row of shingles upside down to form the liner.
Good to know: positioning the shingles upside down means placing the notches upwards.
– Cut the shingles at the end of the course to the correct size with a ruler and a cutter.
– Lay the second course of shingles right side up on top of the first course. This way, the first course of shingles is doubled.
– Nail or staple the 2 layers of shingles at several points: one fastening above each indentation.
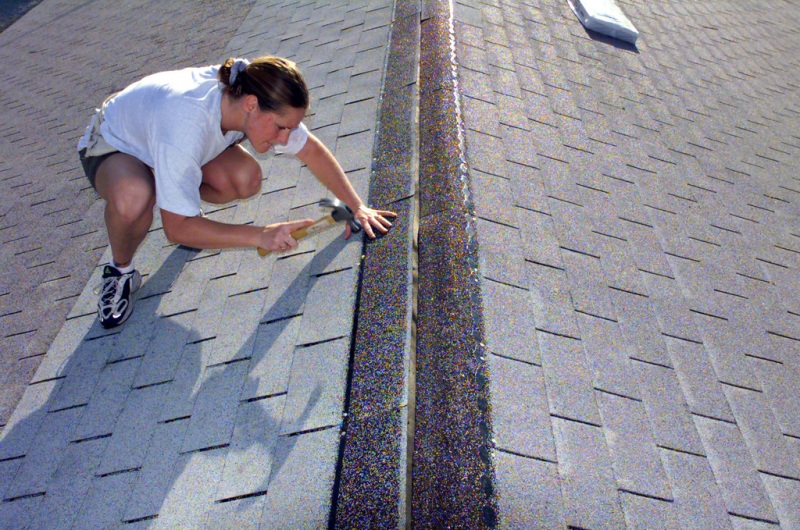
3. Install and nail the subsequent shingles
– Position the next shingles from one edge of the roof to the other.
– Overlap each course so that only the eaves (slate patterns created by the shingle indentations) are visible, aligning with the horizontal lines made in step 1.
– Stagger the shingles so that the notches of one course fall in the middle of the slates of the previous course.
Good to know: ensure to observe the alignment of the even and odd rows on the whole roof.
– At the end of the row, cut the shingles to the correct size with a ruler and a cutter.
– Nail the rows of shingles over each notch.
You can apply a glue dot on each side of the notches to consolidate the fastening.
– Work your way up to the top of the roof.
– Nail a strip of zinc on the roof ridge and possibly on the roof edges.
Hope this post will be helpful. Please remember to share your experience in the comments below.


1 thought on “3 Steps on How to Install Shingles”