6 Steps to Automate Your Garage Door
Contents
– Step 1: Prepare the rail for installation
– Step 2: Prepare the gate guide rail
– Step 3: Install the track
– Step 4: Fix the track
– Step 5: Mount the motor
– Step 6: Connect and set up the motor
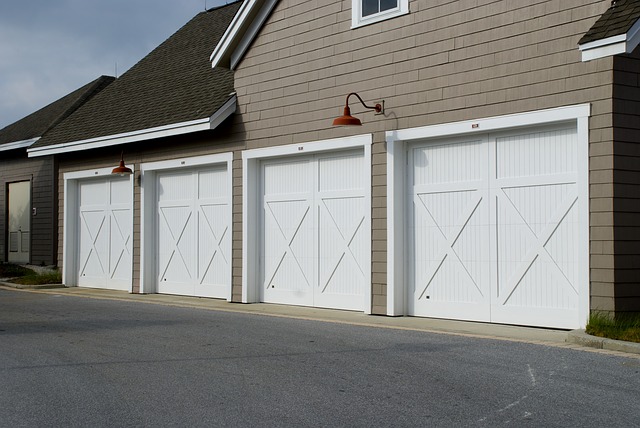
Automating a sectional garage door with an overhead opening makes it possible to swing your garage door effortlessly.
This installation requires a certain amount of know-how and is not recommended for the novice DIYer.
To automate your sectional garage door, install the guide rail, then fit the motor, connect it, and set the parameters.
1. Prepare the track installation
Installing a guide rail is necessary to automate your sectional garage door with a ceiling opening. To prepare the installation of the track:
– Determine the fixing height of the bracket, measure the distance between the top of the door and the floor and add 25 to 165 mm. Then mark the centre line of the fastener, halfway across the door.
– Mark the fixing points for the rail/wall clamp to drill and insert the dowels. Then fix the bracket with two screws.
– Align the door/arm bracket with the centre line and secure it with self-drilling screws.
2. Prepare the gate guide rail
Once the clamps are in place, prepare the central guide rail for your garage door:
– Determine the number of rails needed based on the length of your garage door, then assemble them with the supplied bars and screws.
– Check the alignment of your assembly before tightening the screws.
– At one end of the rail, mount the two assembly bars. At the other end, insert the rail closing stop.
3. Fit the rail
Fit your central guide rail as follows:
– Insert the supplied screws and square nuts into the rail/wall bracket and attach one end of the rail.
– Tilt the rail horizontally using the step ladder.
– Check for levelness before tightening the screws.
4. Fix the rail

Once in place, fix the rail to the ceiling with tie bars:
– Measure the distance from the top of the wall to the bottom of the rail, and transfer it to the two tie bars.
– Bend the bars at this point using a vice.
– Locate the fixing points of the two bars, drill and then plug.
– Remove the screws on either side of the end of the rail before fixing the two tie bars to the rail and ceiling.
– Check the alignment by sliding the trolley.
5. Mount the motor
Mount the motor:
– Slide the motor rail into the main rail, tighten the screws, checking the alignment.
Attach the link arm to the carriage with the assembly pin, stop the clip, and repeat the operation on the wall bracket.
Open the door fully, position the opening stop, and screw it in place. Repeat for the closing stop and lock the trolley.
6. Connect and set up the motor
Connecting and setting your motor is the last step in automating your garage door:
– Press the set button, then operate the speed button until the chain reaches the trolley. Re-engage the setting button: the light goes out.
– To store the remote control, press the control button for three seconds and operate the remote control. The light goes out: it is stored.
– To start the self-learning process, press the door closed adjustment button, open/close the door completely with the remote control and repeat the operation. The door slows down before it stops.
Equipment required to automate a garage door
Motorisation kit
Spirit level
Tape measure
Pencil
Stepladder
Hammer
Phillips screwdriver
Flat screwdriver
Screwdriver
Vice
Pipe spanner
Flat spanner

1 thought on “6 Steps to Automate Your Garage Door”