Master the Art of Flawless Paint Application with a Roller
Painting is the final touch that brings your decorative project to life, whether you choose a roller, brush, or spray. To ensure the best possible outcome, it’s essential to pay attention to surface preparation, cleaning, treatments, and repairs. In this guide, we will provide you with professional advice to help you achieve impeccable paintwork.
Painting with a roller offers many advantages, including efficient coverage and a smooth finish. Follow these six steps to master the roller technique and achieve outstanding results.
Prepare the Roller
To ensure a clean and even application, it’s crucial to start with a well-prepared roller. Begin by washing the roller in lukewarm water, removing any dust or debris. Once cleaned, give it a good wring and rub it against a rough surface to eliminate any remaining particles.
Set Up the Paint Tray
Select a paint tray or tub that is larger than the roller itself. This will allow for easy and efficient loading of the roller. Hang the spinning grid inside the tray to remove excess paint and ensure an even distribution. If your paint can is spacious enough, you can attach the grid directly to the can for added convenience.
Clear the Corners
Before you start rolling, it’s important to clear the corners of the walls using a brush. Begin at the top left or right corner, depending on your dominant hand. By doing this, you’ll prevent accidental overlap when you switch to using the roller. Continuously clear the corners as you progress with the paint application to maintain clean lines and edges.
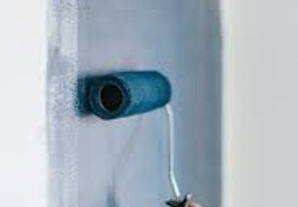
Load the Roller
To achieve optimal coverage, dip the roller halfway into the paint. Make sure the roller is evenly coated with paint, but avoid overloading it. To remove any excess paint and distribute it evenly, slowly roll the roller on the spinning grid. This step helps prevent drips and uneven application.
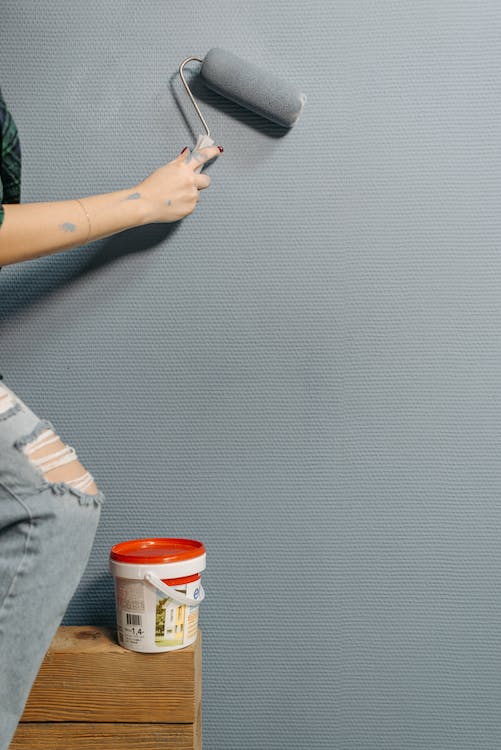
Apply the Paint
Now it’s time to apply the paint to the surface. Work in sections of approximately 1 square meter, starting from the top and moving downwards. Apply gentle pressure on the roller as you move across the surface, ensuring the paint is evenly spread. To achieve a seamless finish, alternate your rolling motion from left to right or right to left, depending on your dominant hand. Maintain a smooth and consistent motion without reloading or applying excessive pressure. Work from top to bottom for a consistent look.
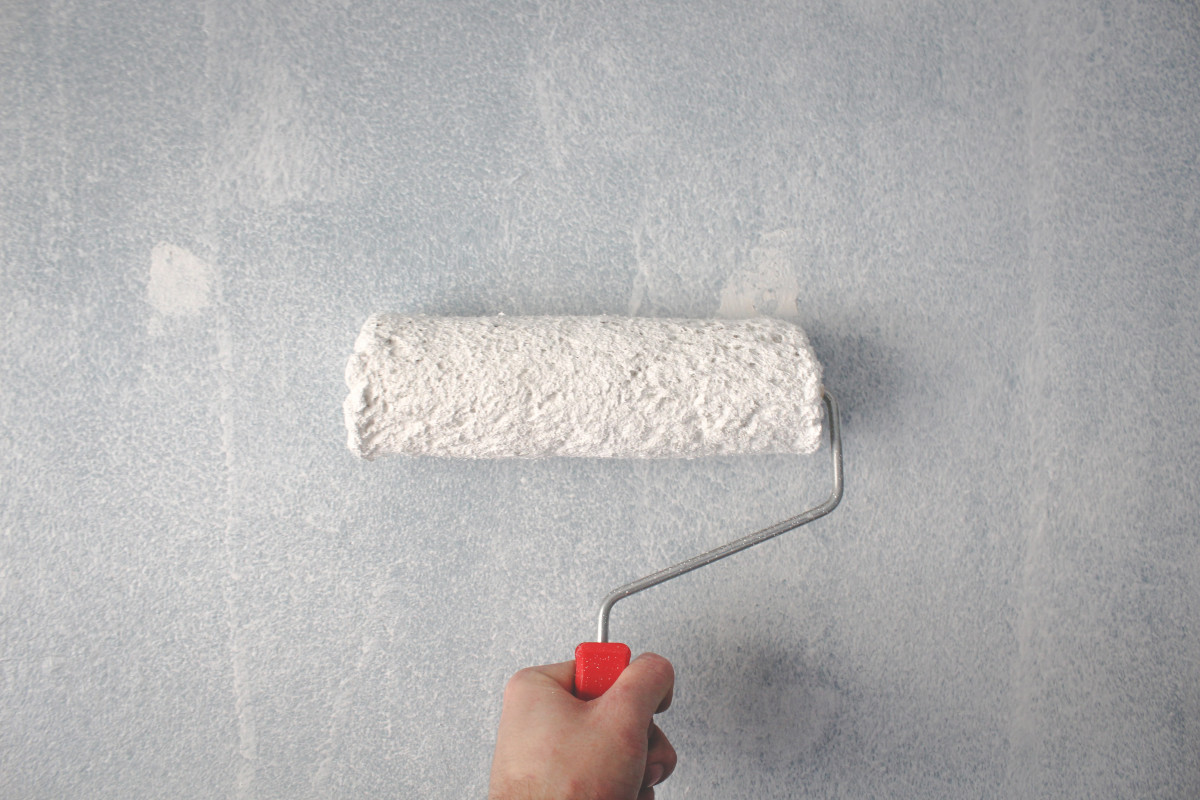
Finish with Precision
Once you have completed a section, move on to the next square, slightly overlapping the previously painted area. Start from an unpainted section and work your way towards the painted portion. This technique ensures a uniform and professional finish. Continue this process until the entire surface is covered.
Professional Tips for Perfect Paint Application
Preventing “Rail” Marks: To avoid leaving unwanted streaks on your surface, trim the bristles of the roller flush with the plastic edges. This will create a clean edge and prevent any bristle marks from appearing on the painted surface.
Easy Clean-Up
Cleaning up after a painting project can be a hassle. To simplify the process, place a plastic bag inside your paint tray and line it with aluminum foil. This makeshift liner will make it easier to clean the tray, and once you finish painting, you can simply seal the bag, store it, and dispose of it properly at your local waste disposal site.
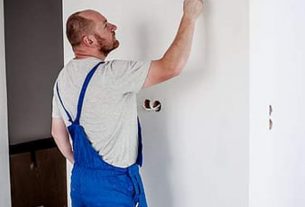
Precise Brushwork
If you’re using a brush for touch-ups or corners, hold it like a pencil and support it with your little finger. This technique will help you maintain control and achieve precise brushstrokes.
Remember, painting with a roller requires practice and attention to detail. Take your time, follow these steps, and don’t hesitate to seek assistance from a professional painter if you feel overwhelmed or desire a flawless result.
We hope these tips empower you to confidently tackle your next painting project and achieve remarkable results. Share your experience and any additional advice in the comments below. Happy painting!