Are you looking to add a touch of elegance and style to your space? Decorative ceiling tiles can do just that, transforming an ordinary ceiling into a work of art. In this comprehensive guide, we will walk you through the process of installing these tiles to revamp your living area. Whether you’re a seasoned DIY enthusiast or a novice, we’ve got you covered with our seven-step installation guide. Let’s get started on your journey to a more beautiful and refined space!
Step 1: Gather Your Supplies
To begin your decorative ceiling tile installation, you need to gather all the necessary supplies. Having everything ready will make the installation process smoother and more efficient. Here’s a list of what you’ll need:
What You Need:
- Decorative ceiling tiles
- Measuring tape
- Adhesive
- Putty knife
- Level
- Pencil
- Saw (if tiles need cutting)
- Safety goggles for protection
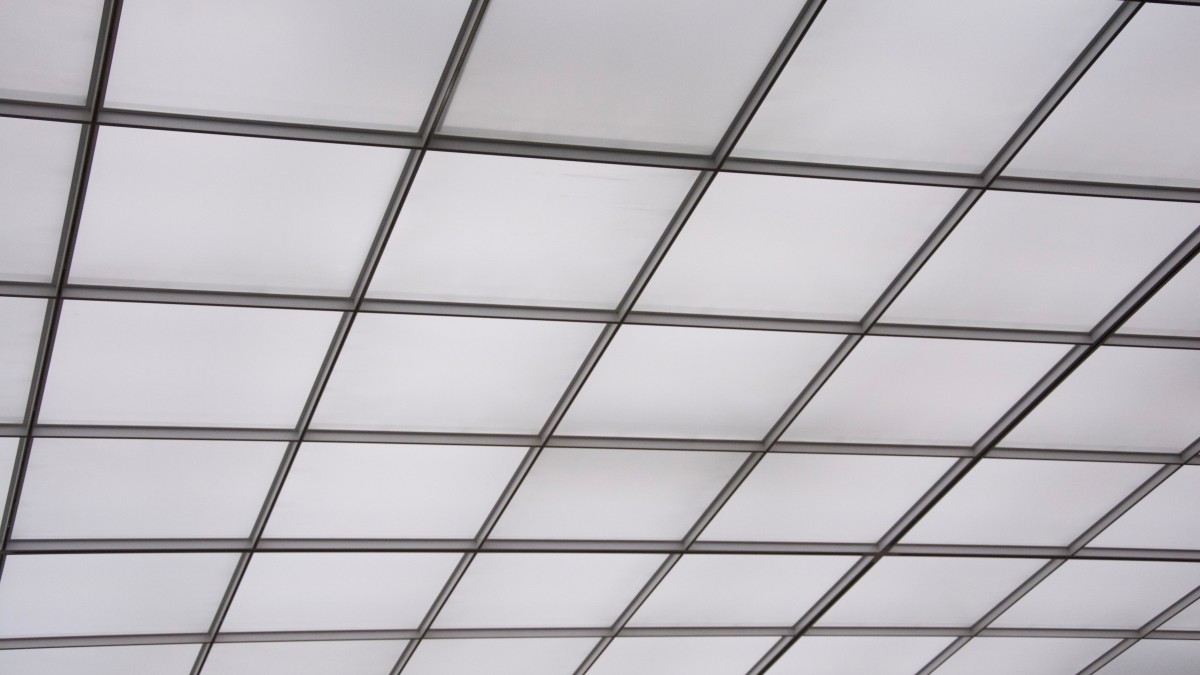
Decorative Ceiling Tiles: The heart of your project, these tiles come in various designs and materials. Choose the ones that match your aesthetic vision.
Measuring Tape: Essential for accurate measurements, ensure you have a good-quality measuring tape to measure your ceiling.
Adhesive: Depending on the type of tiles you’re installing, you may require adhesive for attachment. Follow the manufacturer’s instructions for the specific adhesive you’ve chosen.
Putty Knife: This tool will help you spread adhesive evenly and scrape off any excess.
Level: To maintain straight and level tile placement, a level is indispensable.
Pencil: You’ll use this to mark guidelines and for other notations during the installation.
Saw (if necessary): If your tiles need cutting to fit the layout, a saw will be required. Ensure you have a saw appropriate for the tile material.
Safety Goggles: Safety is paramount, so protect your eyes with safety goggles.
Step 2: Prepare the Surface
Before you begin installing decorative ceiling tiles, it’s important to prepare the surface. A clean, smooth ceiling surface is essential for a successful installation. Here’s what you need to do:
Clean It Up:
- Dust off your ceiling to remove any loose particles.
- Patch up any imperfections in the ceiling using patching compound. Allow it to dry and then sand any rough spots until the surface is smooth.
Step 3: Measure Twice, Cut Once
Precision is key when it comes to installing decorative ceiling tiles. Accurate measurements ensure that the tiles fit perfectly and the final result looks impeccable. Here’s how to go about it:
Measure Your Ceiling:
- Measure the length and width of your ceiling.
- Calculate the square footage by multiplying the length and width.
- Take into account any obstructions, such as light fixtures, vents, or beams.
Step 4: Layout Your Design
Designing your ceiling layout is where the fun begins. It’s your chance to get creative with patterns and aesthetics. Follow these steps:
Plan Your Layout:
- Use your measurements to locate the center of the ceiling.
- Create a starting point for your tile installation.
- Mark guidelines with your pencil and a level to maintain symmetry and straight lines.
Step 5: Apply the Adhesive
Proper adhesive application is crucial for a secure and long-lasting installation. Follow these steps for a hassle-free application:
Apply Adhesive:
- Carefully follow the adhesive manufacturer’s instructions.
- Apply adhesive evenly on the back of each tile, ensuring you don’t use too much. A little goes a long way.
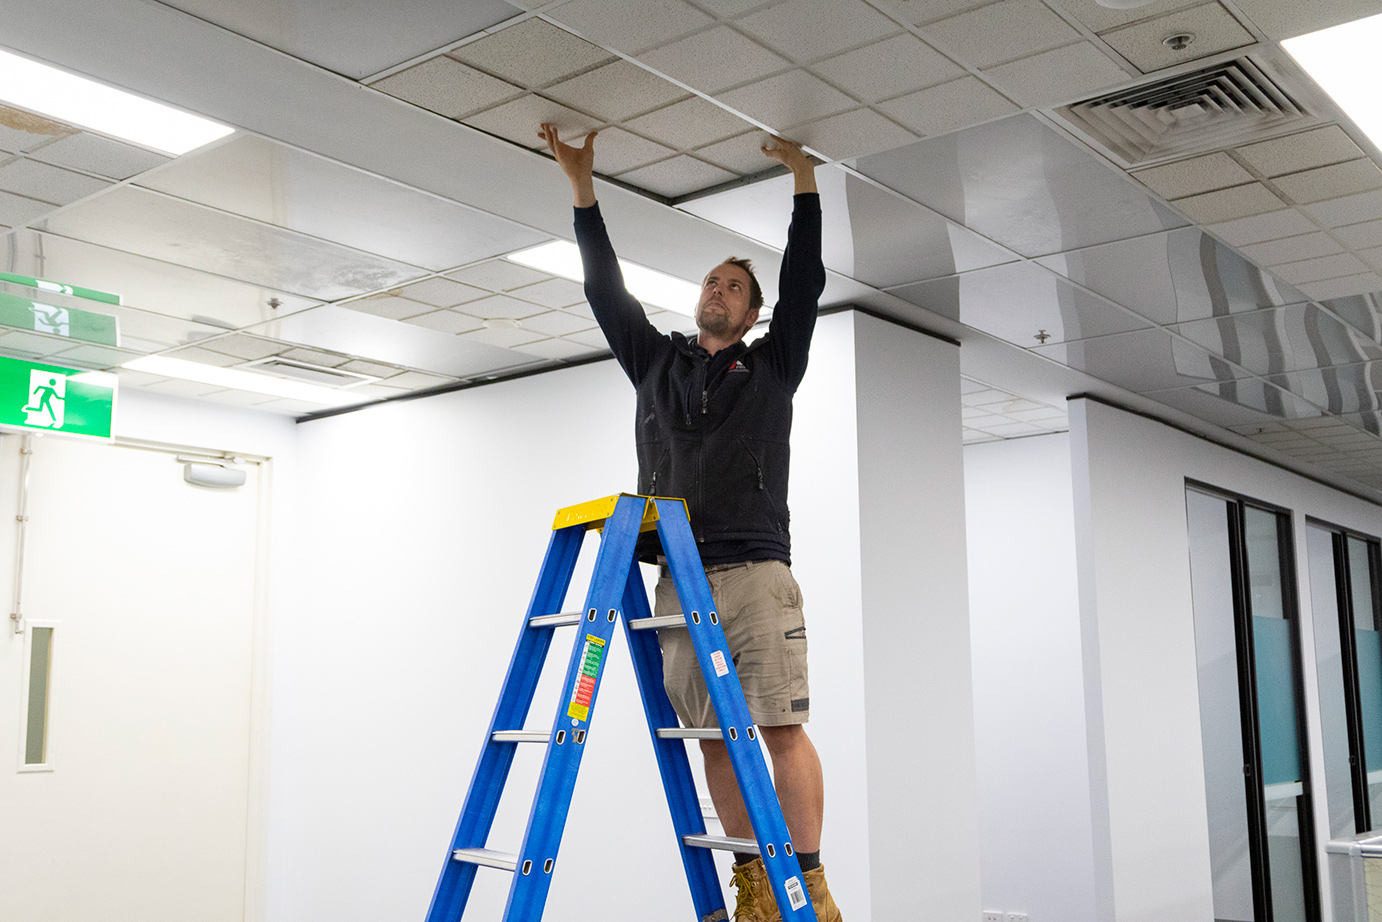
Step 6: Install Your Ceiling Tiles
With adhesive applied, it’s time to start placing your decorative ceiling tiles. Begin at the designated starting point and work your way outward, following your guidelines and checking with a level to maintain straightness.
Start Installing:
- Start at your predetermined starting point.
- Align each tile with your guidelines for precise placement.
- Use a level to ensure your tiles are straight.
Step 7: Finishing Touches
The final step is to step back and admire your work. Make any necessary adjustments and clean up any excess adhesive.
Final Steps:
- Step back and appreciate your newly transformed ceiling.
- Make any final adjustments, ensuring that all tiles are securely in place.
- Clean up any adhesive that may have seeped out during installation.
By following these seven steps, you will successfully install your decorative ceiling tiles and enhance the elegance and beauty of your space. If you ever find yourself feeling overwhelmed during the process, don’t hesitate to seek assistance from a friend or neighbour. Your beautifully adorned ceiling is just a few tiles away, and you’ll enjoy the transformation it brings to your living space. Happy decorating!