In the picturesque landscapes of Canada, where snow-capped roofs endure the harsh winters, the importance of a well-installed shingle roof cannot be overstated. Elevate your home’s resilience and curb appeal by mastering the art of shingle installation with this comprehensive DIY guide.
Assessing the Terrain: Preparing for Your Shingle Installation Journey
Before embarking on your shingle installation adventure, take a moment to survey the landscape. Inspect your roof for any existing damage, ensuring a sturdy foundation for your new shingles. Gather the necessary tools – a hammer, nails, roofing felt, and of course, the shingles themselves. Preparation is key, aligning with the Canadian spirit of being ready for whatever Mother Nature throws our way.
Consider the climate in your specific region of Canada; this will influence the type of shingles you choose. Whether you face the biting cold of the northern territories or the variable weather patterns of the Atlantic provinces, selecting shingles suited to your climate ensures longevity and optimal performance.
Stripping Away the Old: Removing Old Shingles with Precision
In the true spirit of DIY, roll up your sleeves and commence the removal of the old shingles. A sturdy pry bar becomes your best friend in this phase, as you carefully strip away the layers, revealing the canvas for your new roofing masterpiece. This active approach ensures a clean slate for your shingle installation, embodying the proactive nature of Canadian homeowners.
Pay attention to proper disposal methods for old shingles, as environmental responsibility aligns with the Canadian commitment to sustainability. Many recycling facilities accept asphalt shingles, diverting waste from landfills and contributing to a greener, cleaner environment.
Layering the Foundation: Laying Down Roofing Felt with Expertise
With the old shingles bid adieu, shift your focus to creating a strong foundation. Unroll the roofing felt across the exposed roof deck, ensuring a smooth and secure layer. This step not only provides an additional barrier against the elements but also serves as a testament to the Canadian commitment to thoroughness – leaving no detail overlooked.
Consider investing in high-quality roofing felt, which acts as a secondary weatherproofing layer. In Canadian climates where rain, snow, and ice are commonplace, this extra layer provides an added defence against moisture infiltration, enhancing the overall durability of your roofing system.
Nailing It Down: Shingle Installation Made Simple
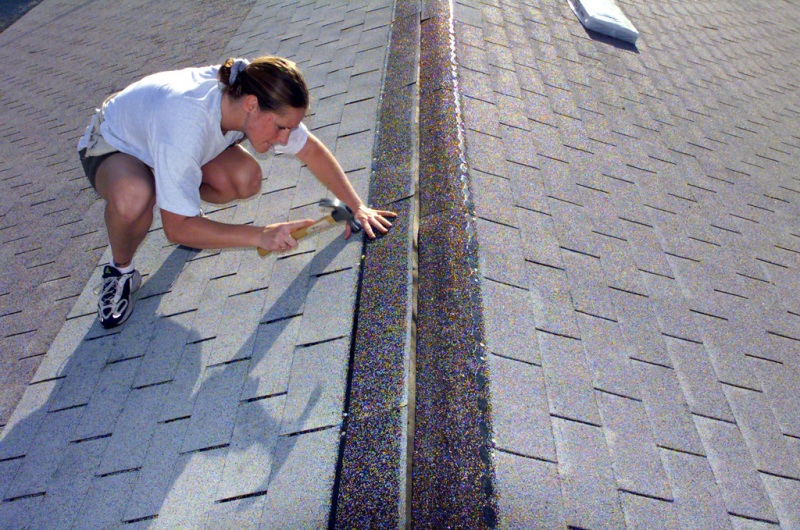
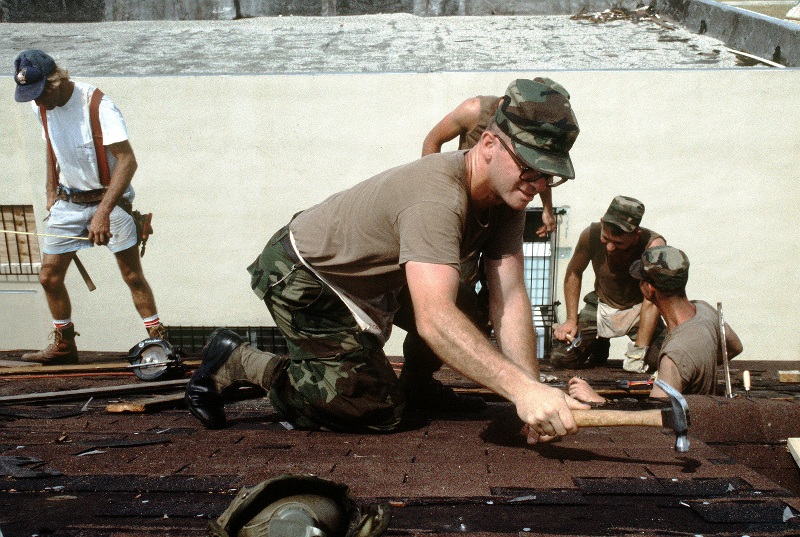
Now comes the heart of the matter – laying down the shingles themselves. Starting from the bottom and working your way up, secure each shingle with precision and care. The rhythmic sound of hammer meeting nail resonates with the essence of hands-on craftsmanship, a skill embraced by Canadians across the nation. This step, although seemingly routine, encapsulates the dedication to a job well done.
As you proceed with shingle installation, consider using a pneumatic nail gun for efficiency and uniformity. This modern tool complements the DIY spirit by making the process smoother, allowing you to achieve professional-looking results without sacrificing the hands-on approach that defines Canadian home improvement.
Sealing the Deal: Applying Flashing for Watertight Protection
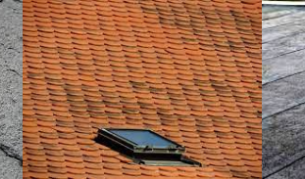
As you approach the peaks and valleys of your roof, pay special attention to sealing the deal – quite literally. Apply flashing around chimneys, vents, and other vulnerable areas to ensure watertight protection. This meticulous step mirrors the Canadian attitude towards preparation; fortifying our homes against the unpredictable weather patterns that grace our diverse landscapes.
When selecting flashing materials, opt for durable and corrosion-resistant options, such as galvanized steel or aluminum. These choices align with the Canadian tradition of enduring quality, ensuring your roof remains safeguarded against the elements for years to come.
Elevating Curb Appeal: The Finishing Touches
With the last shingle in place, step back and admire your work. Beyond the practical aspects of shingle installation lies the opportunity to elevate your home’s curb appeal. A well-installed roof speaks volumes about the care and attention put into a property, aligning perfectly with the Canadian tradition of taking pride in our homes.
Consider choosing shingle colours and styles that complement the architectural aesthetics of your home. The visual harmony created by thoughtfully selected shingles not only enhances curb appeal but also contributes to the overall architectural integrity of your property.
Crafting Resilience: A Subheading to Remember
As you conclude your DIY shingle installation journey, what you’ve really achieved is more than just a roof over your head. You’ve crafted resilience, echoing the Canadian spirit of overcoming challenges with determination. Your hands-on approach to home repairs is a testament to the ethos of self-sufficiency that resonates across the Great White North.
Explore additional measures to further fortify your roof against the elements. Consider installing gutter systems to manage water runoff effectively, preventing potential damage to your newly installed shingles. This forward-thinking approach aligns with the Canadian tradition of proactive home maintenance.