Summary
– Organize your painting work: managing your time well
– Organize your painting work: prepare the necessary material
– Organizing your painting work: preparing the site
Before you start, it is essential to organize your painting work, both in terms of equipment and place, for great results. This post summarizes the different steps to follow.
Organize your painting work: manage your time well.
The importance of planning
Establish a schedule according to the order of work:
– purchase of the material a few days before the construction site;
– preparation of the room;
– preparation of the support, taking into account the drying time;
– paint application over one or two days, depending on the surface to be painted and the number of coats to be applied.
Choose the right time to paint.
Both indoors and outdoors, the ambient temperature is essential. Indoors, it should be between 10°C, so that the paint does not dry too slowly, and 25°C, so that on the contrary, it does not dry too quickly, which would not leave you time to make clean connections. Avoid draughts, which would also cause the paint to dry too soon.
Outdoors, if the humidity level is above 80%, the paint film will not form properly. It is better not to paint a surface on which the sun hits directly, and of course, avoid windy weather.
Organize your painting work: prepare the necessary material.
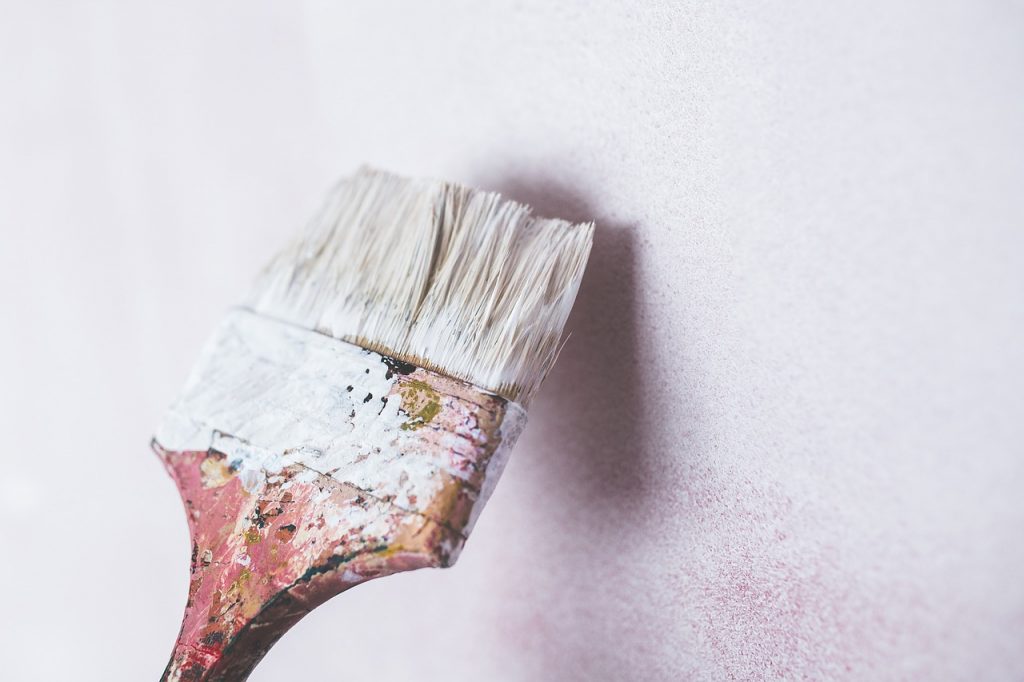
Once the paint has been chosen in sufficient quantity, the material necessary to carry out the work remains to be prepared. Choose brushes or rollers of good quality and adapted to the paint and the surface to be painted (flat brush for contours, for example).
Also include a paint pan and grid, a paint mixer, masking tape, goggles, protective clothing, and a mask. A protective tarp may be added, as well as a stepladder or scaffolding if you need to paint high up.
Depending on the surface’s condition to be painted, you may also need a fine-grained abrasive or a soft brush, smoothing compound and repair putty, a spatula, and an undercoat.
Good to know: if you only need equipment for this one job, you don’t need to buy it: scaffolding, sander, wallpaper stripper, etc., can be rented for a fixed period.
To clean
Don’t forget what you need to clean at the end of the day: soapy water is enough for acrylic paint, but a white spirit or a specific solvent is essential to clean brushes that have been used to apply glycerol paint. Also, bring some rag and a sponge.
Tip: instead of cleaning your brush between two coats of paint, wrap it in cling film to prevent it from drying out.
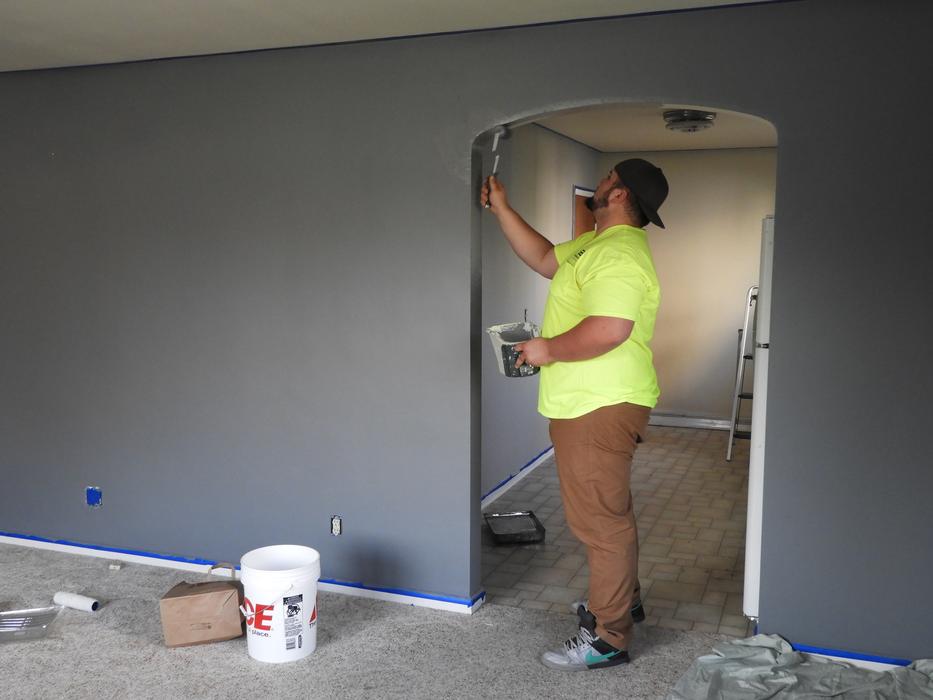
Organizing your painting work: preparing the job site

1. Take out or group together in the center of the room (before covering them with a tarp) everything that could be damaged: furniture, carpets, paintings, mirrors, shelves, curtains, rods, light fixtures.
2. Turn off the electricity, take apart the plugs and switches, and then insulate the wires with PVC electrical tape.
3. Protect baseboards, moldings, or borders that you don’t want to paint with masking tape.
4. Cover the remaining floor and furniture with a tarp secured with adhesive.
Now, you should be ready to start painting your room. For professional help, please go to the Paint Central Florida website. They offer residential and commercial painting services in Melbourne, Florida.
Hope the above helps you out. We would like to hear from you, so please, remember to share your experience in the comment section below.