
Don’t we all love the durability, easy maintenance and cost-efficiency of vinyl sliding? But, isn’t it a real headache when you have to deal with holes, dents and cracks?
Not if you follow my instructions!
When You Have to Make Minor Corrections
- I strongly suggest using caulk to fill up any flaws. Exterior caulk designed for vinyl can be used to fix nail holes and small cracks. Some hardware stores and home improvement centers may have a selection of colors to match the hue of your home’s siding.
If you can’t obtain colored caulk, try a paintable vinyl caulk instead. After the caulk has dried, paint it to match the vinyl siding.
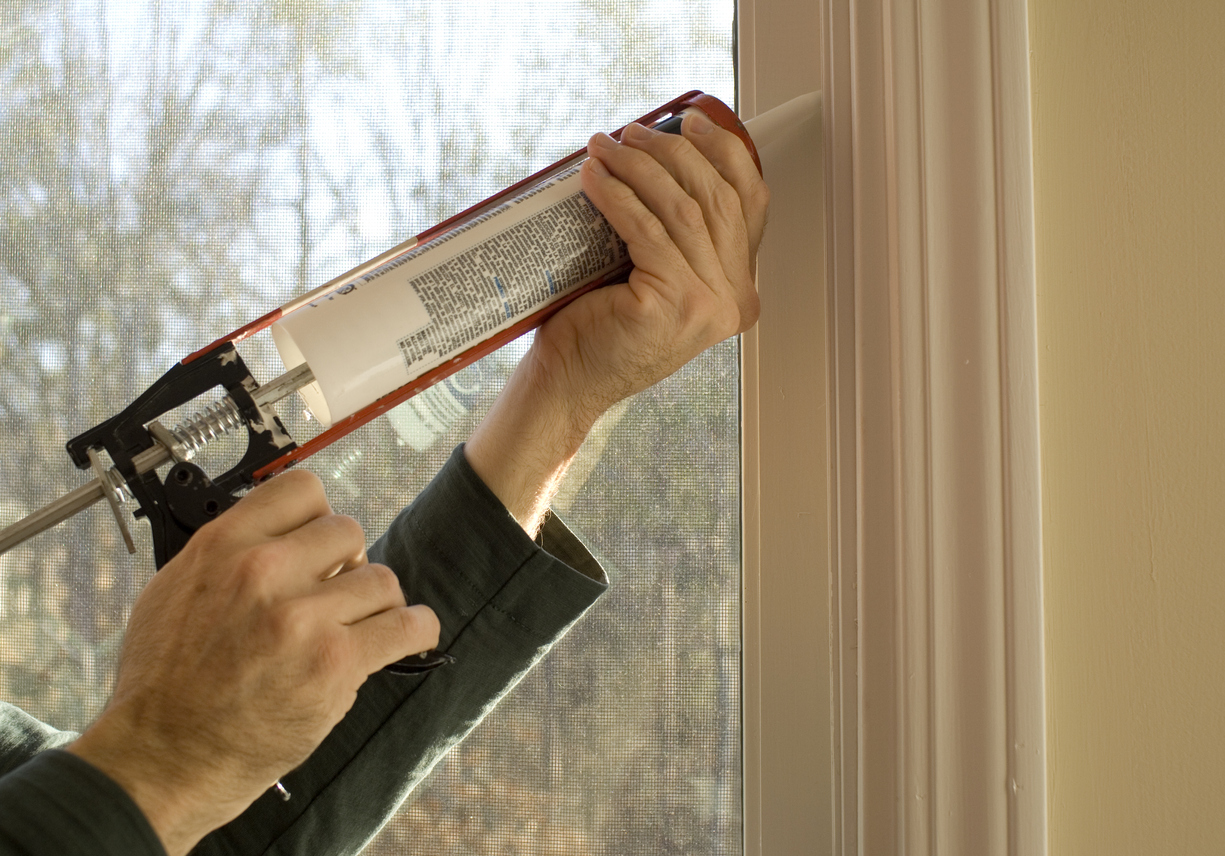
- Insert the caulk into the caulk gun and remove the tip. Insert the tip of the filling tool into the hole or fracture. Pull the caulk gun trigger until the hole is filled and the caulk emerges slightly from the spot. You can wipe the caulk with a moist towel to ensure it is flat on the surface of the vinyl. And, make an effort to get the tip of your caulk gun as deep into the hole as feasible. Caulk the whole hole and the surrounding behind-the-panel region.
- After it has cured, use a razor blade to cut away any leftover caulk. Allow several days (or as long as the guidelines specify) for the caulk to harden and cure. When it’s solid, use a razor blade or utility knife to cut away extra caulk so the caulk creates a smooth surface with the vinyl.
- If desired, use uncolored caulk. Unpainted caulk can draw attention to itself and distract from the overall aesthetic of your vinyl siding. Bring a small piece of clean siding to the hardware shop and ask them to match the siding with exterior paint in an eggshell finish. Clean the entire area after the caulk has fully hardened. Then, using a little brush, apply the matching paint on the uncolored caulk. Using a dry brush, feather out the paint in long strokes to match the rest of the siding.
- Fresh coats of paint usually stand out when compared to older ones. Reduce the visibility of this discrepancy by painting the entire mended side or section.
When You Have a Small Dent, Crack, or Hole

- Cut a 2 in (5.1 cm) broad border around the damaged area. Create straight and even guidelines first. To cut around the damage, use a utility knife with a replacement blade. The cut should reach all the way to the panel’s bottom. If you can’t leave 2 inches (5.1 cm) around the damaged section, leave as much as you can.
- Using a zip tool, remove the damaged portion. A siding removal tool is another name for a zip tool. Hook the zip tool below the panel’s lip. To unzip the damaged portion, pull downward slightly and move the tool. When the portion is unzipped, it should come free.
- Zip tools are reasonably priced and are available at most hardware stores and home centers.
If your panel was broken around the nail strip that held it together, you’ll need to remove the nails before the portion comes loose.
- Make a vinyl patch that is 4 inches (10 cm) broader than the part that was removed. Place the removed portion against a scrap piece of vinyl siding. 2 inches (5.1 cm) out from either side of the removed portion, measure and mark a point. Using straight tin snips, cut the extra piece of vinyl along the marks.
Any overhanging vinyl should be cut off. The new patch should be the same height as the deleted piece, but 2 inches (5.1 cm) broader on both sides.
- Measure and mark the new panel’s snap flange. Hold the bottom snap flange of the new panel up to the deleted section. Mark the new panel’s flange where it meets the width of the deleted segment.
The curving lip at the bottom of the replacement panel is the snap flange. This element will be connected to the panel beneath the replacement later using your zip tool.
- Excess flange from the replacement panel should be removed. Remove the flange from the new panel from the flange markings outward with a utility knife, tin snips, or shears. The new panel will only zip to the panel beneath where the flange is still present.
- Apply caulk to the new panel’s outline. Place the new panel over the hole. With a pencil, draw an outline around the panel. Apply a perimeter of vinyl caulk about 1 inch (2.5 cm) inwards from this outline.
- Snap the patch into place using your fingers. Pull the patch upwards and press it against the caulk to secure the patch’s lip to the panel below it. Duct tape the repair for approximately a day to enable the caulk to solidify and cure. The duct tape may be removed once the caulk has dried.