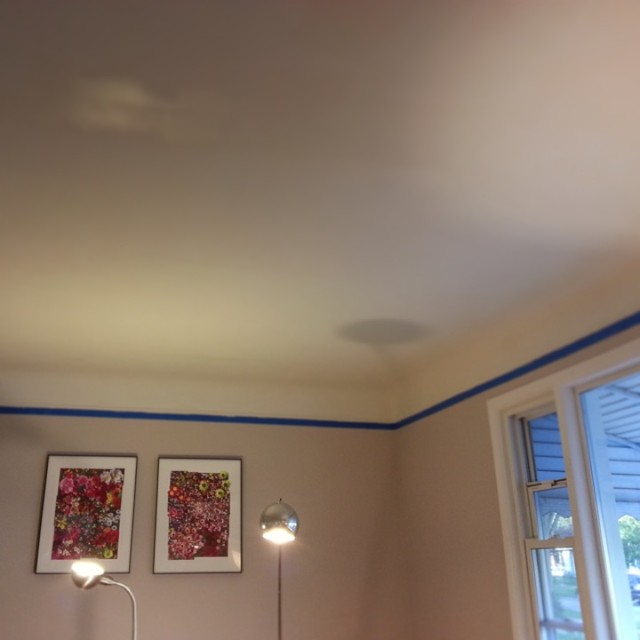
Among the most aesthetic finishes of a ceiling, you can choose between a coating or a plaster. Which one do you prefer? Let’s see below before making your choice…
Roughcast ceiling: give relief to your interior!
Choosing a plaster for your ceiling is not common; smooth finish surfaces are often preferred.
However, these products of interior plaster are very present on the market:
– each manufacturer competes with creativity, and you can find plaster with a rustic look as well as brushed,
– These plasters contain flexible and plasticised resins that give them a relief effect depending on the thickness applied.
This type of finish is also practical because it does not require an extremely flat surface. If the plaster is a little thick, it can camouflage a damaged ceiling or other irregularities.
You can apply renderings on any support: concrete, cement, plasterboard, wood but also fiberboard, old plaster…
Good to know: Most interior renderings can be removed, so removal is not too difficult in theory.
Preparation of the support for ceiling rendering
Before installation, it is necessary to prepare the ceiling because the plaster adhesion would be compromised as it is not intended to cover the damaged parts of the roof.
How to proceed?
– Remove paint chips and wallpaper remains by scraping with a spatula,
– Fill the cracks in the ceiling,
– Apply a smoothing compound if the ceiling surface is not flat,
– Then sand lightly.
If your ceiling is made of plasterboard or wood, you must apply an insulating primer to prevent the substrate from absorbing the water contained in the plaster.
To optimise the adhesion of the plaster, apply an undercoat.
Important: A plaster with relief will retain dust, be careful to take this into account.
Ceiling render (a little acrobatic application…)
Some plasters are applied with a roller; read the manufacturer’s instructions carefully.
Spread the plaster with a trowel or a trowel, about 1.5 cm thick on a 1 m² area.
Then, depending on the desired effect, use the trowel, a coating knife, a spatula, a long-haired roller, or a plaster roller (a relief effect).
Try to reproduce the same gestures on the entire surface of the ceiling.
Good to know: Avoid laying in a humid and warm atmosphere, as this does not help the plaster adhere.
Ceiling coating: a practical coating
Coatings have been top-rated products for several years, and their popularity continues to grow because:
– they do not require a perfectly flat surface and can cover up a slightly damaged ceiling,
– most coatings can be applied on traditional supports, concrete, plasterboard, wood..,
– Coatings have a traditional and decorative aspect that allows you to personalise your interior easily.
Different types of coating for the ceiling
It is essential to choose the coating that will meet your expectations without exceeding your budget.
A coating consists of a binder (lime, plaster, earth or cement) in which mineral fillers (marble powder, sand, quartz, aggregates) or others (hemp …) are added.
Here are the leading coatings that are currently available in DIY stores.
Ceiling coating: which one to choose?
Lime coating
– A very soft touch, a very decorative aspect.
– Resistant, fungicidal, bactericidal, easy to maintain, breathable (avoids condensation by evacuating humidity to the outside).
Two types of lime coating :
– hydraulic lime coating: does not fear humid environments,
– air lime coating (or slaked lime): to be avoided in humid environments.
Clay or earth coating
You can use it on all types of supports, even rough ones.
Plaster coating
– Very decorative.
– The support must not be damp.
Cement coating
Very resistant.
Before applying the plaster: preparation of the ceiling is essential.
Before applying the coating, it is necessary to prepare the ceiling: the layer is not intended to cover damaged parts of the roof as you would be compromising its good adhesion.
Here are the steps to follow:
– remove all paint chips and loose ceiling material by scraping with a spatula,
– Remove old wallpaper,
– Scratch with sandpaper your ceiling if it is covered with glossy or satin paint,
– fill the cracks in the ceiling,
– apply a smoothing compound if the ceiling surface is not flat,
– sand lightly afterwards.
To optimise the adhesion of the coating, apply a bonding undercoat: this will also allow you to use less coating (economical since the undercoat is by far the less expensive of the two).
Ceiling coating: application techniques
Often, each product is accompanied by the manufacturer’s advice on application techniques.
But you should know that there are many ways of application, their choice depends on the desired effect:
– the float: rustic effect,
– the acrylic roller: smooth effect,
– the plastering roller: granite effect,
– the hand even for some cob.
Good to know: For lime-based coatings, it is recommended to apply two layers, sometimes even three!
Now, if you’re looking for a pro to make your ceiling look good, The Render Man specialises in rendering and texture coating services in VIC.