How to Apply an Undercoat of Paint
Summary
Focus on Paint Undercoating
Step 1: Prepare to apply paint underlayment
Step 2: Apply Your Paint Undercoat
In most painting jobs, applying an undercoat is necessary for good paint adhesion and durability of the finish. The undercoat is used before the finishing paint to unify the colored aspect of the background (general whitening of the surface to be painted), and guarantees paint absorption.
Here is a detailed explanation of why and how to apply an undercoat.
Note: the undercoat is a primer (or primer paint), adhesion primer, adhesion primer, or undercoat adhesion.
Focus on the undercoat of paint
Applying a paint undercoat does not present any technical difficulty in itself. Still, it is good to understand this essential operation’s different reasons and functions for a good paint job. This helps determine when necessary and what type of primer to use.
Good to know: in the case of a recently painted surface, you can repaint without applying an undercoat if you use paint of the same composition (acrylic, glycerol, or other).
When to apply an undercoat of paint?
Apply an undercoat on:
– old yellowed and dirty paint;
– colored backgrounds before repainting in another tone;
– stained backgrounds;
– unstable backgrounds (peeling paint, crumbling plaster) before coating;
– non-homogeneous substrates (half painted, half raw, or plastered, for example);
– backgrounds after coating, before painting;
– before applying certain paints or unique materials (such as lime or concrete).
What type of underlayment should I use?
Here are the different types of undercoats:
Acrylic or glycerin: use one or the other as an undercoat depending on the finish paint you choose (acrylic if you are painting with acrylic, glycerin if you are painting with glycerin).
Glycerol: to stabilize very degraded backgrounds before applying the coating or on stained backgrounds (stains, indelible stains), prefer a glycerol primer with better blocking and covering power.
You can treat several problems with specific undercoats: mold, waterproofing, and humidity.
Finally, you can have exceptional support. Depending on the surfaces to be covered (wood, metal, PVC, tiles) or the finishing materials chosen (lime, resin, effect paints), you absolutely must use a particular undercoat adapted to each of these materials (which you can find in the same distribution stores).
Tip: for a strong finish, have your undercoat tinted in a similar tone. This will allow you to cover the background in two coats better when finishing.
1. Prepare the application of the undercoat paint
The preparation of your walls and ceilings is complete. To perfect your work and avoid unpleasant surprises, such as having your paint peel after two years or less, apply your undercoat following these recommendations:
– Start by protecting your surfaces now with tarps and masking tape. This preparation will remain for the duration of the painting work, even if it needs to be reinforced and improved.
– Wait until your coatings or other preparations are completely dry.
– After sanding, make sure the surfaces to be painted are well dusted.
– Use a roller with 10 to 12 mm bristles.
– Apply your undercoat in one coat.
– Wait until the next day to apply the finishing paint.
Paint peeling is most often observed on more sensitive surfaces such as ceilings when there are floors above or in wet rooms. Therefore, it is essential to give all the necessary care to the undercoat for these types of surfaces, both in the choice of product and in its proper application.
Note: If you have to print a substrate full of surface defects and hazardous materials, use a large round brush. You will be able to go more quickly in the hollows and thus better cover the whole surface. You will also avoid further substrate delamination in certain areas with the roller!
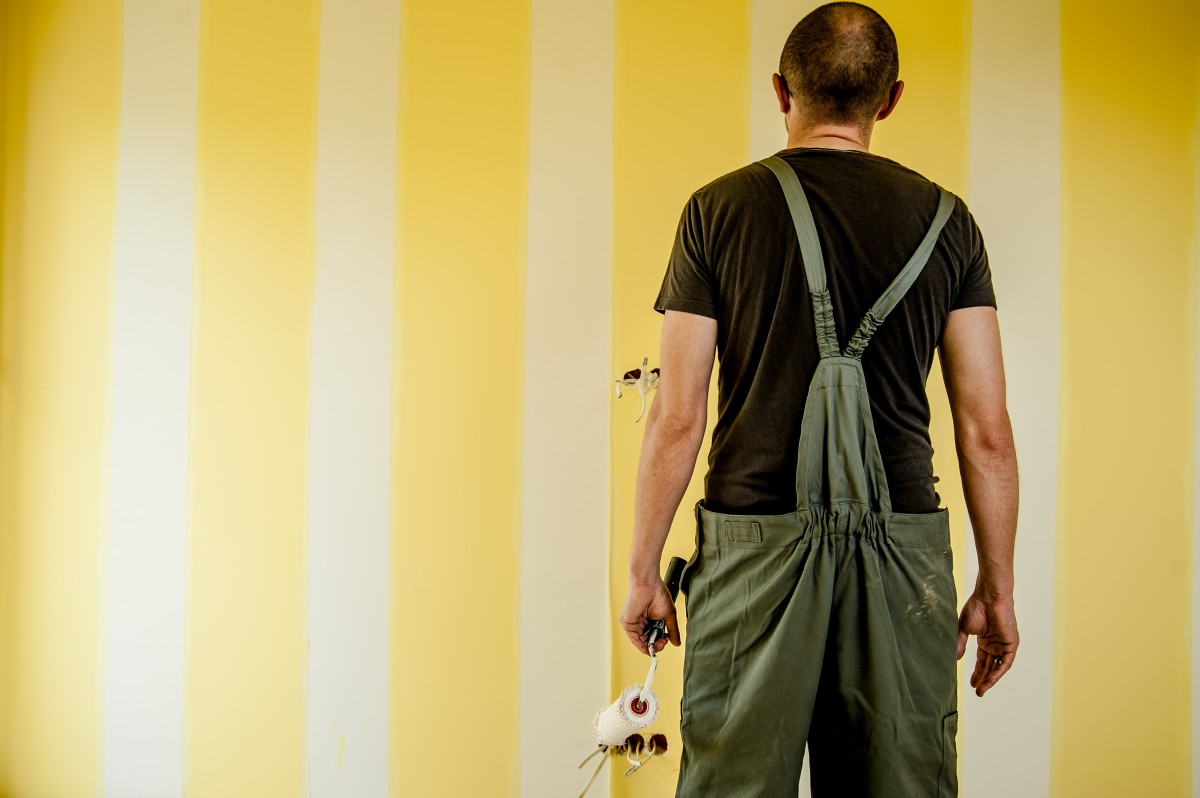
2. Apply your undercoat
While not intended to be seen and not very covering, you should carefully apply the undercoat to make the paint job easier, faster, and more enjoyable. Please don’t do a simple daub, else you’ll regret it! Spending some time on it without being too fussy (no need to opaque the background).
– Use a brush with a rechamber for corners and reliefs and your 10mm roller (bristle length) on flat surfaces.
– Try to cover the entire surface without missing any spots and avoid visible traces, especially from the brush, in the corners, or on the woodwork (which you should always paint in the direction of the wood).
– If necessary, cross the paint (horizontal then vertical passage) to obtain a more homogeneous rendering, without traces of roller and well-filled (this especially on dark or non-homogeneous support).
It is a question of having a relatively uniform result and covering your surface’s totality. You will then have the pleasure of painting from the first finishing coat!
Below you will find a checklist of the equipment needed to accomplish this task.
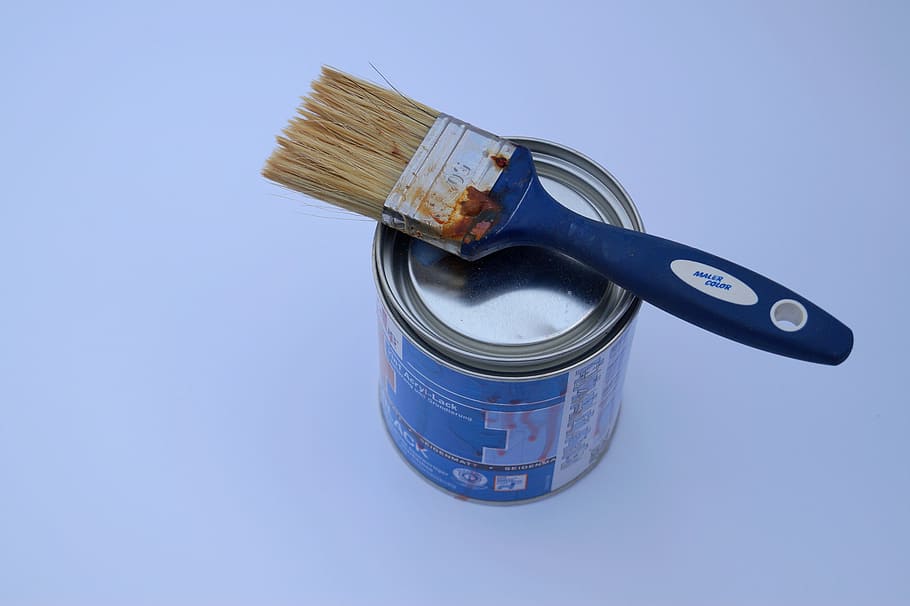
Equipment needed to apply an undercoat of paint.
- Paint tray
- Tarp
- Ramp brush
- Thin protective gloves
- Roller
- Masking tape
- Universal undercoat
Hope this post will help you apply an undercoat of paint. Remember to share your experience in the comments below.