
4 Steps to Install Your PVC Windows
Summary
– Step 1: Prepare the frame and window
– Step 2: Mark your drilling marks
– Step 3: Attach the frame to the wall
– Step 4: Finish sealing your PVC window
The walls of your home are finally up, and it’s time to install your windows.
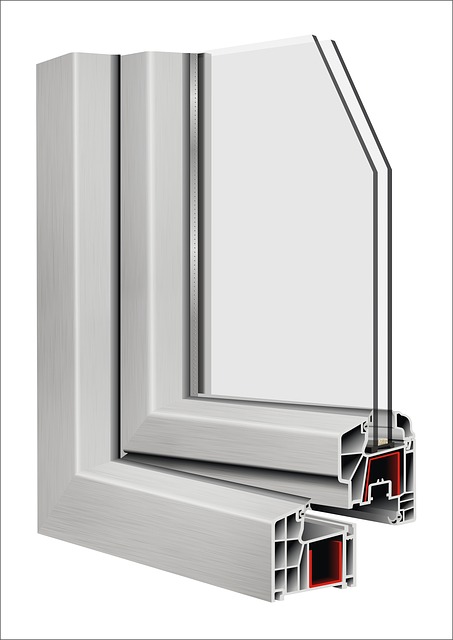
PVC windows with a surface-mounted installation are preferred in new constructions because this solution offers good sound and thermal insulation. In addition, PVC windows have the advantage of an attractive quality/price ratio, and their maintenance is effortless.
Follow this step-by-step guide to install PVC windows in new construction successfully.
The surface-mounted installation is done on walls that are still raw before insulating and installing the plasterboard aligned flush with the window.
1. Prepare the frame and the window
Prepare the panel
– Check with a spirit level that the window frame is straight and level.
Good to know: if necessary, make a pass of plaster to rectify the picture.
– Apply a strip of expanding foam sealant around the entire perimeter of the panel, where the frame will contact the panel.
Prepare the frame
– Remove the window sashes according to the manufacturer’s instructions.
– Check that the frame fits appropriately into the transom and then place it on the floor.
– Install the mounting brackets supplied with your window on the frame, as indicated in the window’s instructions.
2. Mark your drilling marks
– Present the frame in front of the panel.
– Check its position with a spirit level, horizontally and vertically.
Good to know: if necessary, make the required adjustments by placing thin shims.
With a marker, trace the places to be drilled for the mounting brackets on the wall.
– Place the frame on the floor.
Good to know: it is better to have two people for this step. The first one holds the window in place, and the second one adjusts the positioning and marks the marks.
3. Attach the frame to the wall
Important: to attach the frame to the wall, use plugs and screws adapted to the nature of your wall.
– Drill the wall on the marks made in the previous step.
– Drive the dowels into the drilled holes.
– Place the frame in front of the wall, matching the holes of the mounting brackets and the plugs.
– Screw the frame loosely into place.
– Check for squareness, plumbness and level.
Good to know: add shims to make any necessary adjustments.
– Finish screwing and remove the shims.
4. Finish sealing your PVC window
Now seal the window to avoid any risk of infiltration.
– Spray a bead of silicone at the junction of the wall and the frame, all around, first on the inside of the house and then on the outside.
– On the outside, install the water outlet supplied with the window at the bottom, and make a silicone seal between the water outlet and the outside wall.
– Also, apply a bead of silicone between the frame and the water return.
The water deflector is a PVC piece that fits on the bottom of the frame on the outside. It protects against water infiltration.
– Finally, reassemble the sashes according to the manufacturer’s instructions.
The installation of your PVC window is finished!
Materials needed to install a PVC window successfully.
– Plastic bevelled wedges;
– Sealant cartridge;
– Sealant;
– Marker;
– Tape measure;
– Spirit level;
– Percussion drill;
– Sealant gun;
– Screws and dowels;
– Screw gun