7 Steps for Tiling Over Wall Tiles
If your wall is already tiled, you can lay new tile over the old.
Before installing the new tiles, probe the old tiles for broken and loose ones, fill in any holes and sand the tiles to glaze them.
Let’s begin.
1. Probe the wall tile
Start by probing the wall tiles.
– Tap the tiles with a rubber mallet. If they move, they are not well bonded; they need to be removed and re-glued.
– Locate broken tiles; they should be removed.
– Locate holes and cracks that need to be filled with thin-set mortar.
2. Remove defective tiles
With the tile scraper, clear the joints around broken or damaged tiles.
– Break damaged tiles: place a flat chisel in the center of the tiles and tap with the hammer until the tile breaks.
– Then, break off the pieces with the flat chisel.
Wear safety glasses to protect your eyes from any splinters.
3. Prepare the adhesive mortar
Prepare the adhesive mortar that will be used to glue the loose tiles back together and fill in the gaps and holes. The mortar glue is sold ready to use or as a powder to be diluted with water.
Prepare the powdered thin-set mortar in a trough or bucket:
– Add the powdered thin-set mortar to water in the proportions indicated on the package.
– Mix gently with a stick without whipping the mixture.
– You should obtain a soft, homogeneous paste, liquid enough to work with.
4. Glue the loose tiles back together
4.1 Remove loose tiles
Remove the joints around the loose tiles by scraping them with the tile scraper.
Using a flat chisel, carefully remove loose tiles and scrape any glue residue from the wall.
Clean the area with a brush and wipe off any remaining dust with a damp sponge.
4.2 Glue the loose tiles back together
Glue the back of the loose tiles:
– Place the glue in the center of the tile with the spatula.
– Spread the glue leaving a few millimeters of margin at the edges.
– Place the tile and gently press it down to level with the other tiles.
– Clean any traces of mortar glue from the tile with a damp sponge and rinse frequently.
– Let dry for the time indicated on the package.
Tip: To prevent the tile from falling out, tape it down until the adhesive mortar has dried.
5. Fill holes with thin-set mortar
Fill the gaps and holes with thin-set mortar.
– Using a cat’s tongue trowel, fill the spaces and holes with thin-set mortar.
– Smooth out the thin-set mortar.
– Clean up any excess on the tiles with a damp sponge that is rinsed frequently.
– Let dry for the time indicated on the package.
6. Sand the tiles
Once the thin-set mortar has dried, sand the tiles to glaze them. This will help the new tiles to adhere better.
– Equip the electric sander with medium-grit sandpaper (120).
– Wear safety glasses and a mask.
– Sand the dried thin-set mortar to smooth it out.
– Gently sand the wall tile. Do not leave the sander running in one spot for too long, as this may cause the tile to become hollow.
7. Scrape out the tile joints
In a bucket, mix equal amounts of hot water and bleach.
– Dip a sponge into the mixture.
– Spread the mixture over the joints and leave for about 15 minutes.
– Scrub the joints with an old toothbrush or a stiff brush.
– Rinse with clean water.
8. Wash the wall
Wash the wall to remove dust and grease marks.
– Mix alkaline detergent with water.
– Dip a brush into the mixture and scrub the wall.
– Leave it on for about 10 minutes.
– Rinse with clean water.
Turn off the power, remove the outlet and switch boxes and tighten the dominoes.
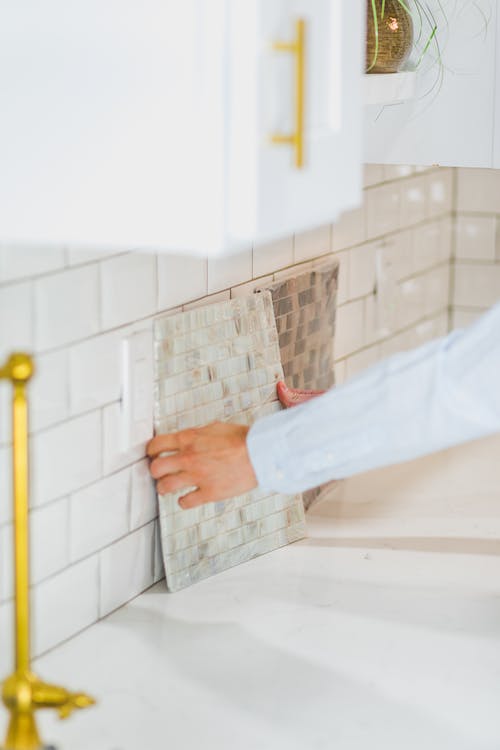
9. Install your wall tiles
Once the wall tiles are ready:
– Do the layout (calculate the number of tiles needed and plan the installation).
– Then install the new wall tile.
Note: The joints of the new tiles should not coincide with those of the old tiles. Be careful not to overlap them when laying out the layout.
Materials for tiling over wall tiles
Rubber mallet
Tile scraper
Flat chisel
Glue mortar
Cat’s tongue trowel
Hammer
Safety glasses
Mason’s bucket
Notched spatula
Sanding paper
Sander