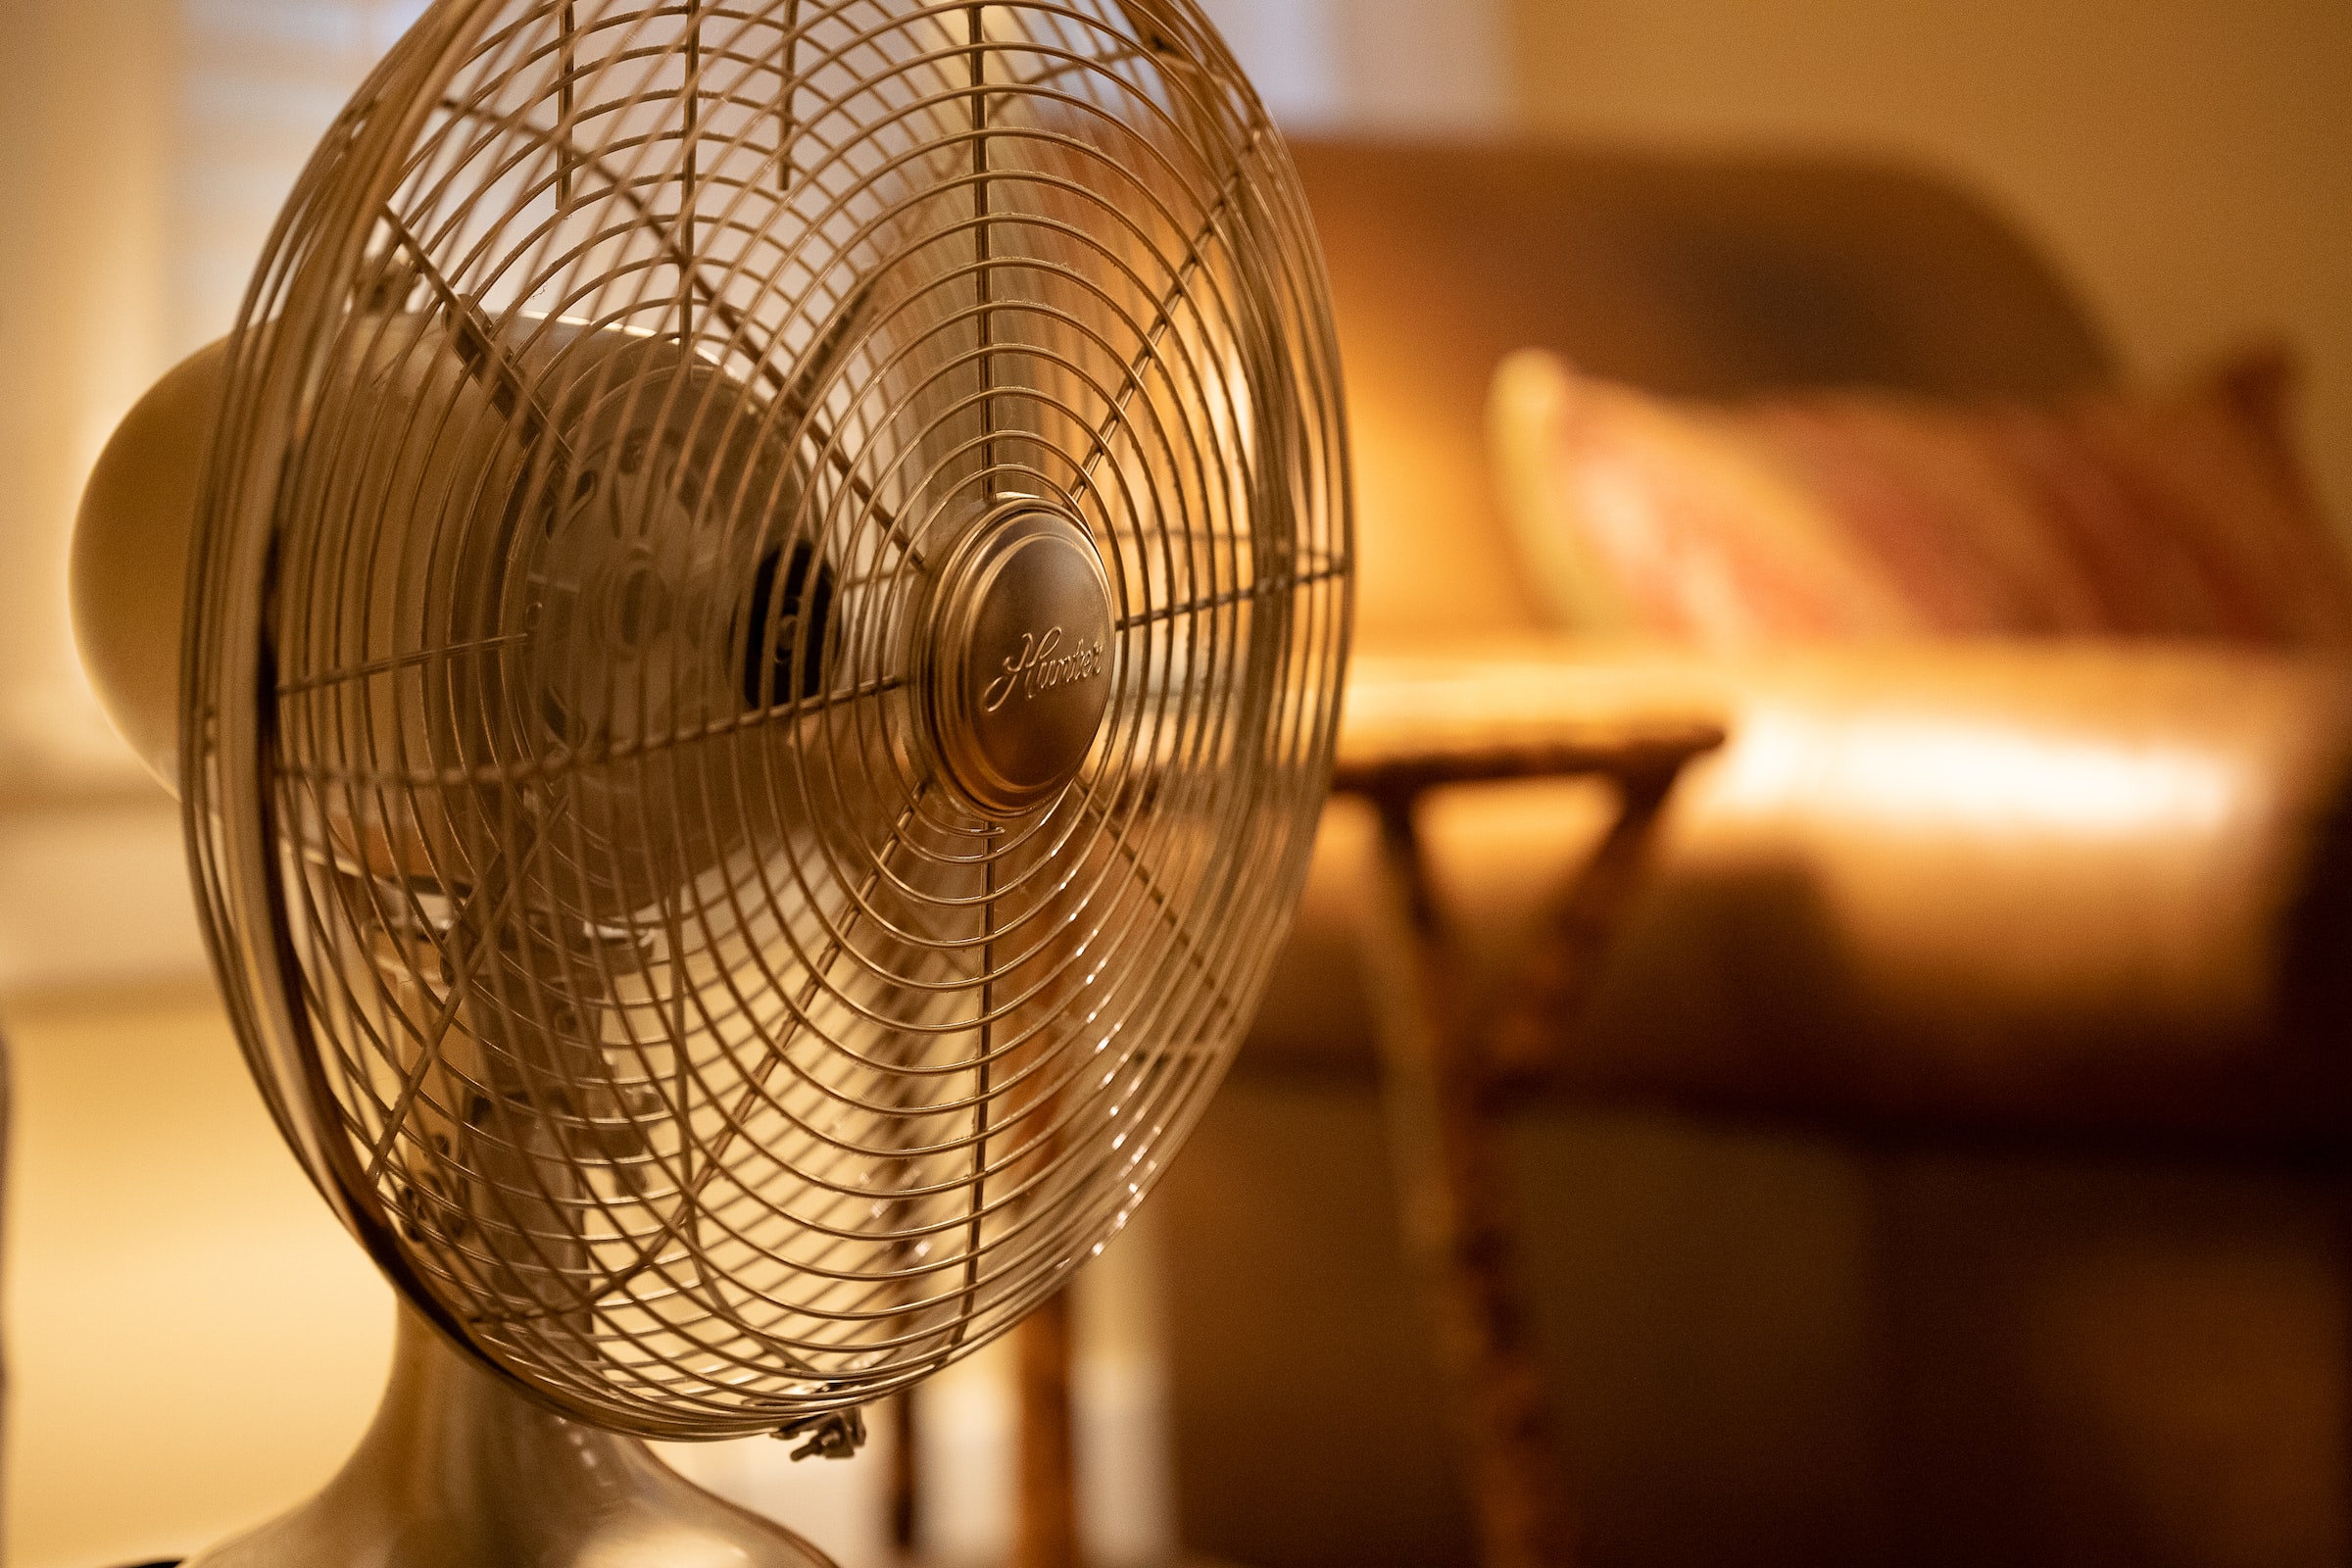
Even if its use is often controversial, and we strongly advise against sleeping nearby, the fan is a great help during the heat wave. Placed in the right place, configured properly, and well maintained: it cools as well in summer as an air conditioner and for half the cost.
But do you know how to properly maintain it? In theory, the fan is only used for a few weeks a year to drive away the heat of the summer months. Which means that stored in a corner for a year, it collects dust and can even harbor mold. Find out how to clean it properly before and after use to avoid getting sick.
1. How often should you clean your fan?
On or off, stored in a closet, a fan gets dirty very quickly. It accumulates dust on its blades and grille. By turning, it also brews all kinds of particles in the air (pollen, humidity, smoke) but also small flying animals. However, we agree no one wants to receive all this in the face!
Therefore, it is necessary to dust and clean it regularly, at least once every ten days, especially during the summer season when it is used very often. This maintenance not only cleans up the device but also keeps it in good condition for a long time. Because an accumulation of dust and dirt can deteriorate the rotor and slow down the fan or even cause it to break down
2. The steps to clean a fan
Before polishing your fan to make it like new, certain steps must be carried out:
- Unplug your fan or turn off the power to clean it without risking electrocution;
- Disassemble your device so that you don’t forget any nook when washing
- Clean your fan using a soft cloth and soapy water
- Thoroughly wipe down your fan before turning it back on.
3. Vacuum your fan

If you are the proud owner of a fan that has a grille: the vacuum cleaner is your best ally. Vacuum with a round end the ventilation grille, spaces, and all hard-to-reach places that are likely to be full of dust. This is still the quickest and most effective way to get rid of sheep and other hidden and inaccessible particles that could attack your sinuses if you turn on the fan as it is. Repeat this operation regularly to limit the build-up of dust in the various slots of the device.
4. The microfiber cloth
If you haven’t made the switch to a microfiber cloth yet, maybe this is a sign that it’s time to take the plunge! Once you’ve vacuumed your fan from top to bottom, dust residue may continue to lurk where the eye can’t see it. With your cloth, clean your device additionally. And to reach hidden corners, put it on the end of a kitchen or household utensil (like a broomstick, for example) to be able to clean as far as possible. Repeat the operation as many times as necessary.
5. Wash the blades with soap

If you own a fan with plastic or wooden blades, nothing beats a good wash. Remove the protective grille if there is one, and stand on a chair if the fan is on the ceiling. Start by attacking the dust with a microfiber cloth, then start washing. With a basin filled with hot soapy water and a sponge, wash the blades gently.
In this way, you remove dust residue and any dead animals and mold that may be lodged there. Choose a soap for its natural properties that will clean your device without risking damaging it. Remember to rinse everything well and dry it with a clean cloth at the end.
Sound off in the comments section below, and tell us what you want to read next and if you want to read more about cleaning your fan.