How to Install Joists Before Laying a Floor
Contents
– Step 1: Plan the installation of the joists
– Step 2: Make the floor markings
– Step 3: Place the joists
– Step 4: Case 1: Fasten the joists by grouting
– Step 4: Case 2: Peg the joists
– Step 5: Lay the floor
The first step of the classic parquet installation is installing the joists on the ground floor on a bare floor or the first floor on a slab.
The location of the joists is first traced to the floor with a powder line. Then, the joists are sealed or pegged to the floor.
Here are the materials and steps for installing joists on a cement or concrete floor.
1. Plan the installation of the joists
First, make sure the floor is clean, level and dry. If it is not, proceed with a levelling.
Using a spirit level, determine the highest point of the floor. This point will be used as a reference for installing the joists.
Tip: You can also use a balloon to see if it rolls. This will show you the direction of the slope.
Lay the joists according to your chosen direction to lay the floor. As a general rule, the floorboards are installed perpendicular to the room’s main source of natural light.
The joists should be perpendicular to the direction of the floorboards. They should be about 40 cm apart, and the first one should be about 2 cm from the wall.
2. Make the lines on the floor
With a powdered chalk line, trace the future location of the joists, starting from a wall (and therefore 2 cm from it).
The powder line quickly makes precise and perfectly straight lines on the floor. It is a box containing a string filled with blue powder.
It takes two people to use a chalk line:
– Mark markers on the ground that will make it easier to draw the lines.
– Unroll the line and position it along the marks you have made on the ground.
– Hold the line firmly on both sides.
– Pull the line up to pinch it.
– Release it sharply, so it deposits a powder line on the ground.
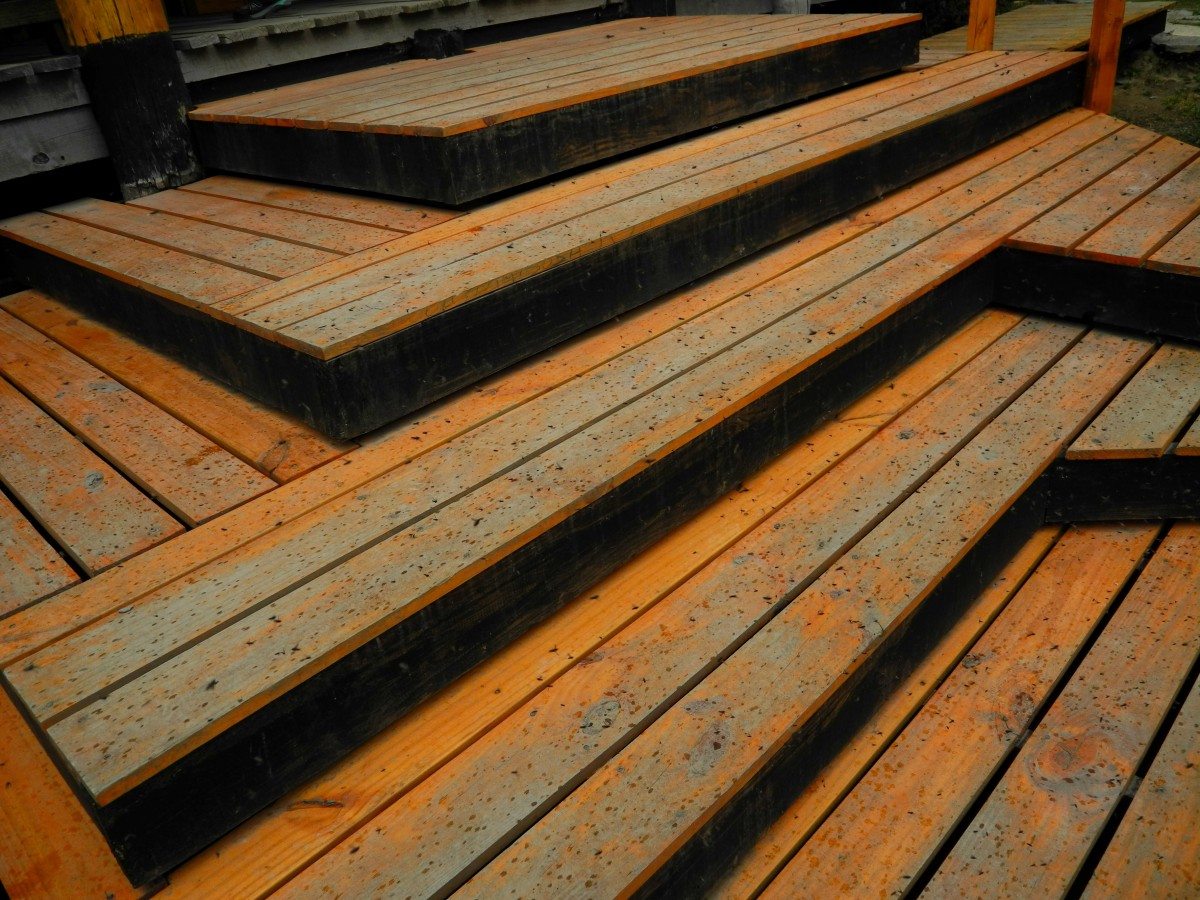
3. Place the joists
Once you’ve planned the installation of the joists, install and secure them.
If you need to run water or power lines under your floor, cut out the joists’ inside before installing them.
Before attaching the joists, check that they are horizontal to the floor with the ruler. If not, place and screw shims under the joists.
Place the first joist on the layout at the highest point of the floor (determined in the previous step). Fasten it and then proceed in the same way for all the joists.
You can choose between two types of fastening: you can cement the joists or peg them.
4. Case 1: fix the joists by grouting
To seal a joist, proceed as follows:
– Using a hammer, drive nails at an angle every 25 cm on the joists, alternating on one side and the other of each joist.
– Then apply the mortar or plaster: it must be in contact with the joist, the nails, and the floor.
– Allow drying.
– Seal all the joists at each of their nail.
4. Case 2: Fix the joists by dowelling
– Every 25 to 30 cm, place a wedge under the joists. This is where you will peg the joists.
– While holding the joist firmly, drill the joist and the floor with a percussion drill.
– Next, insert a hammer dowel (80 or 100 mm long) and its screw nail into the hole you drilled earlier.
– With a hammer, hit the nail to secure the joist to the floor.
– Do the same for each joist.
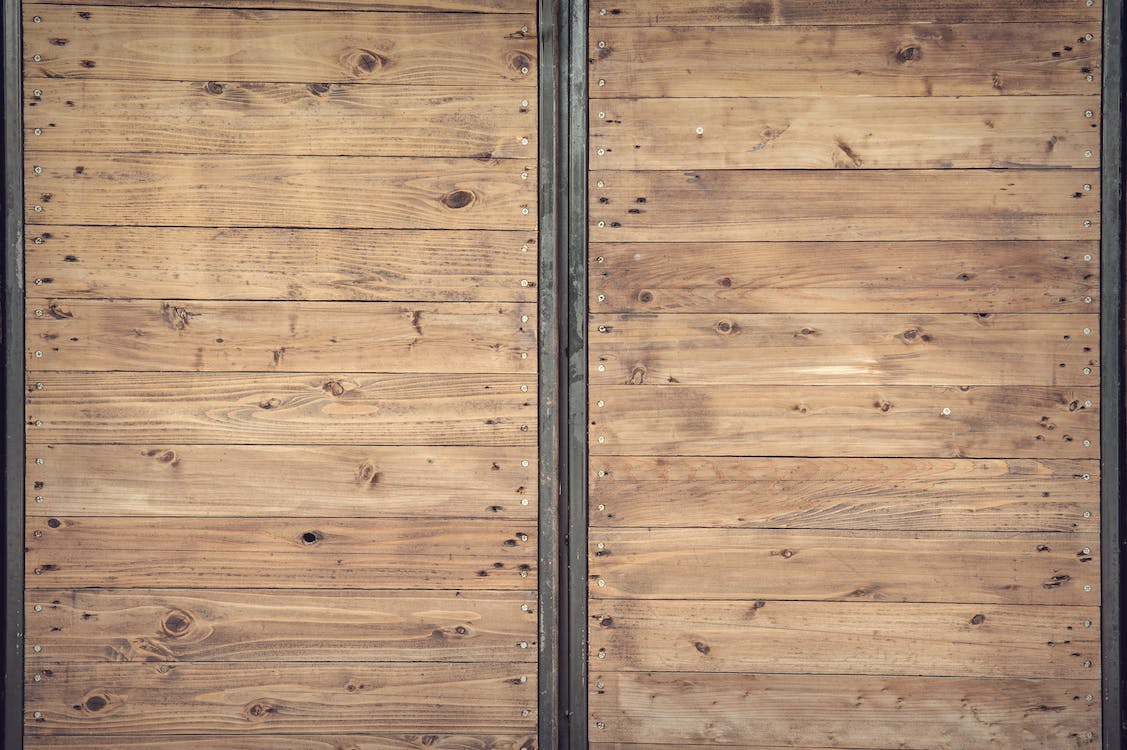
5. Install the floor
Once you have finished installing the joists, you can install the floor by nailing it to the joists.
Materials for installing joists
Spirit level
Powder line
Hammer
Mortar
Percussion drill
Flat head nails
Hammer dowel