7 Steps for Installing False Ceiling Panels
Contents
Focus on false ceilings
Step 1: Take the measurements
Step 2: Mark out the location of the false ceiling
Step 3: Attach the hangers
Step 4: Mount the rails
Step 5: Lay the first row of panels
Step 6: Lay the next rows
Step 7: Finish the ceiling
The installation of false ceiling panels requires some technical skills. First of all, you need to take careful measurements, assemble metal fittings and then fix the panels, but in the end, there is nothing that an experienced DIYer can’t do.
Here is a step-by-step guide to installing false ceiling panels.
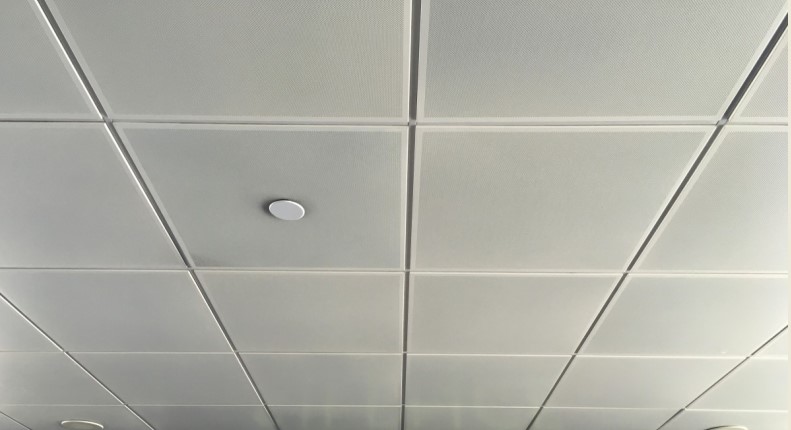
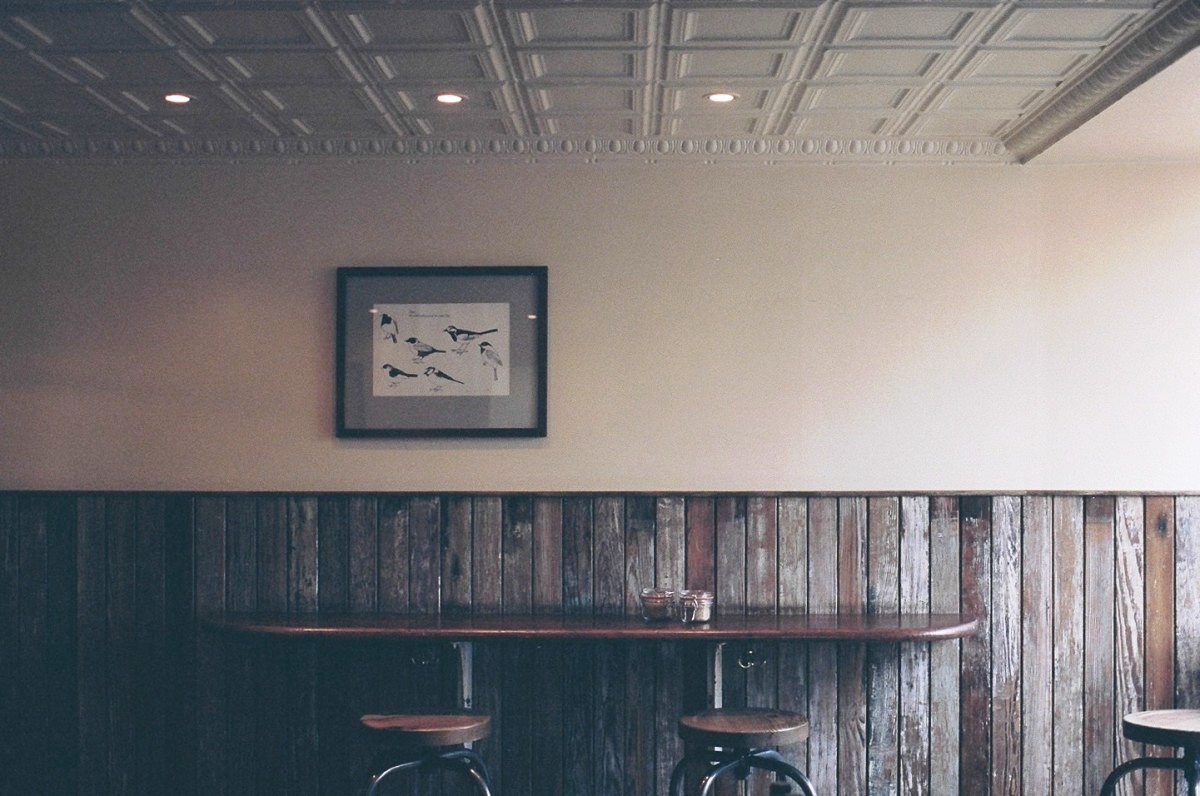
Focus on false ceilings
False ceilings can be used to hide a ceiling in poor condition, hide electrical outlets, integrate spotlights and accommodate insulation.
One solution is to attach wood panelling to a metal structure fixed to the ceiling. There are clips for attaching wood panelling directly to metal framing.
In this case, the framework consists of:
-
hangers screwed to the ceiling (or to joists), spaced at a maximum of 1.20 m apart, adjustable in height;
-
horizontal rails, clipped to the hangers, 3 m long, spaced at 50 cm intervals.
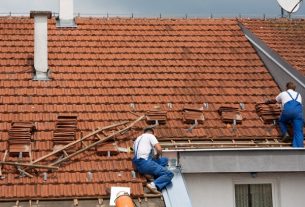
Caution: Ask for help from a second person, and never work at arm’s length on the stepladder!
1. Take the measurements
Measure the width and length of your ceiling, then multiply these two measurements to get the surface area.
If it helps, make a plan of your ceiling on paper.
Mark the location of the different elements.
Calculate the number of rails, hangers and panels required.
Note that the panels are fixed perpendicular to the rails.
2. Mark out the location of the false ceiling
Determine the height of your false ceiling.
Draw a pencil line around the perimeter of the wall.
Use a spirit level and a ruler to work straight.
3. Attach the hangers
The hangers are adjustable in height with a screw.
Adjust the height of the hangers approximately.
Choose fixings adapted to the nature of the substrate:
-
concrete: knock-in dowels;
-
plaster: plaster screws;
-
wood: wood screws (if fixing to a beam).
Screw a row of hangers 10 cm from the wall at 50 cm intervals.
Adjust their height.
Do the same on the opposite wall.
Stretch a line between them at the fixing point: this line marks the future rails.
Move forward along the line, fixing the lines at their location (every 1.20 m) using the appropriate tool for the support (drill, screwdriver or hammer).
Use the line to adjust the height of the hanger.
Good to know: if all these steps seem tedious, do not hesitate to call ULTIMA MAX for a perfect result.
4. Mount the rails
Cut the rails to the appropriate length using a hacksaw.
Attach the rails by clipping them to the ends of the hangers.
5. Lay the first row of panels
A panel board has two profiles, one with a tongue (male) and the other with a groove (female).
Position the first board perpendicular to the rail and against the straightest wall so you do not start with a cut-out.
Lay it carefully, as it will serve as a guide for the next boards.
Offset it by 10 mm from the wall on its short side.
Clip the panel with the panel clip.
Do the same for each rail you meet.
Finish the 1st row by:
-
Fixing another board in the continuity of the 1st one, by interlocking and fixing it in the same way.
-
Cutting the board to the size of the remaining space to be covered.
Carefully measure the length between the installed board and the wall, taking off 10 mm.
Then transfer this measurement to an entire board.
Cut with a mini circular saw.
6. Lay the next rows
Start the next row.
Use the remaining piece from the previous row:
This way, you shift the joints between the boards (for a more aesthetic result).
You save wood since you avoid scraps.
Continue in this way until the ceiling is completely covered.
7. Finish the ceiling
The finishing touches are important, they put the finishing touches to the work.
Use a quarter-round rod to cover the gap between the wall and the ceiling around the room.
Fix the strip in the corner using a fixing suitable for the surface (glue or nails).
Wait 48 hours if you wish to paint the panels.
Materials for installing false ceiling panels
Carpenter’s pencil
Tape measure
Stepladder
Spirit level
Aluminium ruler 2 m
Chalk line
Hacksaw
Hammer dowel
Screwdriver
Panelling clips
Circular saw
Good to know: if all these steps seem tedious, do not hesitate to call a professional who can give you a perfect result.