Embarking on a home repair journey often involves tackling various tasks, and one aspect that can make a significant difference is coating your ceiling. Whether you’re dealing with stains, discoloration, or simply aiming for a fresh look, the process of coating your ceiling requires careful consideration and the right techniques. In this comprehensive guide, we’ll explore transformative tips that make coating your ceiling a breeze, ensuring a seamless home repair experience.
Assessing the Ceiling Condition: A Prerequisite for Success
Understanding the Surface
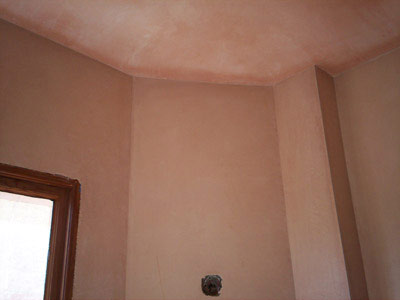
Begin by thoroughly assessing the condition of your ceiling. Identify any stains, cracks, or imperfections that may need special attention. Understanding the surface you’re working with sets the stage for a successful coating process.
Addressing Repairs First
Before applying any coating, address any necessary repairs. Patch up cracks or holes and ensure a smooth, even surface. This preparatory step ensures that the coating adheres well and delivers a flawless finish.
Selecting the Right Coating: A Crucial Decision
Considering Paint Types
The market offers various paint types suitable for ceilings. Choose a paint with low splatter, as ceiling projects can be messy. Opt for flat or matte finishes to minimize reflections and hide imperfections.
Exploring Textured Options
If you’re looking to add texture to your ceiling, consider textured coatings. These can be particularly effective in concealing minor flaws and providing a unique visual appeal.
Gathering the Essential Tools: A Toolkit for Success
Quality Brushes and Rollers
Invest in high-quality brushes and rollers designed for ceiling applications. Quality tools ensure a smoother application and even coverage. Extension poles for rollers are also handy for reaching high or vaulted ceilings.
Drop Cloths and Protective Gear
Ceiling projects can be messy, so lay down drop cloths to protect floors and furniture. Additionally, wear protective gear such as goggles and a hat to shield yourself from any potential splatter.
Preparation: The Key to a Flawless Finish
Cleaning the Surface
Clean the ceiling thoroughly to remove dust, dirt, and grease. A clean surface ensures better adhesion and a more durable finish. Use a mild detergent solution and allow the ceiling to dry completely.
Applying Primer
Priming is crucial for a flawless coating. Use a high-quality primer that suits your ceiling type. Primer enhances adhesion, prevents stains from bleeding through, and promotes an even paint finish.
The Coating Process: Tips for Success
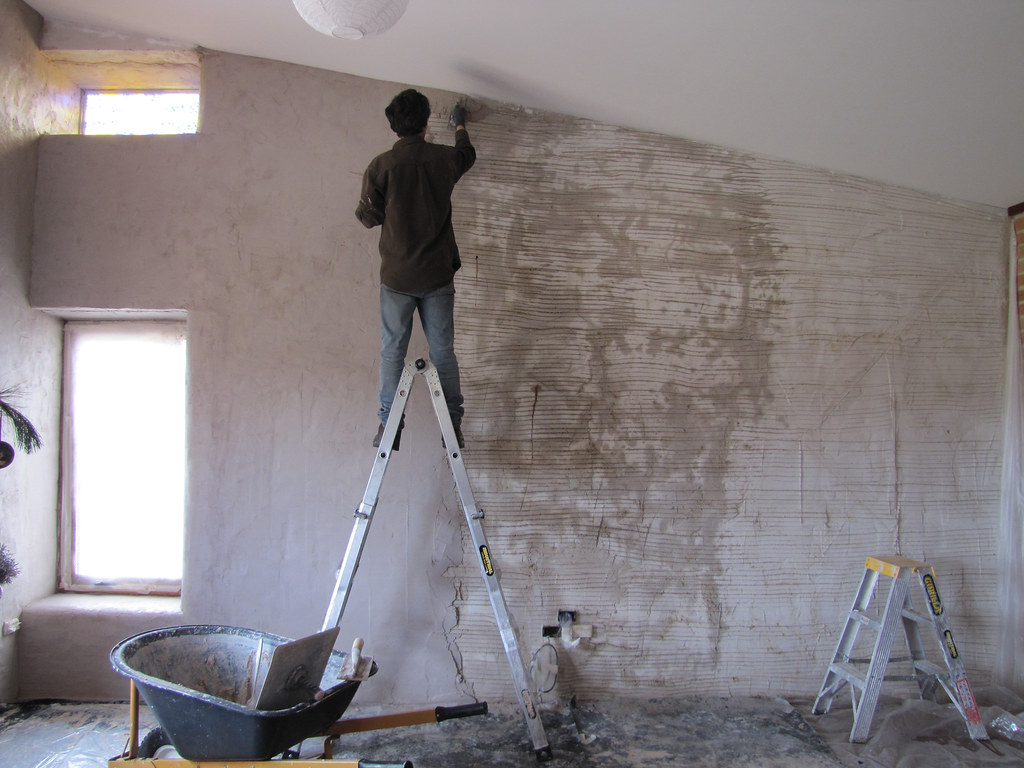
Cutting In Before Rolling
Start by cutting in the edges of the ceiling using a brush. This creates a neat border and makes the rolling process more efficient. Use long, smooth strokes for a professional look.
Rolling in Sections
When rolling the ceiling, work in small, manageable sections. This approach ensures that you maintain a wet edge and prevents visible seams. Roll in one direction for uniform coverage.
Drying and Inspection: Patience Pays Off
Allowing Adequate Drying Time
Resist the urge to rush the drying process. Follow the paint manufacturer’s recommendations for drying times between coats. Adequate drying time ensures a durable and long-lasting finish.
Inspecting for Imperfections
Once the coating is dry, inspect the ceiling for any imperfections. Touch up any areas that may need additional attention. A thorough inspection guarantees a polished and refined result.
A Transformed Ceiling and a Transformed Home
As you embark on coating your ceiling, armed with transformative tips and a strategic approach, envision the end result—a ceiling that not only conceals flaws but enhances the overall aesthetic of your home. With careful preparation, the right tools, and a methodical process, you’ll achieve a seamless home repair experience that leaves your ceiling looking fresh, revitalized, and truly transformed.