Insulating a flat roof is not just a weekend project; it’s an investment in your home’s comfort and energy efficiency. Whether you’re dealing with extreme temperatures or just looking to reduce your energy bills, a properly insulated flat roof can make a world of difference. Follow this straightforward guide to ensure you get it right.
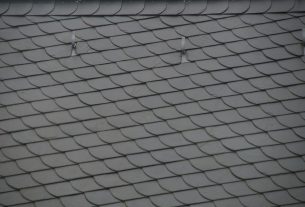
Understanding the Importance of Flat Roof Insulation
Before diving into the insulation process, let’s understand why it’s crucial. Insulating your flat roof helps maintain a consistent temperature inside your home, reduces energy costs, and prevents water vapour from entering and potentially damaging the structure. It’s a proactive step towards enhancing your home’s overall efficiency and durability.
Step 1: Choose the Right Insulation Material
When it comes to flat roofs, not all insulation materials are created equal. You’ll want to choose an option that provides excellent thermal resistance and is suitable for flat surfaces. Two popular choices are Polyisocyanurate (PIR) and Extruded Polystyrene (XPS). PIR offers high thermal efficiency with a thin profile, while XPS provides excellent moisture resistance and strength. Consider your climate, roof structure, and budget when selecting your insulation material.
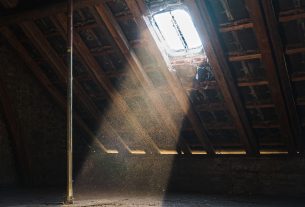
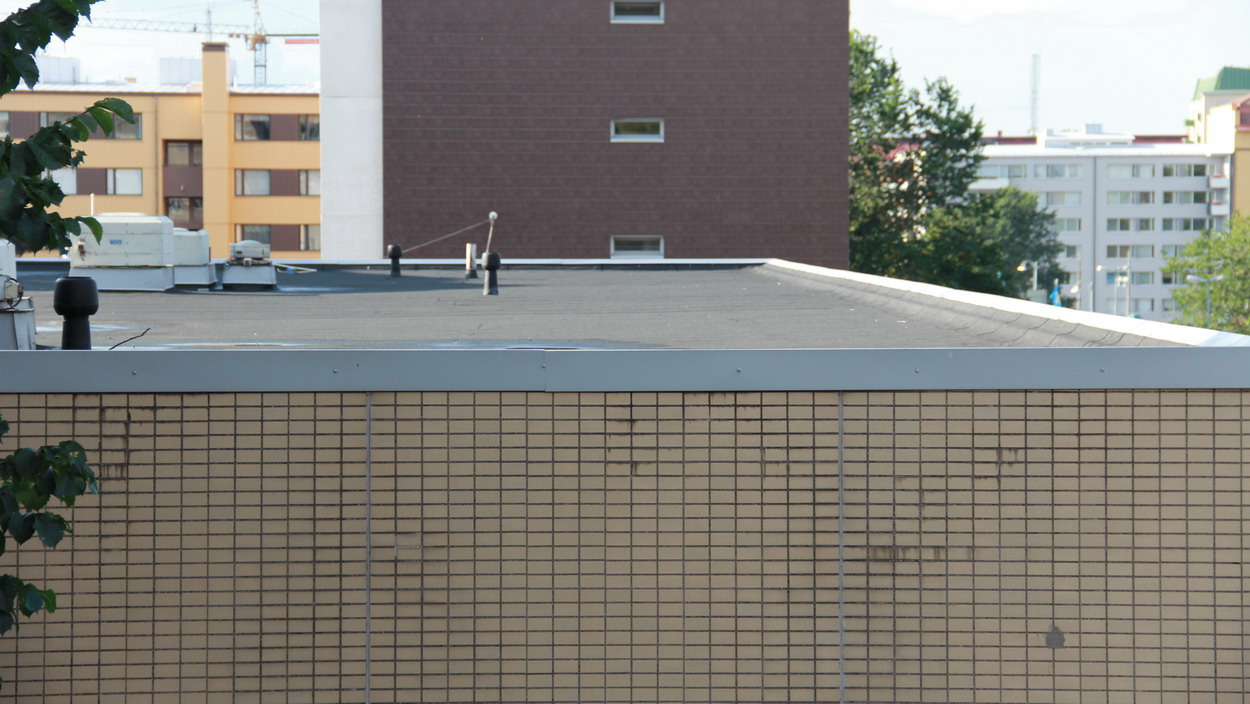
Step 2: Prepare the Roof Surface
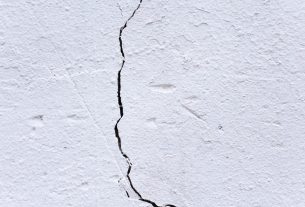
Proper preparation is key to ensuring that your insulation adheres correctly and performs effectively. Start by cleaning the roof surface thoroughly, removing debris, dirt, and any existing moisture. Inspect the roof for any signs of damage or wear and repair these issues before proceeding. A clean, dry, and stable surface is crucial for the next steps.
Step 3: Install the Insulation Boards
Once your roof is prepped, it’s time to lay down the insulation boards. Begin at one edge of the roof and work your way across, laying the boards down in a staggered pattern to minimize thermal bridging. It’s important to cut the boards to fit any irregular spaces or around protrusions accurately. For the best results, use a sharp knife and take precise measurements. Secure the boards in place according to the manufacturer’s instructions, which may involve using adhesive, mechanical fasteners, or a combination of both.
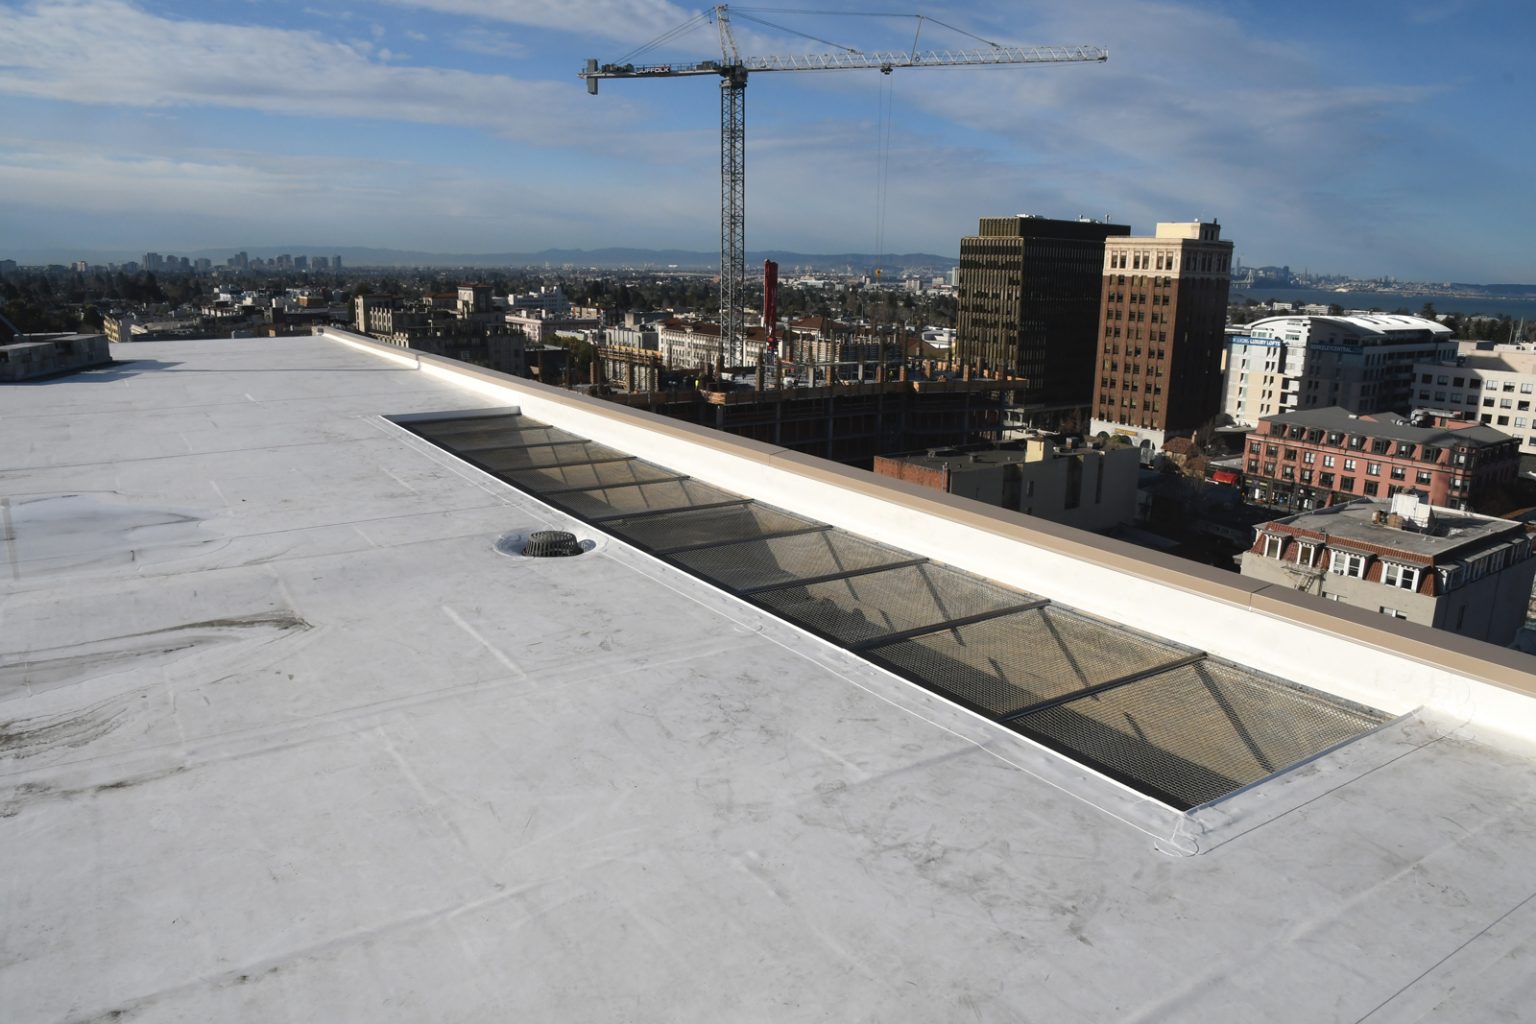
Step 4: Apply a Waterproof Layer
With the insulation boards in place, the next step is to apply a waterproofing layer. This is crucial for protecting your insulation and the interior of your home from water damage. There are several options for waterproofing, including liquid-applied membranes, single-ply sheets, and built-up roofs. Each has its own application method and benefits, so choose the one that best suits your roof’s needs and your comfort level with the application process.
Step 5: Final Checks and Maintenance
After the waterproof layer is applied, conduct a thorough check of the roof to ensure everything is sealed and secure. Look for any gaps in the insulation or waterproof layer that need to be addressed. Going forward, regular maintenance is key to prolonging the life of your roof insulation. Inspect your roof at least twice a year and after any severe weather events for damage or wear and address any issues promptly to prevent moisture infiltration and energy loss.
Wrapping Up with a Warm Advantage
Congratulations, you’ve taken a significant step towards improving your home’s energy efficiency and comfort. Insulating your flat roof is a smart move that pays off in the long run, reducing energy costs and enhancing the livability of your home. Remember, while DIY can be rewarding, don’t hesitate to consult with or hire a professional if the project becomes too complex or if you’re unsure about any steps. Here’s to a warmer, more efficient home!
Keep Your Home Cozy and Efficient
With these steps, you’re well on your way to having a well-insulated flat roof that contributes to a more comfortable and energy-efficient home. Regular checks and maintenance will ensure your insulation continues to perform at its best, keeping your home cozy for years to come.