PVC windows are a staple in modern homes across Canada, known for their durability, energy efficiency, and cost-effectiveness. However, even the sturdiest windows can experience wear and tear over time, particularly in the seals that keep out cold drafts and moisture. Replacing these seals is a straightforward task that can significantly improve your home’s comfort and energy efficiency. Let’s dive into how you can seal the deal by replacing the seal on your PVC windows.
Understanding the Importance of a Good Seal
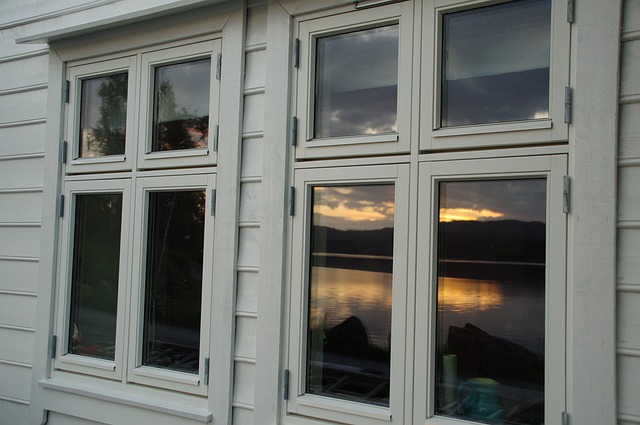
Before we get into the nitty-gritty of replacing your window seals, it’s crucial to understand why a good seal is paramount. A well-sealed window prevents heat loss during the cold Canadian winters, keeping your home cozy and reducing your heating bills. In the summer, it keeps the cool air in, ensuring your air conditioning doesn’t work overtime. Furthermore, a good seal protects your home from water ingress, which can cause mould, mildew, and wood rot.
Signs Your Window Seals Need Replacing
- Visible Damage: Check the seals for any signs of cracking, brittleness, or gaps.
- Drafts: Feel around the window frame for any cold air entering the room.
- Condensation: Moisture between the panes of glass can indicate seal failure.
- Increased Energy Bills: Unusually high heating or cooling bills can sometimes be traced back to failing window seals.
Materials and Tools You’ll Need
- New sealant specifically designed for PVC windows
- A utility knife or sealant remover tool
- A sealant gun
- Cleaning supplies (rubbing alcohol or a similar cleaner and a clean cloth)
Step-by-Step Guide to Replacing the Seal
Preparing the Window
- Clean the Area: Begin by cleaning the window frame and surrounding area. Use your utility knife or sealant remover tool to carefully remove the old sealant. Ensure all residue is removed to create a smooth surface for the new sealant to adhere to.
- Clean the Surface: Once the old sealant is removed, clean the surface with rubbing alcohol to remove any dirt, grease, or remaining residue. This step is crucial for ensuring the new sealant adheres properly.
Applying the New Sealant
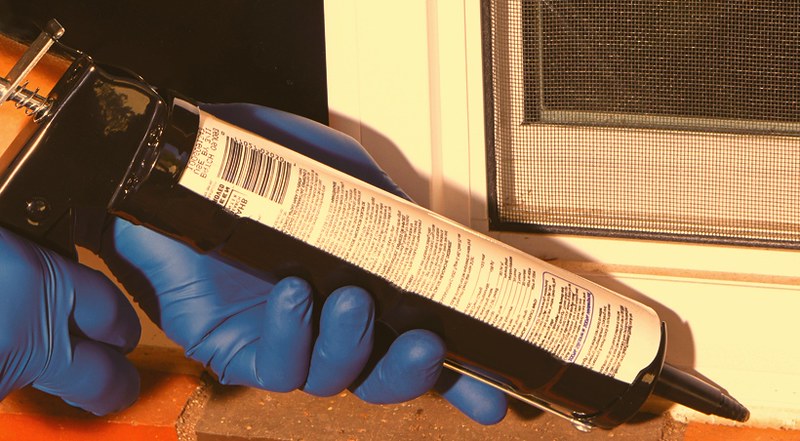
- Cut the Sealant Tube: Cut the tip of your sealant tube to match the size of the gap you’re filling. A smaller cut is better for precision, but it can be adjusted based on the gap’s width.
- Load the Sealant Gun: Place the sealant tube into the sealant gun and prepare for application.
- Apply the Sealant: Starting at one corner, apply the sealant evenly along the gap, ensuring full coverage. Keep a steady hand and pace to ensure an even application.
- Smooth the Sealant: Use a damp finger or a smoothing tool to press down and smooth the sealant into the gap. This not only ensures a good seal but also creates a clean, professional finish.
- Let it Cure: Allow the sealant to cure according to the manufacturer’s instructions. This usually takes at least 24 hours.
Final Checks and Maintenance
After the sealant has cured, inspect your work to ensure there are no gaps or missed spots. Test the window for drafts by feeling around the sealed areas. Regular maintenance checks are key to long-lasting window efficiency, so make it a habit to inspect your seals at least once a year.
The Final Caulk
Replacing the seals on your PVC windows is a cost-effective way to enhance your home’s energy efficiency and comfort. By following these steps, you can protect your home from the elements, reduce your energy bills, and enjoy a cozier living environment. Remember, a little maintenance goes a long way in preserving the integrity and efficiency of your home.