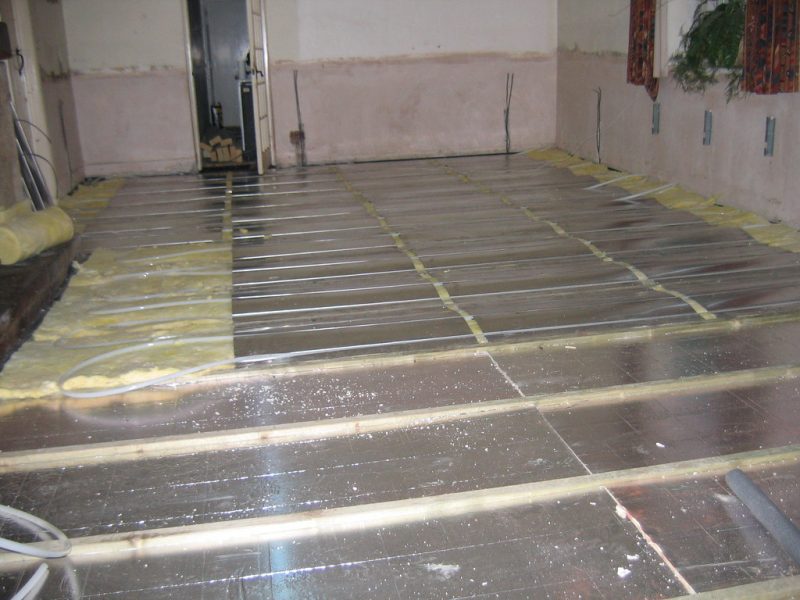
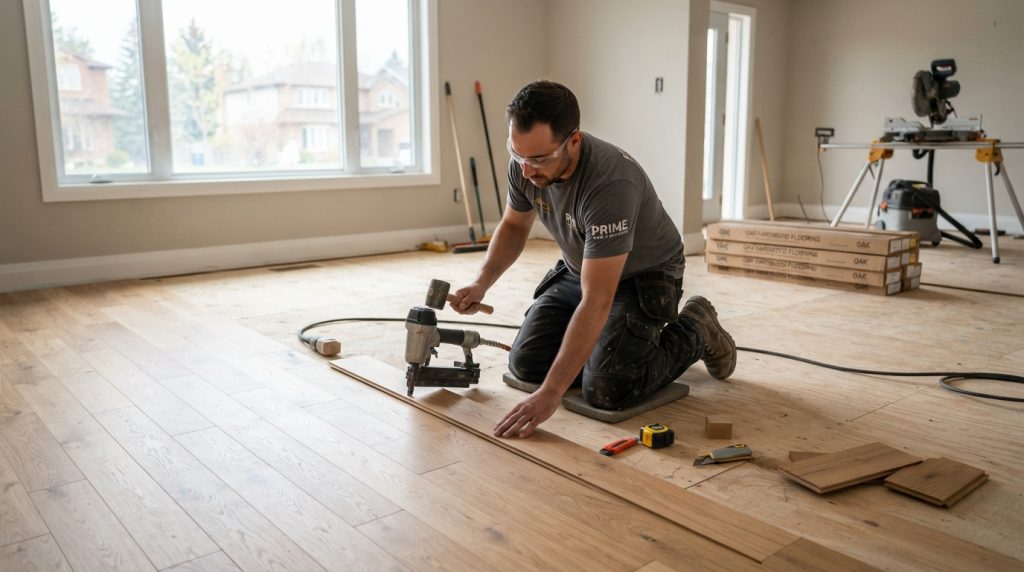
A durable floor begins long before the first tile, plank, or sheet of vinyl is laid. Professional flooring services prepare the subfloor by checking its condition, removing contaminants and previous coverings, correcting defects, and confirming that moisture levels and surface flatness suit the chosen material. These steps may be hidden once the work is complete, but they help prevent movement, uneven joints, loose finishes, and premature wear.
Inspection steps that reveal subfloor problems
Before installation begins, professionals assess the base as a whole rather than focusing only on visible damage. Subfloor inspection typically covers stability, flatness, surface condition, and signs of water intrusion; the findings determine which preparation steps are necessary.
Moisture testing and structural checks
Moisture testing helps identify excess dampness that could weaken adhesives, distort wood, or encourage mold growth. A flooring specialist selects a suitable testing method for the subfloor material and compares the readings with the flooring and adhesive manufacturers’ requirements. If results are outside the accepted range, the source of moisture needs attention before work proceeds.
The inspection also looks for movement, squeaks, loose fasteners, soft areas, and changes in level. Concrete may need evaluation for cracks or surface residue, while wood-based panels are checked for soundness and secure attachment. These observations help distinguish cosmetic imperfections from problems that could affect the finished floor.
Old flooring removal and surface cleaning
Old flooring removal must be handled with care, especially where adhesives or older materials are present. A professional considers the condition of the existing layer and follows appropriate safety procedures instead of assuming that every covering can be lifted in the same way.
Once the floor is exposed, surface cleaning removes dust, grease, loose particles, and adhesive residue that could interfere with bonding. Cleanliness is not merely cosmetic: even a thin layer of debris can create weak spots beneath a new finish. The base should be ready for repairs before leveling or priming begins.
When inspection and cleaning are complete, the next stage is to correct any defects that would telegraph through the finished surface.
Repair and leveling steps for a stable base
Preparation is tailored to the material and the flooring planned for the room. A resilient floor, ceramic tile, and engineered wood each have different tolerances, so professionals follow product guidance rather than relying on a single universal method.
Crack repair and subfloor sanding
Crack repair begins by identifying whether a defect is stable and suitable for filling or whether it points to a more serious underlying issue. Appropriate repair products are selected for the substrate, and loose material is removed so the repair can bond properly. Movement or recurring moisture must be addressed rather than concealed beneath a patch.
On wood subfloors, subfloor sanding can remove minor high spots and smooth transitions between panels. The aim is not to thin or weaken the base, but to produce a surface that meets the flooring manufacturer’s flatness requirements. After sanding, dust is thoroughly removed to prevent it from compromising later layers.
Leveling compound and subfloor priming
Where low areas or broader unevenness remain, a compatible leveling compound can create a more consistent plane. The installer prepares and applies it according to the product instructions, allowing the required curing time before covering the surface. Using more compound than necessary or applying it over an unsuitable base can cause problems instead of solving them.
Subfloor priming may be required before a patching or leveling product, or before certain adhesives are applied. The primer helps control absorption and supports adhesion, but the correct type and drying conditions matter. Each layer should be fully ready for the next, not rushed to meet an arbitrary schedule.
The main checks at this stage can be summarized as follows:
- Confirm that cracks and loose areas have been assessed and repaired appropriately.
- Check that sanding and dust removal leave the surface clean and sound.
- Verify that leveling products and primers are compatible with the substrate and planned flooring.
These checks help ensure that improvements at the surface do not mask a weakness below it.
| Preparation task | Purpose | What to verify |
|---|---|---|
| Moisture testing | Detects dampness that may affect flooring or adhesives. | Readings meet product requirements. |
| Crack repair | Creates a sound surface for subsequent layers. | The cause and stability of the defect have been considered. |
| Leveling compound | Corrects uneven areas within the product’s intended use. | The base is compatible and curing is complete. |
| Subfloor priming | Supports adhesion or controls absorption where specified. | Primer type and drying time match the system. |
Installation planning steps for lasting performance
Once the base is sound, attention shifts to how the flooring system will be installed. This is where careful preparation connects directly to finish quality, including consistent alignment, secure bonding, and room for natural movement.
Underlayment installation and expansion gap planning
Underlayment installation follows the flooring manufacturer’s instructions and the requirements of the room. Underlayment can provide a suitable separation layer or support specific performance needs, but it is not a substitute for repairing an unstable or excessively uneven subfloor. Seams, edges, and transitions should be handled in line with the selected system.
Material choice also shapes preparation requirements. Guidance on choosing durable, well-suited floor tiles can help clarify why the substrate must match the demands of the finish, while a guide to installing clip-in parquet illustrates how a floating system depends on a prepared base and planned clearances.
Preparation records can also help coordinate work where multiple trades are involved. Clear communication about curing times, room conditions, and the flooring specification reduces the risk of premature installation. A sound subfloor is not an optional extra; it is the foundation on which the finished floor’s appearance and service life depend.