How Do You Lay PVC and Plastic Flooring (Part 3)
This post is a continuation of Part 2 on How Do You Lay PVC And Plastic Flooring.
Lately, in part 1, we had gone through:
– How are plastic floors made?
– How do you prepare the laying of PVC and plastic flooring?
– Laying PVC and plastic flooring: calculating the surface area
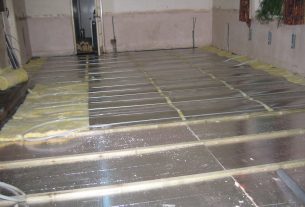
– Floor preparation
– Different types of PVC and plastic floor laying
Consequently, in part 2, we had covered:
– Laying PVC flooring: glued installation
We will now cover the final part on:
– Double-sided laying
– Free laying of plastic flooring
Let’s delay no further…
The installation of multiple strips
When the room is more significant than one strip, you must lay several strips:
– Apply the first strip as described above for the glued installation in one strip. Then, cut a second strip keeping an identical margin on all the edges of approximately 10 cm.
– This second strip is cut to the missing size plus the dimension of the margin.
– Once in place, at the junction, overlap the two strips. If you are confronted with a joint, you must take it into account for the installation direction.
– Cut the two strips simultaneously, taking care to ensure straightness. Change the blade if necessary.
– Cut in one go, taking good support on the ruler.
– You must press from the inside towards the junction.
The double-sided installation
It will help if you use double-sided adhesive strips. You must prepare the floor in the same way as for glued installation, but preferably reinforce the adhesive strips by degreasing the floor where the strips have been glued.
You can use a substitute for trichloroethylene or any other degreaser.
The material
You must provide for the installation of the double-sided PVC floor :
– a flat ruler,
– a double-sided tape,
– a cutter with new blades,
– a grease pencil,
– a threshold bar.
Double-sided installation of plastic flooring in 8 steps
Step 1
– Remove the threshold bar. Start with the perimeter of the room.
– Secure the adhesive strips along the wall or baseboards.
Step 2
– Grid the entire room with double-sided tape, starting with the length meter by meter and working your way out.
– Be careful not to overlap the strips around the edge of the room. To make sure you don’t cover them, you can start with the grid and end with the room’s perimeter.
Step 3
– Apply your PVC flooring.
– Make sure there are no creases.
Step 4
– Raise the plastic floor by folding it on one half only.
– Remove the double-sided protection from the room grid but not from the perimeter.
– Replace by folding back the half of the plastic floor, then proceed with the marouflage.
Step 5
Do the same with the other half of the room.
Step 6
Remove the strips from the room’s edges, then put your flooring in place, making sure to tap into the wall.
Step 7
Trim along the baseboards or walls, making sure to start at the corners.
Step 8
You can now put the threshold bar back on.
Loose laying of plastic flooring
This type of installation is done without glue or adhesive.
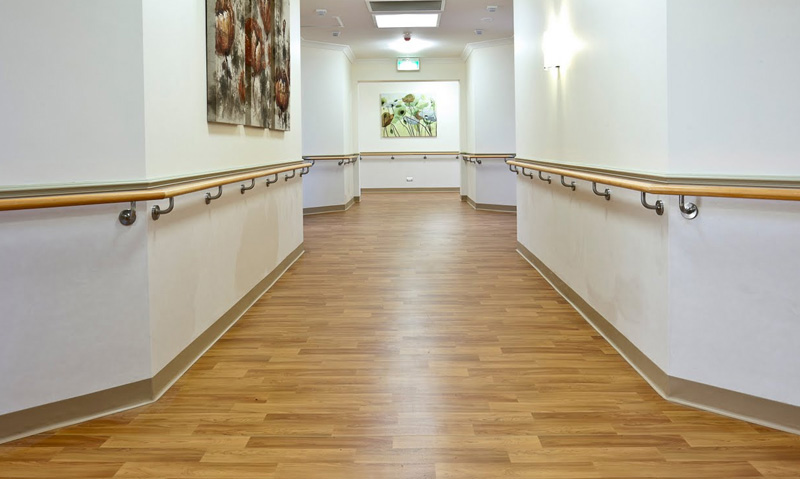
It is reserved for rooms with low traffic, such as bedrooms and rooms < 15 m².
The floor preparation remains identical to the other laying methods, but you can avoid the need for a leveling coat by using a special underlay.
Loose laying is easy to implement:
– Spread the flooring.
– Roll very carefully from the center to the edges.
– Cut the corners and level off along the walls.
– Install the threshold bar.
Let the coating to the room after the installation before putting the furniture.
If you wish, you can get in touch with Orlando’s most trusted handyman service: Fix it for You. They do Interior and Exterior Painting, Flooring Installation, Drywall Repair and Texture, Backsplash Installation, and other Handyman Services.
How did you find all three posts? Remember to leave your comments below and share these posts with your friends! Thank you for staying posted on our blog.