4 Steps to Paint Your Ceiling Like a Pro
Summary:
– What paint to use for a ceiling?
– Step 1: Protect the surfaces you are not painting
– Step 2: Mix the paint
– Step 3: Paint the ceiling with a roller
– Step 4: Paint the corners and edges
Paint is a suitable coating for the ceiling, which brings light and visually enlarges the volume of the room.
The choice of paint to paint a ceiling is important because it must be resistant and easily applicable.
But before painting the ceiling, you must first make sure that its surface is spotless, solid, dry and smooth.
The materials and steps for painting a ceiling are listed below.
|
Materials |
Approx. price |
|
Roller |
Starting at $5 |
|
Ramp brush |
$5 approx. |
|
Paint tray |
$3 |
|
Tarp |
Starting at $8 |
|
Masking tape |
$1 per roll |
|
Step ladder |
$20 approx. |
What paint to use for a ceiling?
You can find special paints for painting ceilings in DIY stores. You can choose to apply matte, satin or even lacquer paint.
– A water-based paint, or acrylic, has the advantage of being odourless and contains very little or no solvents. However, this paint is fragile and not very resistant to humidity. The cleaning of painting tools is done with water.
– An oil-based paint, or glycerine, offers the advantage of being resistant even if it gives off more odours than acrylic paint. You must do the cleaning of the painting tools with solvents.
Note: if you have applied an acrylic undercoat on the ceiling, do not paint with glycerol paint, and vice versa.
Choosing rollers and brushes
– Choose a non-drip brush to avoid drips.
– Choose a roller with a telescopic handle so you can paint the ceiling from the floor. Otherwise, use a stepladder or scaffolding.
1. Protect the surfaces you are not painting
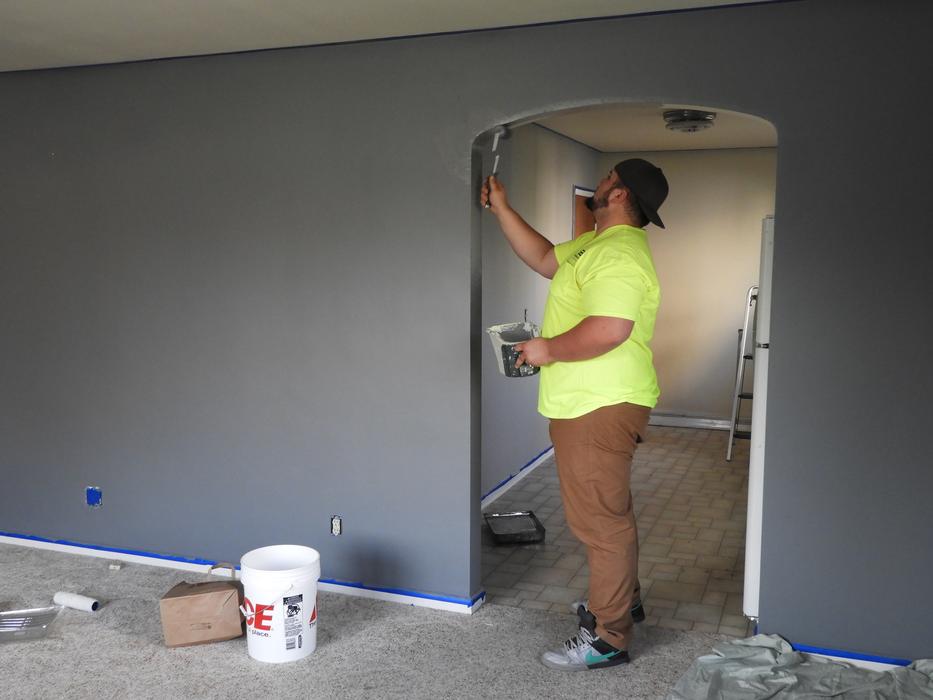
Before painting the ceiling, protect the surfaces you are not painting.
– Clear the room you are painting. If there are items that you can’t move, protect them with plastic sheeting or newspaper.
– Also, protect the floor with plastic sheeting.
– Protect the walls by attaching masking tape flush with the ceiling.
– If you are painting cornices in a different colour than the ceiling, protect them with masking tape.
– If you are painting the coves the same colour as the ceiling, protect only the walls.
2. Mix the paint
Before painting the ceiling, you need to mix the paint. You can mix the paint by hand or with a drill equipped with a mixing whisk.
– Place a wooden chopstick or the whisk in the centre of the paint can.
– Stir the paint from the centre to the outside, from the bottom of the can to the top, from right to left and back again.
– Do not beat the mixture, as air bubbles may form.
– Mix until the paint colour is even.
– Let the paint sit for about 5 minutes.
– Pour the paint into a paint tray to fill it 2/3 full.
Tips for painting the ceiling

Proceed methodically to paint the ceiling:
– A ceiling is always painted in the direction of the light, so the roller traces are not visible.
– Divide the ceiling into small square areas of about 1 m on each side; you will paint them gradually.
– Paint the edges with a brush and the rest of the surface with a roller; when you have painted a square, go to the next one.
Note: if you need to use a scaffold or support to raise the height, take the time to install and stabilise it. Make sure you can access all the areas you need to paint before you start.
In case this task is just not meant for you, give a call to LK PAINTING SERVICE in Melbourne.
3. Paint the ceiling with a roller
– Dip the roller into the paint without completely dipping the roller sleeve.
– Wring it out on the spinning grid.
– Apply the paint in straight strips.
– Criss-cross the roller to cover the surface.
– Smooth the paint by rolling the roller again, without loading it with paint, in straight stripes.
– When you have painted one area, move on to the next. Overlap the areas to achieve a consistent result.
4. Paint the corners and edges
Paint the edges and corners of the ceiling with a brush, which is called a dauber.
– Dip the bristles of the brush into the paint, but do not dip them completely.
– Squeeze the brush over the edge of the paint tray to remove any excess paint.
– Paint the edges.
Avoiding splatter when painting a ceiling
When painting your ceiling, whether you’re using the stepladder or the telescopic handle, the paint may splatter on your face and clothes. You can avoid this with a simple trick:
– Take a tennis ball.
– Cut it in half with a box cutter.
– In the centre of one of the two halves, cut a hole, again with the cutter.
– Put the end of your brush handle through the hole.
– The half ball should form a kind of “bowl” around the brush: this way, it will retain the paint splashes.
Good to know: if you want to clean your ceiling with a sponge broom, you can do the same thing with a half football.
And, that’s it. You are now done painting your ceiling. In case the above steps seem too complicated for you, some specialist companies out there will do the job for you after evaluating your ceiling. Look for a few quotes before making up your mind, and remember to share your experience below.


