You have read and enjoyed part 1 on How Do You Lay PVC And Plastic Flooring, in which we had reviewed:
– How are plastic floors made?
– How do you prepare the laying of PVC and plastic flooring?
– Laying PVC and plastic flooring: calculating the surface area
– Floor preparation
– Different types of PVC and plastic floor laying
Thank you for your interest, and as promised, here is the 2nd part without further ado.
In this post, we will review Laying PVC flooring: glued installation.
Laying PVC floors: glued installation
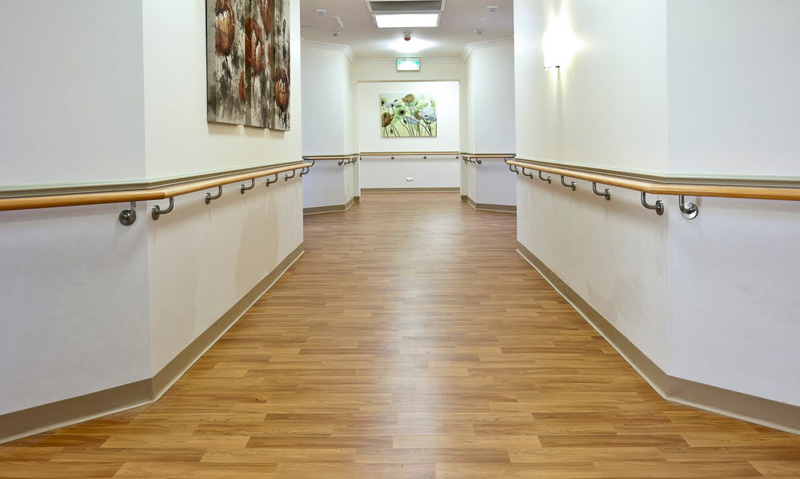
This is the ideal way to ensure that your floor will last and should be done in all cases for areas larger than 20 m².
Store the plastic floor for 24 hours in the room where it is to be glued.
Unroll it on the prepared floor.
– Cut the edges of the plastic floor with the cutter, leaving a margin of 10/15 cm on all sides.
– Cut the corners by going up the wall.
The materials needed
To lay the PVC floor using glue, you will need:
– a notched spatula,
– a mop,
– a cutter,
– a leveler,
– a mallet,
– a carpet glue,
– a threshold bar.
Here are 10 steps for laying glued plastic and PVC flooring.
Step 1
Fold one half of the floor over the other half.
Start with the half of the room opposite the door.
Step 2
Open the glue pot and follow the manufacturer’s instructions, especially the workability time.
The workability time is the time you have to spread the adhesive and for it to start setting.
Step 3
– Pour a large quantity of adhesive not far from the wall in the middle of the room.
– Spread the adhesive with a notched trowel, stretching it out to the sides and downwards.
– Back off as you go.
– If you don’t think you can spread a large amount of glue properly, work in areas of about 1 m² starting from one corner of the room.
– Work from left to right or right to left depending on your hand.
Step 4
– Continue gluing the floor over the entire surface.
– Fold up half of the floor by holding it with both hands and pulling it briskly to remove any creases.
You can work in pairs for this step.
Step 5
– Immediately tap the surface with the taping spatula.
– Emphasise the edges by running the cutting edge of the tool back and forth to the corner of the wall.
– Mark the fold at this point.
– Check that the whole surface is well glued and without folds and move on to the other half of the piece.
You can peel and re-glue the PVC (depending on the adhesive).
– This will allow you to put it back in place in case of a crease.
– If a crease marks the plastic floor, do not tap it, but peel it off and tap it back on.
Step 6
– Fold the other half of the plastic floor over the already glued part.
– Pour the glue and spread it over the remaining surface.
– Fold-down the plastic floor and press it down.
Work from the already glued part.
Step 7
Start cutting immediately, starting in the corner of the room, at the back from the first glued part.
If necessary, use a cutting ruler to position the cutter correctly.
Step 8
Level off the walls with the leveler.
– The leveler is a tool with two hooked blades. This allows a straight, clean cut along the wall.
If you have an outgoing corner, cut the corner upwards and then cut along the walls.
Step 9
If you have a particular cut to make, for example, a pipe, at the fold of the cladding, cut the plastic towards the wall at the foot of the pipe.
– Open the liner and then run the two pieces along the pipe.
– Fold the two parts together and press them together.
– If you have a large diameter pipe, cut the plastic to the wall but leave a margin of the diameter from the bottom of the pipe.
– Then, make star-shaped cuts on the margin to follow the shape.
– Pull the two sides apart, then fold the pieces over to fit the shape of the pipe and press down.
Step 10
Finish by fitting the sill bar.
– The sill bar can be invisible or not.
– In either case, you must drill the slab underneath and dowels installed.
– The concealed bar is installed by tapping it with a mallet.
In case you need help, Fix It For You can provide you handyman services to get the job done.
Our next post (part 3) will tell you more about the steps involved in:
– Double-sided laying
– Free laying of plastic flooring
Until then, stay tuned, and thank you for your comments.

2 thoughts on “How Do You Lay PVC And Plastic Flooring (Part 2)”