6 Steps to Installing a Ceiling Cornice
Summary
– Step 1: Calculate the length of the cove needed
– Step 2: Clean the area of the ceiling
– Step 3: Prepare to install the first corner
– Step 4: Install the first ceiling cornice
– Step 5: Continue the installation all around the room
– Step 6: Apply the finishing touches
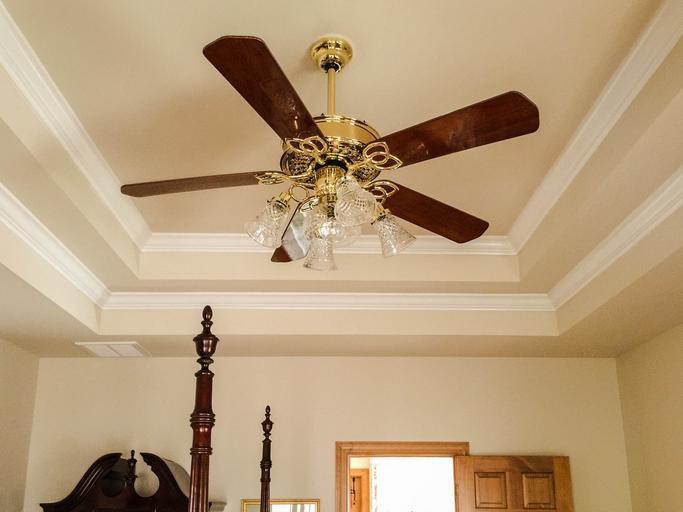
Ceiling cornices add a decorative touch to a room.
Installing a ceiling cornice is within reach of a novice handyman. However, polystyrene cornices are very light and can be installed more easily than plaster cornices, which require double gluing.
1. Calculate the length of cornice needed
Before anything else, you need to make sure you buy enough cornice length to cover the entire perimeter of your room.
To do this:
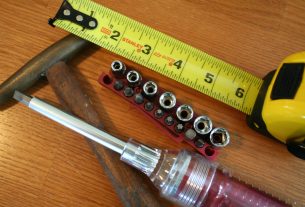
– Measure the length and width of the room with a tape measure.
– Calculate the perimeter of your room: (Length + width) × 2.
– Divide the result by the length of a piece of cornice: most cornices are 2 m long.
– This gives you the number of cornice pieces to buy. However, it is advised to take 1 additional piece of cornice to keep a margin of error.
– The formula to apply for this calculation is:
((Length × width) / length of a cornice) + 1 length of the cornice.
It is also possible to buy cornices with an incoming or outgoing corner. In this case, buy as many corner cornices as necessary (so at least 4).
This choice will not change your calculation, as the corner cornices are large enough to influence the number of cornices to buy.
On the other hand, cutting will be easier: only straight cuts!
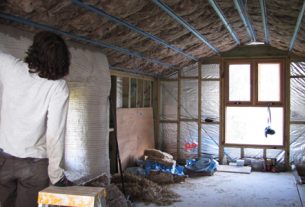
2. Clean the part of the ceiling concerned
The support must be dusted and degreased to ensure optimal installation of the cornice:
– Prepare a mixture of Marseille soap and water in the bucket. There are flakes of Marseille soap that make the mixture easier.
– Soak the sponge with the mixture.
– Climb the step ladder and use the sponge to clean the wall and ceiling area where you will be placing the cornice.
– Rinse with clean water.
– Let dry by airing the room to accelerate the drying.
Warning: if your walls are covered with wallpaper, you must remove it before installing your mouldings!
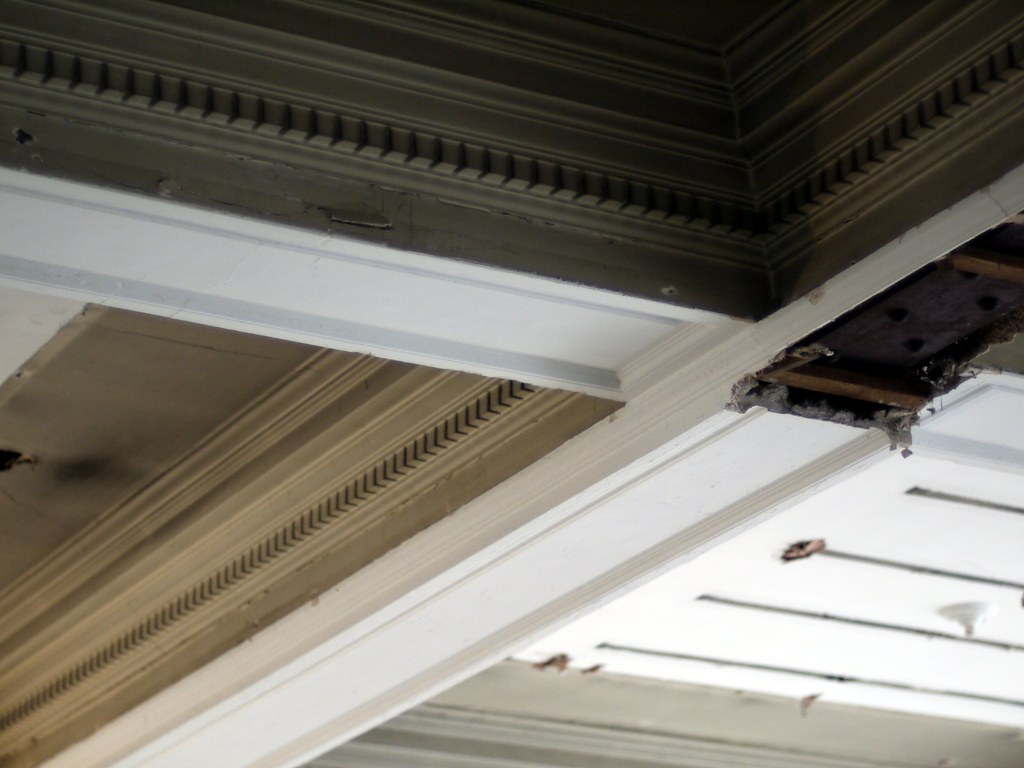
3. Prepare the installation of the first corner
Cornice installation always starts in the corners. The corners are the most delicate part of the installation.
– Check the squareness of your corners with a square.
– If your angles are 90°:
◦ Place a cornice in the mitre box, moulded side facing you.
◦ Cut the right end of the cornice at 45° with a fine-toothed saw, holding the cornice firmly.
◦ Then sand the cut with fine-grit sandpaper to make it clean.
– If your corners are not straight:
◦ Do a blank installation on the wall and outline the cornice on the ceiling.
◦ Do this on both sides of the corner to mark where the cornices meet the ceiling.
◦ Then start from this meeting point to determine the cut of your cornice.
◦ Trace the cut to be made on the cornice with a pencil.
◦ Cut along the line with a fine-tooth saw.
◦ Sand the cut with fine-grit sandpaper so that it is clean.
4. Install the first cornice on the ceiling
When installing a cornice, always start at one corner of the room.
Polystyrene cove
The polystyrene cornice is light and easy to handle.
– Depending on the size of your polystyrene glue:
◦ Place a generous bead of glue with the gun on the two parts of the cornice that will be in contact with the wall and ceiling.
◦ Place dots of glue along the cornice on the wall and ceiling sides and spread it with a notched spatula.
– Position the cornice and press for a few moments while the glue sets.
– Continue the installation all around the ceiling, adjusting each cornice carefully, especially in the corners.
Polyurethane or plaster cornice
Polyurethane or plaster cornices require double gluing with a neoprene glue available in gun, pot or tube. Depending on the size of your glue:
– On the wall and ceiling:
◦ Place dots of glue along the wall and ceiling and spread with a notched spatula.
◦ Place a generous bead of neoprene glue all along the wall and ceiling.
– Do the same on the back of the cornice, on the parts in contact with the wall or ceiling.
– Let the glued surfaces dry for 5 to 15 minutes: the glue must have dried enough not to stick to your finger.
– Position the cornice and press firmly for 5 sec.
5. Continue the installation all around the room
Once the first cornice is installed in a corner:
– Using a tape measure, measure the space between the end of the first cornice and the other corner:
◦ If there is enough space to install an entire cornice, perform the same gluing as for the first cornice.
◦ If there is not enough space, transfer your measurement to a cornice and cut one end straight, the other at 45° for the corner.
At the corners:
– Make your cut as described in step 2.
– Make a blank installation to check the adjustment of the 2 cornices between them.
– Adjust by sanding if necessary and install the cornice.
Continue in the same way all around the room, adjusting each cornice to the previous one, especially in the corners.
Good to know: if there is a tiny gap between two cornices, don’t panic! You can mask this space with plaster! (see step 4)
6. Make the finishing touches
Start by cleaning up any glue spills with a damp cloth.
To mask the junction of the cornices at the level of the corners, the ceiling and the wall or the intersection between the various pieces of cornices:
– Apply the ready-to-use filler with a small spatula.
– Smooth the plaster with your finger for a neat finish.
– Let the filler dry thoroughly.
– Then, sand the joints to obtain a smooth joint.
Good to know: as it dries, the coating turns white and can be painted.
It is then recommended to paint the cornice. The easiest way to do this is to use the same colour as the ceiling (usually white) so that you can overlap it.
You will then have to repaint the ceiling for an aesthetic and neat result.
Finally, you can then consider wallpapering your walls, for example, or repainting them.