
Contents
– Role and composition of roof flashing
– Installing a roof flashing
– Purchase of roof flashings
Roof flashing is used to ensure water tightness at the connection between the roof and the various elements that protrude from it (acroterion wall, chimney, etc.). The term refers to both the entire device and the object used to make it. Historically, a small bead of mortar or plaster covered the junction between the tiles and the wall. Today, the existing solutions are numerous and technically more developed.
Role and composition of the roof flashing
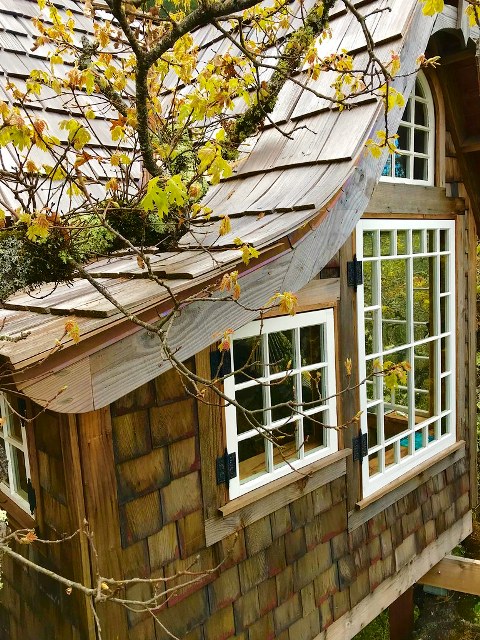
Roof flashing prevents infiltrations due to the angle formed by the junction of the two elements, one horizontal and the other vertical.
Of course, it is always possible to make flashings out of the mortar, but today many prefabricated solutions are generally more durable than mortar.
Here are the different materials in which it is possible to make flashings: mortar, cement, plaster, lead, aluminum, zinc, stainless steel.
Installing a roof flashing
If you are in the renovation phase, you must start by removing the old flashing (prick and scrape the mortar or remove the metal flashings).
For mineral flashings, spackle your mortar/cement/plaster so that it’s not too runny and you can form a bead that holds together.
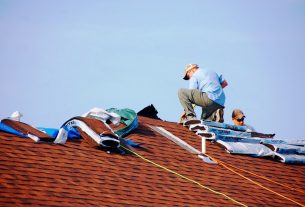
For metal roll or strip versions, mark a setting height line for the flashing holder level across the entire width of the vertical support panel with a chalk line. The flashing strips are then fastened and screwed into the steep slope according to the material, using hammer dowels, starting at the roof’s lowest point. The metal flashing must be wide enough to cover the roof area adequately. Depending on the needs, the following flashings are installed by going up gradually and ensuring an overlap of at least ten centimetres.
For flashings that are not integrated into the rendering, the vertical part must be sealed with a bead of mastic placed on the back of the flashing holder before it is placed and screwed into the sheer panel.
Good to know: the tools needed to install metal flashings are: a ladder or scaffolding, safety equipment for working at heights, a chalk line, a drill and screwdriver, a hammer, and a grinder.
Purchasing roof flashings
Strip flashings are available in large DIY stores and building material retailers.
Prices range from about ten to fifty dollars depending on the materials and flashing holder systems used.
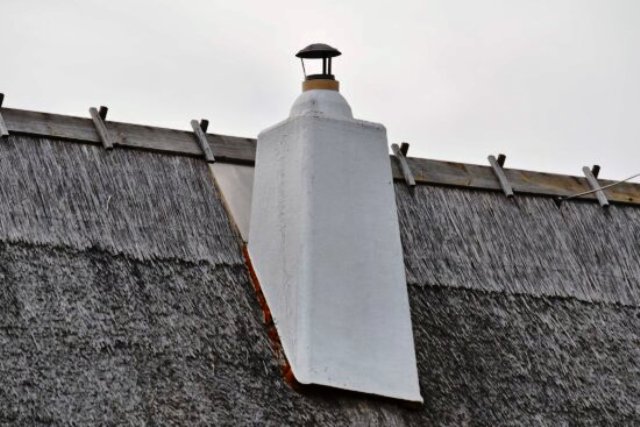
Smoke flashings (for chimney flues and other evacuations) are available at prices generally ranging from about fifty dollars to several hundred depending on the size, shape and material used.
Are you looking for roofing services for your home?
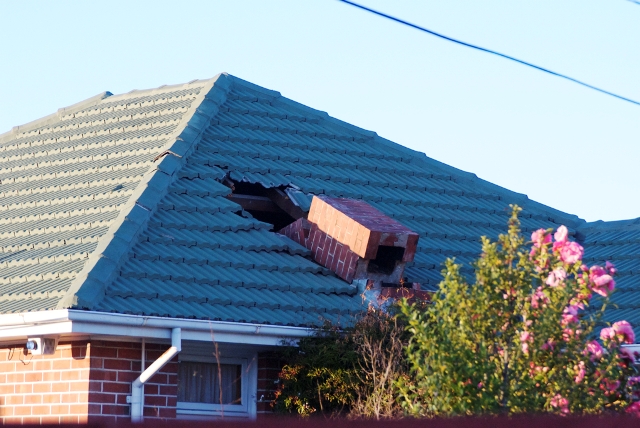
Is your roof starting to show signs of age? When the ravages of time begin to appear on your roof, you must address them immediately. Otherwise, you risk incurring additional costs and difficulties.
Did you put off roof repairs because you thought you could do it yourself? It would be beneficial if you reconsidered your decision and instead called Windmill Roofing! Roof Repairs, Roof Installations, Eavestrough, and Soffit, are all services provided by this group of residential roofing experts. They assist Whitby, Ajax, Pickering, and the surrounding areas. Don’t forget to tell us about your experience in the comments section below.

1 thought on “Roof Care | Installing Roof Flashing”