Summary
– Focus on roof insulation
– Check the condition of the roof structure before insulating the roof
– Case 1: insulate a single layer roof for unfinished attics
– Case 2: Double-layer roof insulation for attic space
The roof is the main heat loss area in a house. Its insulation is a priority if you want to save energy. The quickest solution to implement several techniques – without undertaking major work – is to insulate the roof from the inside. Insulation of a roof depends on several factors: roof shape, attic layout, performance requirements, and budget.
Focus on roofing insulation
The most commonly used insulators for roof insulation are:
– Mineral wool insulation: glass wool, rock wool. They are composed of silica or volcanic rock. They offer the best value for money.
– Insulation made of vegetable wool: hemp, flax. The price per m² is higher, but the handling is more pleasant, and the thermal performance is equivalent.
There are many types of insulation suitable for roof insulation. Therefore, it is advisable to make comparisons, evaluate the available budget, and personalize your project according to your objectives.
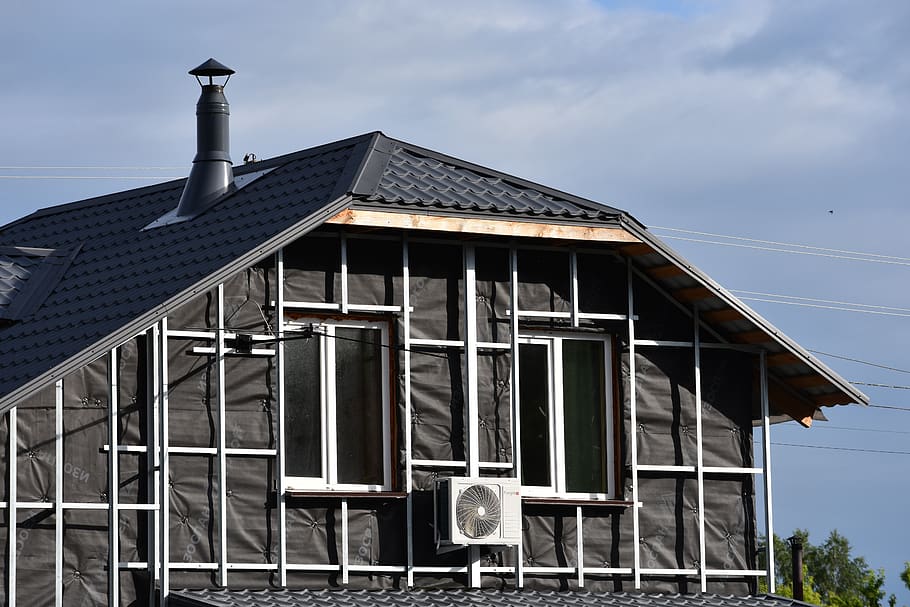
Check the condition of the roof structure before insulating the roof
First and foremost, it is essential to check the condition of the roof structure. Installing insulation on a structure that is not healthy will cause it to deteriorate rapidly.
– Check for signs of moisture on the frame. If there is any moisture, there is a waterproofing problem on the roof that needs to be corrected.
– Carefully inspect the roof structure for wood-boring insects. If you see holes, sawdust, and wood deposits, the frame is likely infested. It is therefore imperative to treat it.
Note: it is advisable to treat a healthy frame before installing the insulation by applying a preventive product. After waiting about ten days and ventilating the room if possible, you can install the roof insulation.
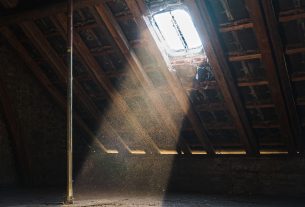
Case 1: insulating a single layer roof for unfinished attics
Single-layer insulation is a quick way to insulate a roof. This method is suitable for unfinished attics with a low roof pitch or a small space. Coupled with floor insulation, it will allow you to limit energy losses.
Install the insulation between the rafters
You will lay the insulation transversally between the roof rafters. The thickness of the insulation must correspond to the thickness of the rafters minus 3 cm.
– Measure the distance between the rafters.
Note: Remember to wear gloves, goggles, and a face mask before handling.
– Unroll the rolls of insulation on the floor.
– Transfer the measurement to the insulation, adding 15 to 20 cm.
Note: Insulation has a natural elasticity that allows it to be compressed between the rafters.
– Cut the insulation with a handsaw or a serrated knife.
– Start the installation at the bottom of the slope, going up to the ridge while leaving an air gap of 3 cm between the roofing sub-materials and the insulation.
– Take care at the joints between the pieces of insulation to avoid thermal bridges.
Tip: Remember to insert insulation around openings as well if there are skylights or dormers.
Also, seal all joints with masonry surfaces.
Install the vapor barrier
It is recommended that a breathable membrane called a vapor retarder to be installed over the insulation. These are available in rolls of different widths.
– Cut the vapor barrier strips to the length of the slope, adding 20 cm.
– Lay the strips taut, leaving 20 cm at the top of the slope.
– Staple them to the rafters.
– Apply a 10 cm overlap between each strip.
– Tape each joint with double-sided adhesive.
– If there is a roof window:
◦ Install the vapor retarder in its entirety, then cut it off at the window.
◦ Staple or tape it around the window location.
Case 2: Insulate the roof in a double layer to convert the attic.
The double-layer technique is to be preferred if you want high-performance insulation or an attic conversion with plasterboard finish on metal framing. It is advisable to fix hangers that will support the metal framework before installing the second insulation layer.
Attach the metal hangers to the framing
– Attach a metal hanger at each end of the rafter (to a rafter), at the high point and the low point. The space between the rafter and the end of the hanger should be equal to the insulation thickness.
– Connect the opposite hangers horizontally with a string under tension.
– Attach a first horizontal line of hanger to the high point on each rafter, aligning with the string.
– Do the same at the low point.
– Then, connect the lines at the high and low points vertically with twine. This allows you to create a grid that will help align the following lines vertically and horizontally.
– Attach the lines to the vertical lines at approximately 60 cm intervals.
– Remove the string once all the hangers are attached.
Install the second layer of insulation
The second layer of insulation is installed perpendicular to the first.
– Apply a second layer of insulation perpendicular to the first, starting at the bottom of the crawl spaces.
– Staple the insulation to the hangers or cut the insulation to accommodate the hangers.
– Hold it in place with rosettes screwed onto the hangers.
Note: there are several types of hangers with different methods of fastening the furrings according to each model. It is possible not to use a rosette.
– Alternate the joints between the insulation strips from one row to the next to ensure a perfect seal.
– Attach the metal furring to the hangers by clipping them onto the rosettes or their ends.
Install the vapor barrier
It is necessary to install a vapor barrier on the insulation.
– Cut the vapor barrier strips to the length of the slope, adding 20 cm.
– Stretch the strips with an overlap of 10 cm between them.
– Tape the strips to the furring to secure them.
– Tape each joint with double-sided adhesive.
– If there is a skylight:
◦ Install the vapor retarder in its entirety and then cut it at the window.
◦ Staple or tape it around the window location.
After finishing the insulation installation, you can make the finishing touches by installing a gypsum board on the slopes.
Equipment needed to insulate a roof.
| Wall stapler | $8 |
| Paper scissors | $2 |
| String | About $3 |
| Gloves, mask, and goggles | $14 approx. |
| Insulation in rolls | Starting at $3/m² |
| Tape measure | Starting at $4 |
| Drill | Starting at $30 |
| Hacksaw | Starting at $15 |
| Handsaw | Starting at $3 |
1 thought on “How is Roof Insulation Done?”