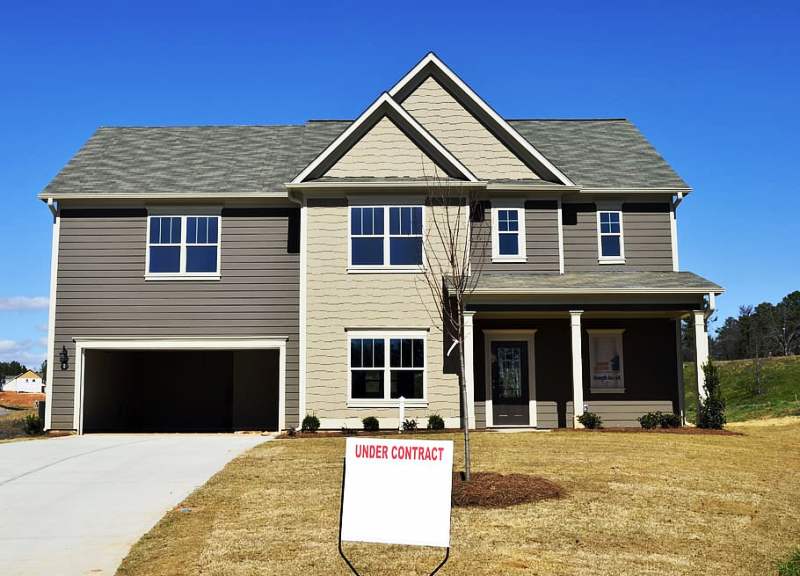
Installing the Under Roof: Simple and Effective
There are many ways to personalize a roof: roof finials, mantling, PVC or wooden under roofs, eaves or roof paint. There are many possibilities for those who want to embellish their home.
The under-roof to beautify and protect
It is possible to create a perfect harmony between the woodwork of a house, cladding and the under roof. Thus, the under-roof can be, like the joinery:
– Wooden (panelling, shuttering board, etc.):
◦ UV-resistant;
◦ can be painted in the desired colour, in harmony with the rest of the house;
◦ charm and naturalness.
– Made of PVC:
◦ resistant: long life;
◦ very light: easy to install;
◦ hardly inflammable;
◦ impact resistant;
◦ available in various colours.
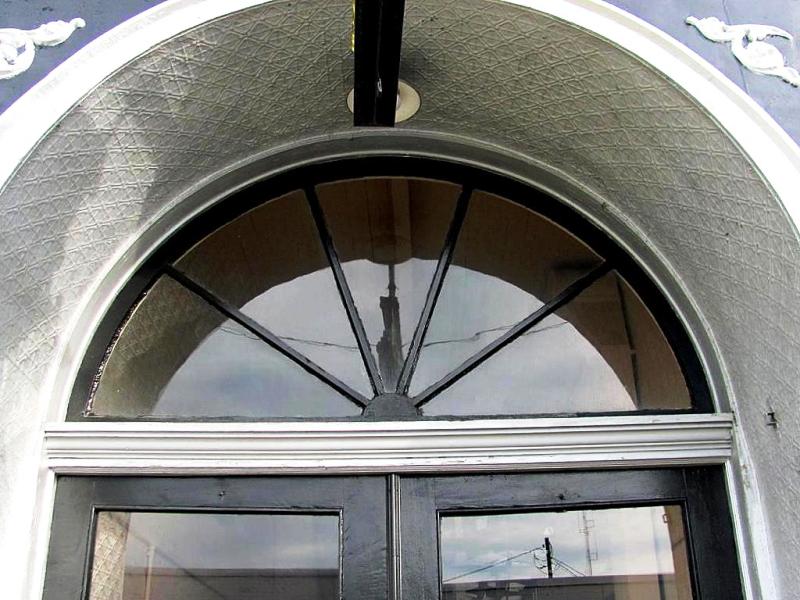
A clad roof overhang gives a more aesthetic appearance and also helps to limit heat loss in attics. In addition, you can lay a layer of insulation under the eaves.
Laying the under roof: simple and effective
You can install the under roof perpendicular to the wall or parallel to it. The under roof is laid on a piece of wood:
– either directly on a rafter of the roof structure;
– or on an added batten or board.
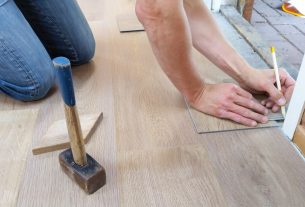
Installing wooden under roofs: easy to do yourself
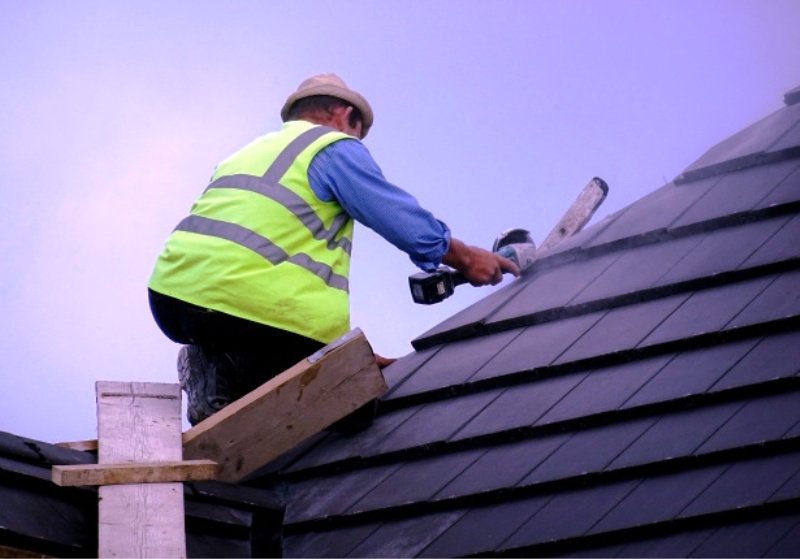
With a few simple tools such as a hammer, tape measure and level, you can make your own under-roof. The installation steps are detailed in the table below:
|
Installation steps |
Techniques |
|---|---|
|
Installing the support |
– Draw a straight line on the top of the wall at the same level as the bottom edge of the gutter. – Check the level. – This straight line serves as a base for a board that will be fixed flat to the wall. |
|
Place the ends of the formwork |
– Make two wooden triangles that close the formwork. – Fix them with screws. |
|
Measure, cut and fix the wooden boards (panelling, etc.) |
– Lay the first board cut a little longer than necessary: ◦ by nailing in longer boards, you will be able to create an even finishing level in the end. ◦ this installation can be done with screws, staples or small-pointed nails. ◦ the nail heads can be driven under the wood and the holes filled with paste. |
|
Carrying out the levelling |
– Use a space-saving blade saw for wood, as the stroke length is quite short. – It is possible to hide the cut wood by nailing a wooden angle. |
|
Finishing |
– Apply a fungicide stain or varnish to the wood. – A paint in the same colour as your woodwork can also be applied. |
PVC under roof installation: a simplified technique
The steps involved in installing PVC under roofs are reduced thanks to new installation techniques:
-
Fixing the batten to the masonry.
-
Fixing the edge profile to the masonry.
-
Fixing the fascia to the rafter ends: it is essential to check the alignment.
-
Cutting the infill profiles leaving a gap. This gap allows the profiles to expand.
-
Fixing on the tongue side using:
– nails;
– clips;
– or stainless steel screws.
-
Returns are easy to make using a joining profile.
-
The planks are installed perpendicular to the façade.
You can further install a screen with an insect screen to prevent insects from entering the room. This will also allow optimal ventilation of the underside of the wall: it is installed with clips.
Note: You can also provide for the installation of spotlights during the installation.
Do you want to know more? Get in touch with roofing professionals in Simcoe County. They’ve been taking care of properties for over 25 years, be it Flat Roofing, Shingles, Skylight systems, Eavestrough Installation, Soffit Installation, Roofing Repair, or Roofing Maintenance.
1 thought on “Installing the Under Roof: Simple and Effective”