Did you know that a hot and poorly ventilated attic can increase your utility bills and even deteriorate the material that holds your roof together?
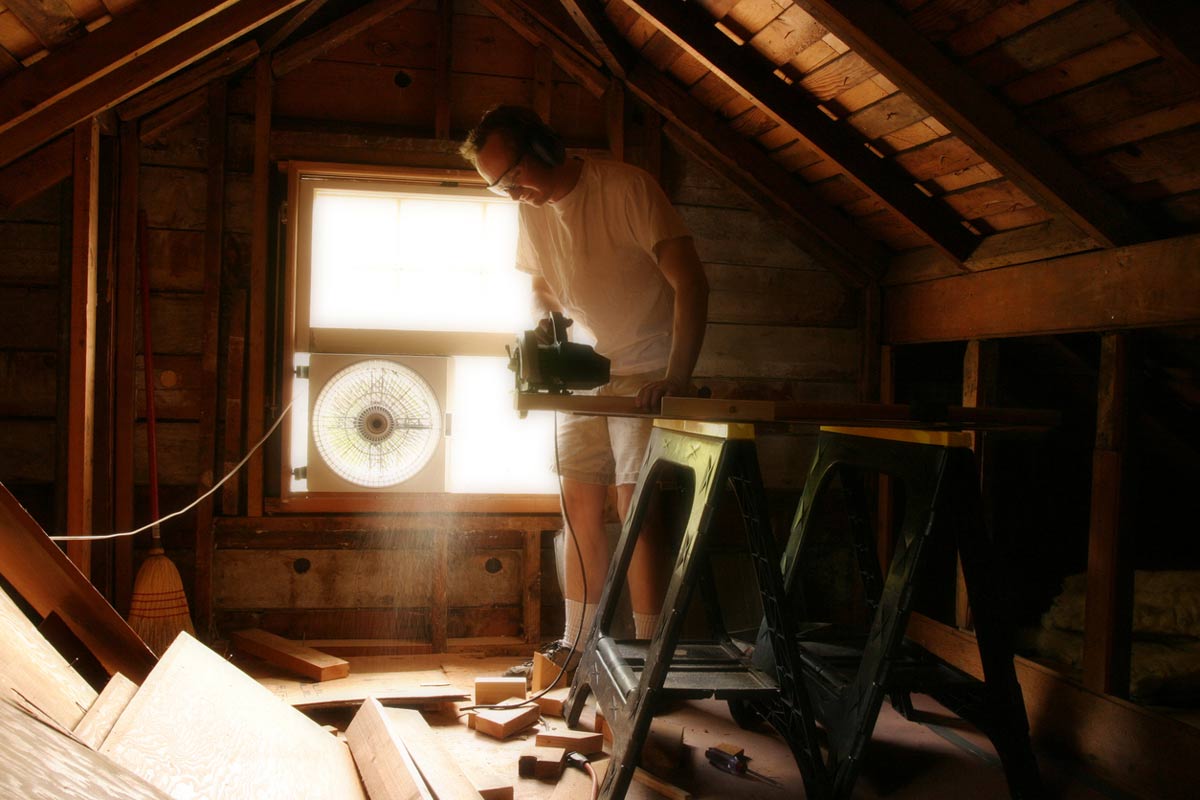
So, installing an attic fan is one of the best solutions that can save you money and at the same time lower the temperature of your attic. The question that remains is how to install an attic fan?
How to Install an Attic Fan Over a Gable Vent?

Step 1: Measure the distance between the studs on the vent’s left and right sides. To get an accurate measurement, use a tape measure. When you’re finished, keep a note of the number. And, remember, you’ll need this measurement to find the right size piece of plywood to install your attic fan on.
Step 2: Locate a piece of plywood that is at least as wide as the gap between the studs. As you’ll be mounting the plywood to the two studs, it must be able to reach both of them. Look for plywood that is approximately 12 inches (1.3 cm) thick. If your studs are 2 feet (0.61 m) apart, you’ll need at least 2 feet (0.61 m) of plywood.
Step 3: Trace the circular body of your attic fan onto the plywood’s center. The mounting bracket for the fan should not be included in the circle you draw. If the circle is larger than the actual fan, the fan will not mount properly in the plywood.
Check the box that came with your attic fan to see if the manufacturer included a pre-cut circle the same size as the fan’s body. Instead, if they did, you can track that down.
Step 4: Cut out the circle you traced with a reciprocating saw. A reciprocating saw is a portable power saw with a blade that moves quickly in and out of objects as it cuts them. Drill a pilot hole in the center of the circle to serve as a starting point for the saw when cutting out the circle. Then, with the saw, carefully cut along the circle until it is completely cut out of the plywood. Once the plywood circle has been cut out, it should be discarded.
Step 5: Place the attic fan on the plywood, centered over the hole. Then, put the plywood on a flat surface and position the fan over the hole you made. Next, you’ll need to drill the screws that came with the fan into the plywood and through the fan’s mounting bracket. When you’re finished, make sure the fan is securely fastened to the piece of plywood.
Step 6: On each side of the gable vent, nail the plywood into the studs. When you place the plywood and fan over the vent, make sure the back of the fan is facing you and the front of the fan is facing the vent. Before nailing the plywood to the studs, position the fan over the vent. After you’ve centered the fan, nail the plywood into the studs to secure it over the vent.
It might be useful to have someone hold the fan while you hammer the plywood into place.
Step 7: Attach the thermostat to a nearby stud. The thermostat is the box with a wire connecting it to the fan. The fan will be controlled by the thermostat. Insert the screws that came with the fan through the screw holes and into the stud you’re mounting it on to mount the thermostat.
Step 8: To connect the fan to your attic, follow the manufacturer’s instructions. Remember that you must follow your local electrical codes and have your wiring inspected by a codes official. Improperly wiring your attic fan can be dangerous and result in serious injury. If you are unsure, it is best to hire a professional electrician to wire your fan after it has been installed.
If you want to know how to install an attic fan on a roof, come back for part 2.