You must have heard how important a roof is, but do you really know why?
One, the roof serves as a protection against snow, hail, rain, ice, branches and debris. Two, a roof that is in good shape represent fewer air leaks and thus better ventilation, increasing your home’s energy efficiency. Three, a good roof adds in home value (even if you have no intentions of selling your house).
So, congratulations if you’ve finally decided to hire Boss Roofing and start your new roof project.
Now, if you are wondering how to measure your roof or if your roofing contractor will properly estimate your requirements, I strongly suggest you read this article to get the best estimate for your roof’s measurements.
How Do You Calculate The Height Of Your Roof From The Ground?

Phase 1:
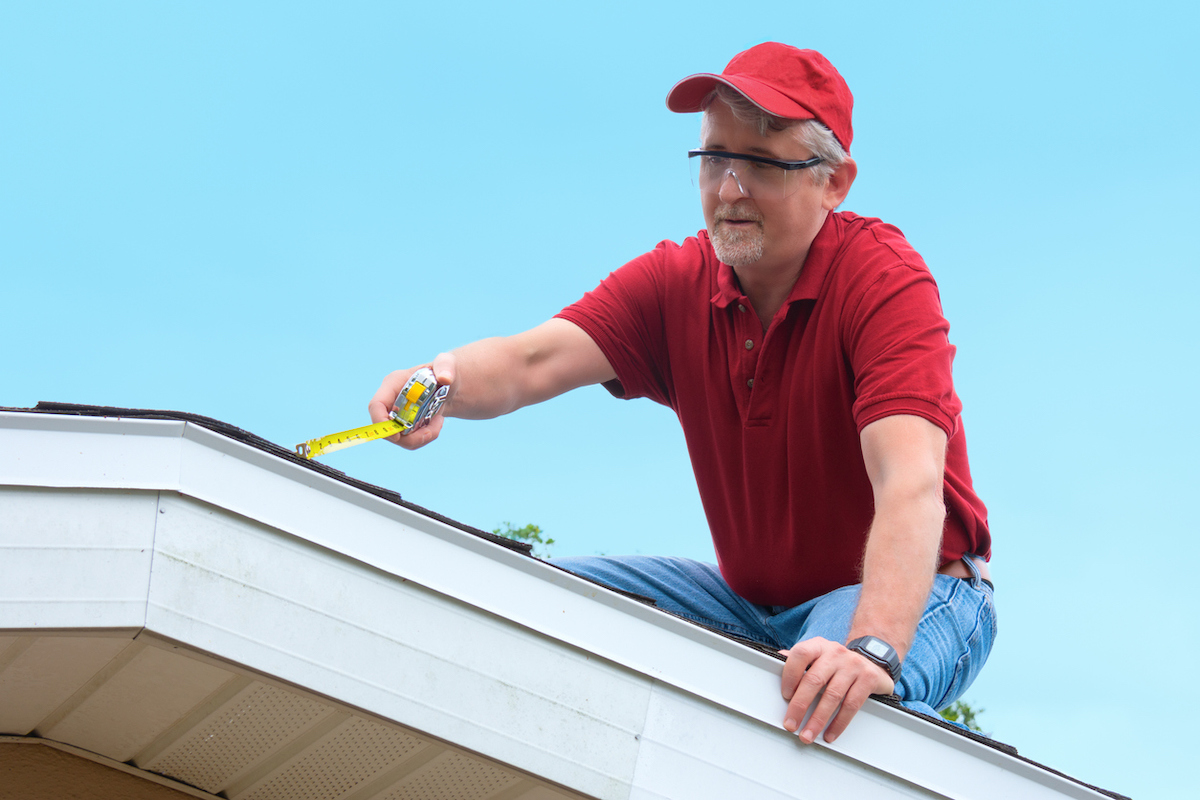
Determine the length and breadth of the outer walls of the structure. Stretch your tape measure from end to end and in both directions along the walls. Make a note of these dimensions in your notebook. These two measurements, along with the pitch of the roof, will be used to compute the overall square footage of the roof.
After measuring the building’s walls, calculate the length of the overhangs on either side (if your roof has them). The simplest method is to simply eyeball them and estimate how long each one is in feet. To account for the extra space, add these values to your measured measurements.
When replacing a square or rectangle roof, estimating the area from ground level is less exact than measuring each side separately, but it can be a quick, easy, and safe option. You’ll need to climb to the top of an unevenly shaped roof to take measurements.
Phase 2:
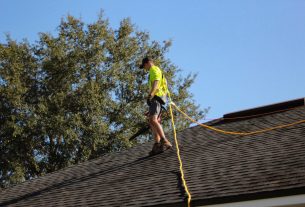
Determine the pitch of the roof. The pitch of the roof refers to its steepness. To determine the pitch of your roof, you must first construct a ladder tall enough to reach it. Place a level a few feet in from the edge of the roof and tilt it so that the floating bubble is centred, then measure the distance from the end of the level to the roof’s surface.
- Pitch is expressed as “X-in-12 (inches).” The pitch of a 1 ft (0.30 m) level is the distance between the level’s edge and the surface of the roof. A distance of 7 inches (18 cm) implies a pitch of 7-in-12 on your roof.
- To determine the proper pitch when using a 2 ft (0.61 m) level, divide the distance between the level and the roof by two. A difference of 14 in (36 cm), for example, represents a pitch of 7 in (18 cm).
Little Note: Remember that when describing roofing projects, the terms “pitch” and “slope” are frequently used interchangeably.
Phase 3:
To get the square footage of the roof, multiply the area by the pitch multiplier. Begin by multiplying the length by the width. Then, multiply the product of these two dimensions by your pitch multiplier. The figure you receive will be an exact estimate of the area you need to cover for your roofing job.
If your roof spans 48 feet (15 meters) by 24 feet (7.3 meters), calculating its length by breadth yields a square footage of 1,152 square feet (107.0 m2). If the pitch is 6-in-12 (a pitch multiplier of 1.12), multiplying 1,152 square feet (107.0 m2) by 1.12 results in an overall square footage of 1,290 square feet (120 m2)
Phase 4:
To figure out what figure to use, see a pitch multiplier chart. Pitch multiplier charts make it simple to determine the square footage of a roof based on its pitch. Search for “pitch multiplier table” and check on the left side of the table for the measurement of your roof’s pitch in inches. Make a note of the matching pitch multiplier to use in the subsequent computations.
A roof with a 3-in-12 rise, for example, will have a pitch multiplier of 1.031, but one with an 8-in-12 rise will have a multiplier of 1.202.
With a brief Internet search, you should be able to find a number of dependable pitch multiplier tables.
Phase 5:
To calculate your supplies, divide your approximate square footage by 100. Roofing supplies are packaged in “squares” with enough shingles to cover 100 square feet (9.3 m2). For example, dividing 1,290 sq ft (120 m2) by 100 will inform you that you need to order at least 13 squares to complete the project.
To account for waste, always order 10% extra supplies than you believe you’ll need, then round up to ensure you don’t run out. In the preceding example, 15 squares are required.
Whatever your roofing requirements are, only Boss Roofing can get the job done right!