Summary
– Step 1: Prepare for the installation of adhesive PVC planks
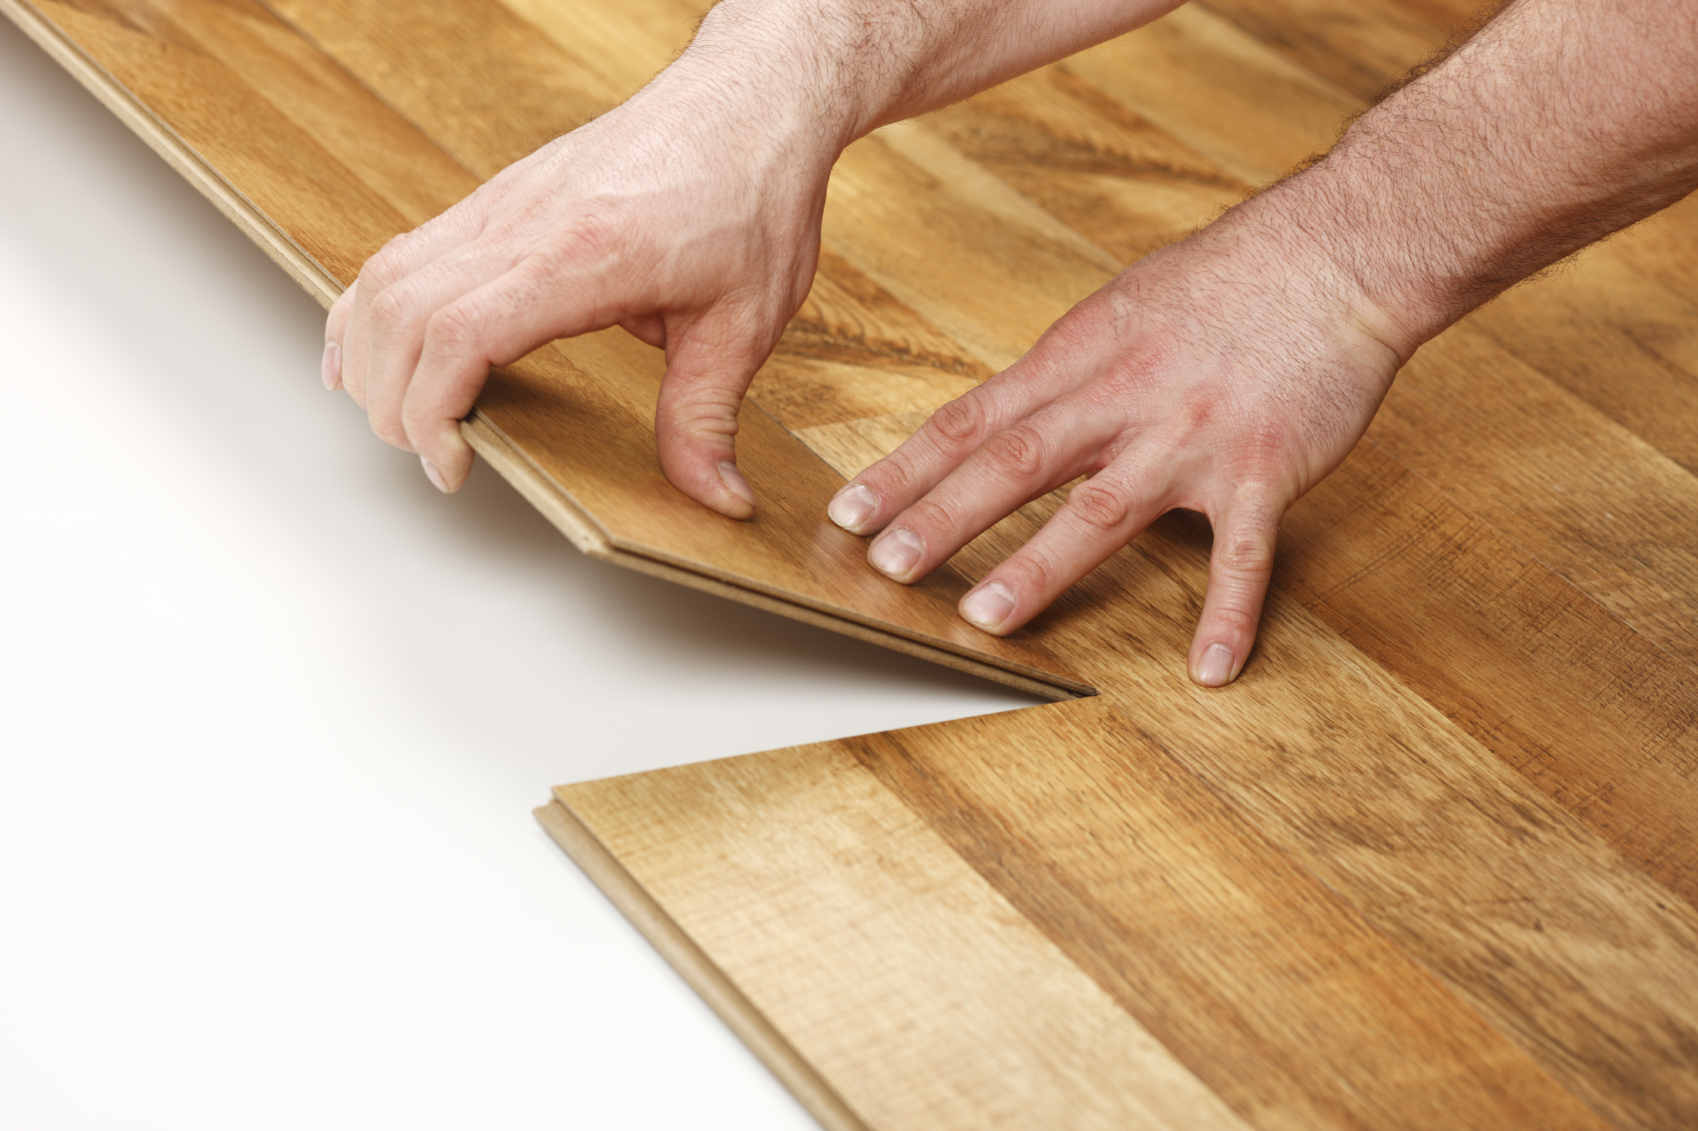
– Step 2: Installing PVC planks
– Step 3: Cut the planks to length
– Step 4: Finish the boards
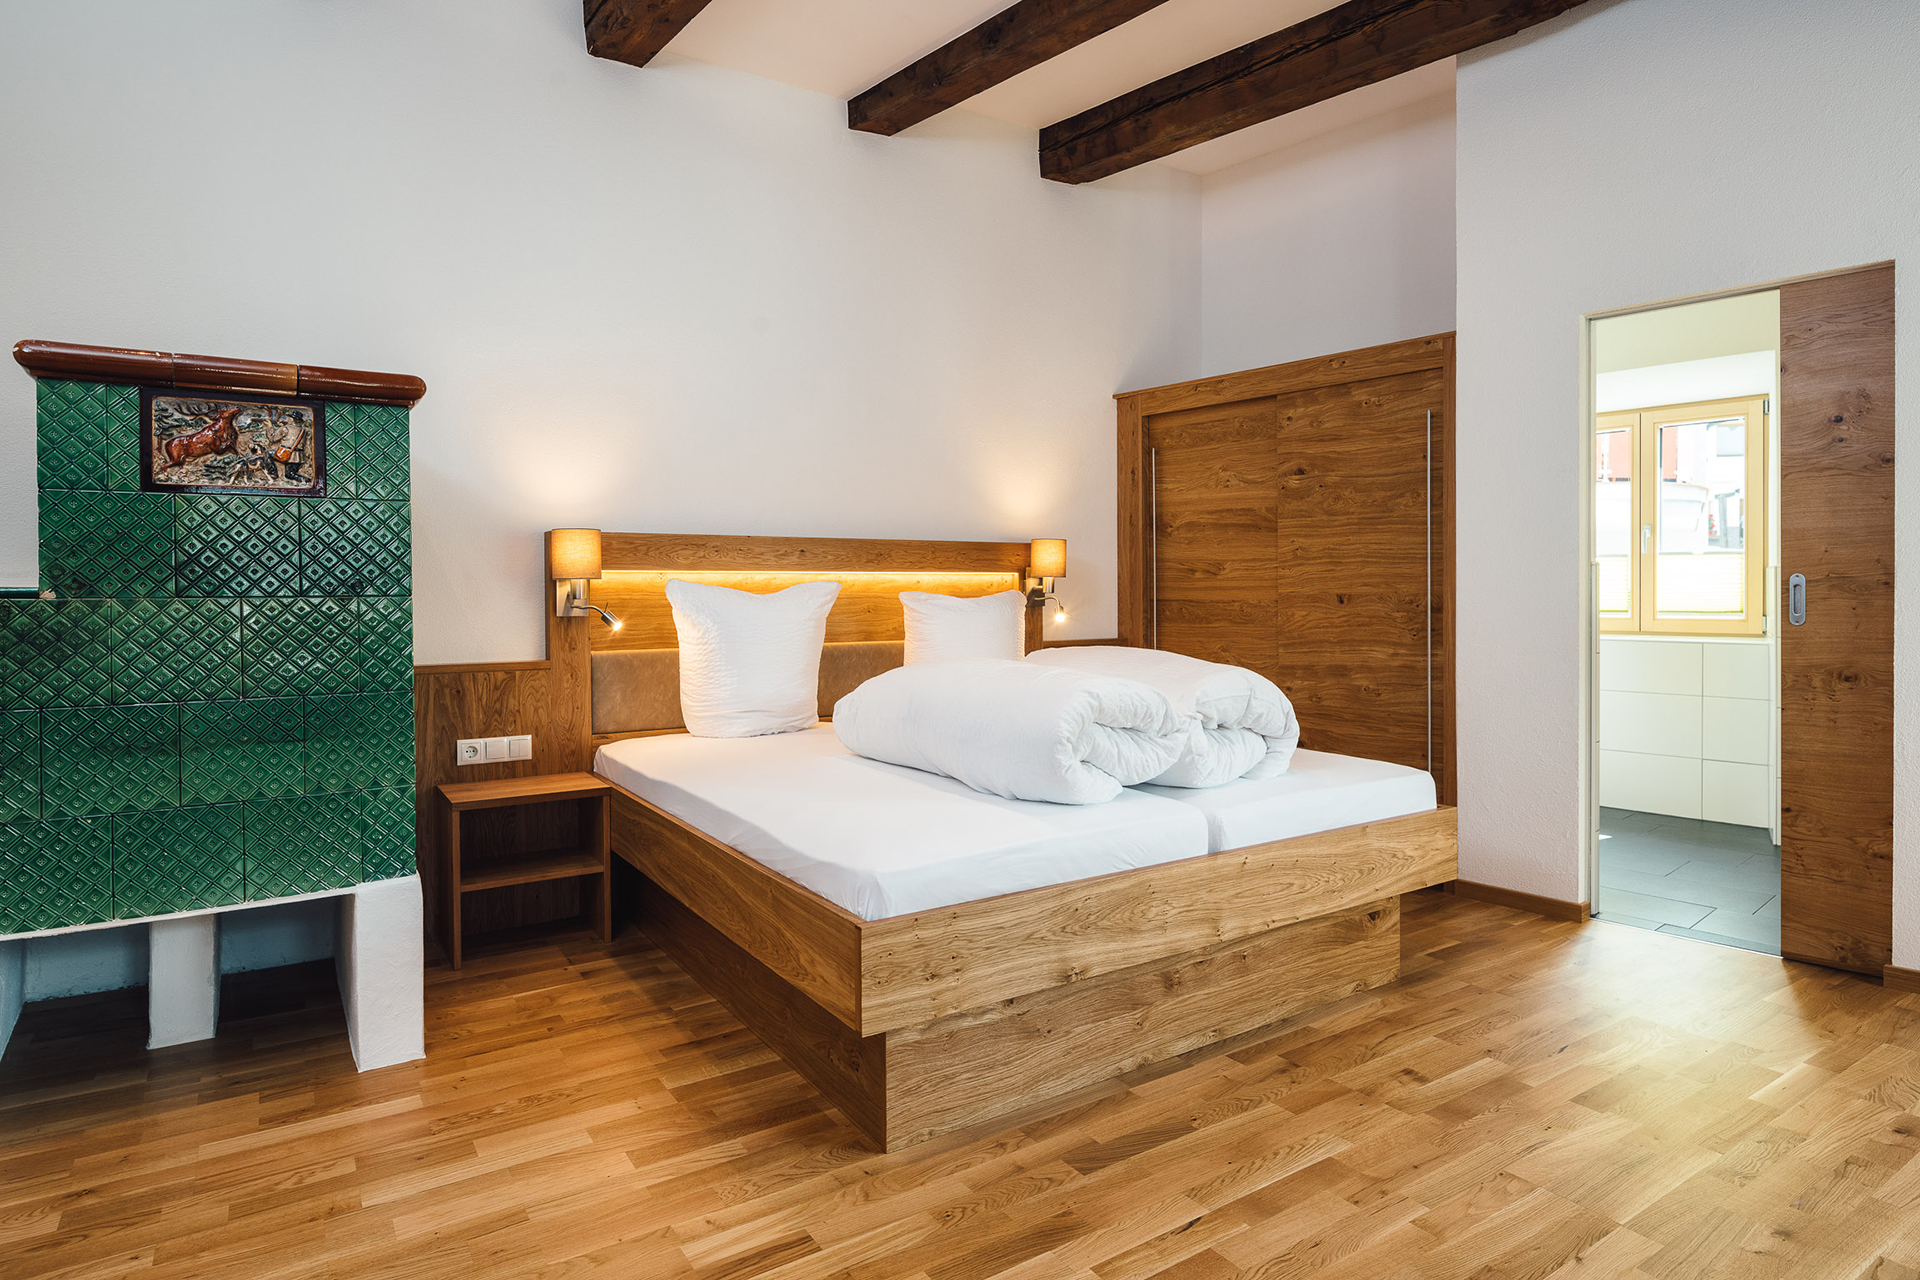
Installing adhesive PVC planks is straightforward and gives you the illusion of wood decor at a meagre cost and easy maintenance.
Before starting the installation, it is essential to choose the direction of the boards to obtain an aesthetic result. Once this decision is made, the structure of the panels is done edge to edge without difficulty.
Here are the materials and steps required to install adhesive PVC strips.
Materials for installing adhesive PVC tiles
|
Rubbing alcohol |
|
Cloth |
|
Carpenter’s pencil |
|
Cutter |
|
2m aluminum ruler |
1. Prepare for the installation of adhesive PVC planks
It is advisable to store the planks for at least 2 to 3 days in the room where you want to install them to acclimate.
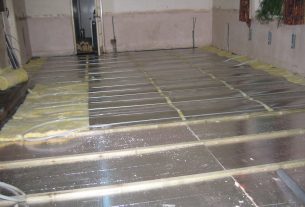
The floor must be clean, hard, smooth and flat to ensure an aesthetic and durable installation. If this is not the case, preparation of the support, i.e. a levelling, is necessary.
Choose the orientation of your boards in the room. Take into account the effect you are looking for and the dimensions of the room:
Generally, it is recommended to install the boards parallel to the daylight to make the joints less visible.
– In long but narrow rooms, a lengthwise installation is recommended.
– In the end, choose the installation that seems most straightforward and most aesthetic.
2. Laying PVC planks
Draw a line on the floor with the metal ruler perpendicular to the doorway of this room. Then :
– Remove the protective paper from the first board and align it against this reference line.
– Continue the row by laying the boards in a row.
– Cut the last one:
◦ Lay it against the wall, along with the last glued board.
◦ Raise the layout.
◦ Cut with the cutter and the ruler: a cutter line then a fold.
◦ Glue it to the end of the row.
– Start the next row with the off-cut of this board; the boards will thus be laid in a staggered pattern.
Start again beyond the reference line, doing the same.
3. Cut the boards lengthwise
To fill in the gaps around the room, take the dimensions of the boards to be cut using the overlapping technique:
– Place the to-be-cut board A on top of the board next to it (you can slightly lift the protective paper to let it stick to the tile below).
– Place a blade B against the wall and opposite blade A.
– Mark the cut line of A with a pencil.
– Cut the blade with a cutter using the ruler.
To get around obstacles, transfer the shape to be cut using a cardboard template to adjust: position the template on the blade and trace the cut with the cutter.
4. Make the finishing touches
Once the installation is complete, wipe with a cloth soaked in alcohol to remove the adhesive between the tiles.
Then install the baseboards.
Read more:
– Home Decoration Ideas: Plasterboard;
– Preparing a Plaster Wall for Painting It;
– How to Apply a Smoothing Plaster on Your Wall;
– Building Materials and the Use of Plaster in Construction;
– How to Seal a Humid Concrete Floor?
– 6 Residential Painting Techniques;
– How to Choose the Right Paint Finish;
– Home Painting: Eliminating Paint Odor;
– How to Paint With a Spray Gun;
– Peeling Paint on the Ceiling, What Can I Do?