3 Steps to Maintain a Wooden Pool
Summary
– Focus on the wood used to make pools
– Step 1: Clean the wood structure of your pool
– Step 2: Degrease the wood
– Step 3: Nourish the wood with a saturator
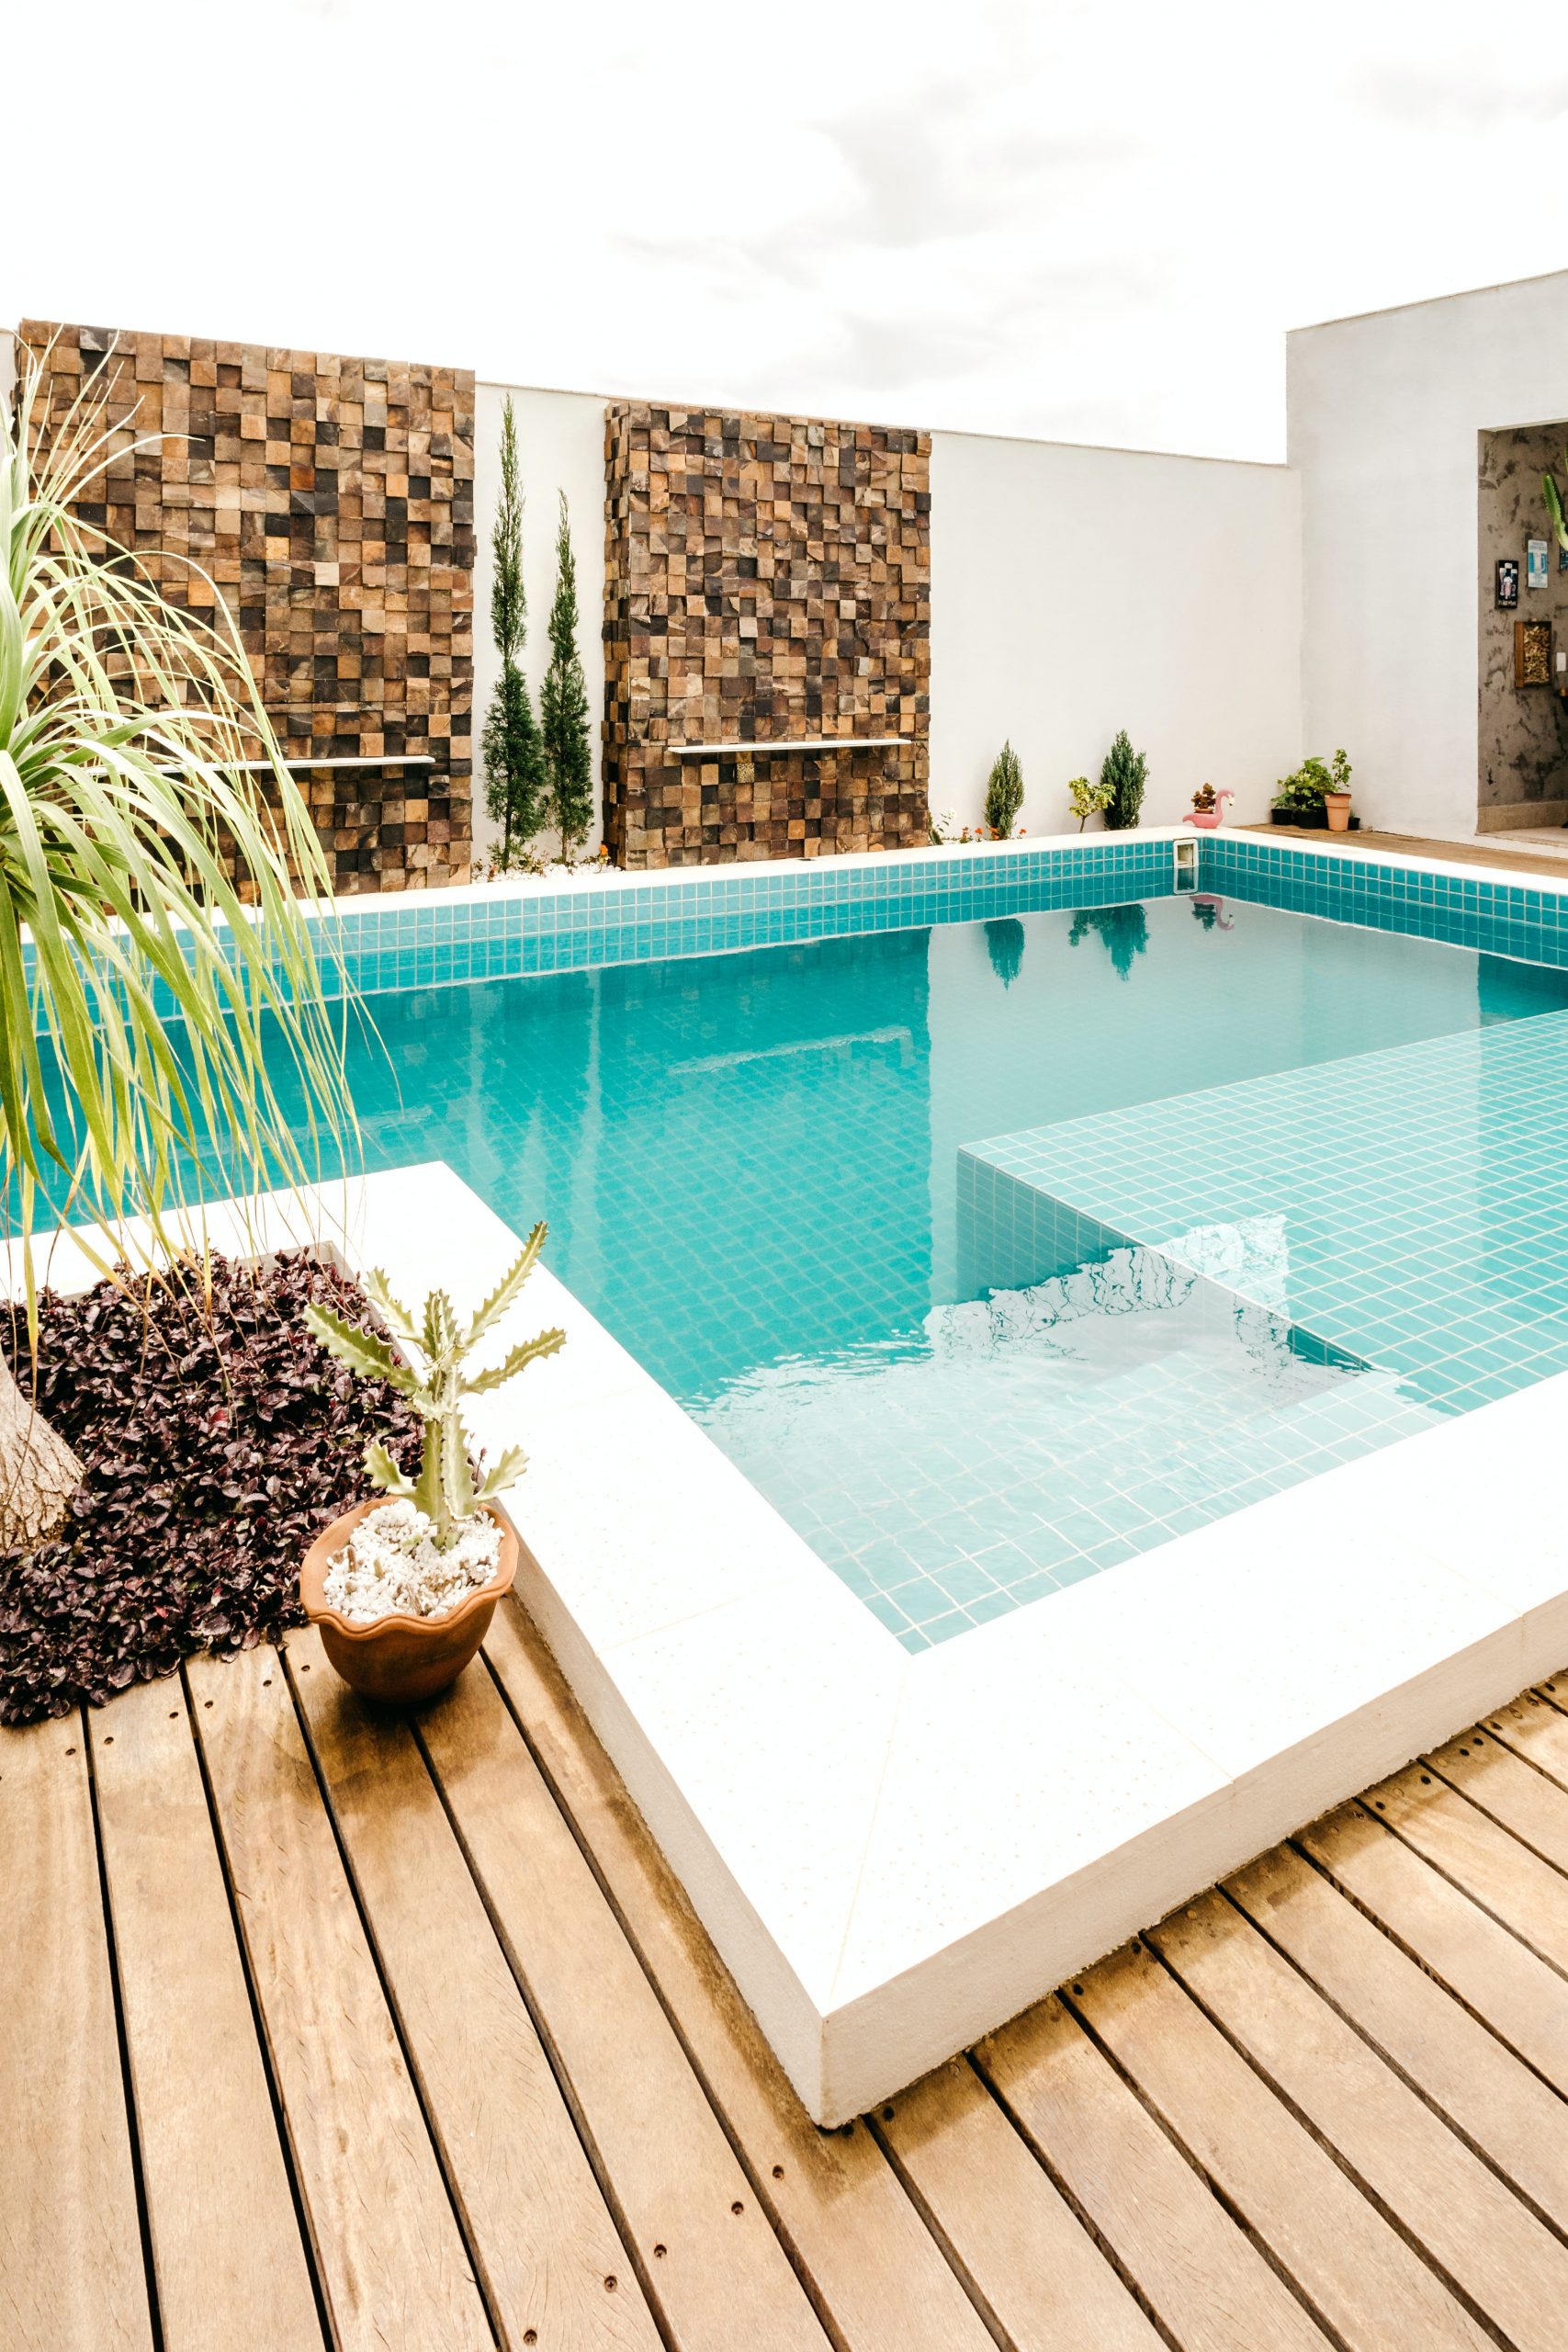
Wooden pools are trendy. They have undeniable aesthetic qualities, combining the beauty of noble material and the appeal of water.
Typically, they are made of rot-proof wood or treated to become so and are naturally resistant to bad weather. If they require regular maintenance, it is mainly for aesthetic reasons.
Under the action of UV rays and bad weather, the wood of a pool, whatever it is, loses its shine and tends to turn grey. These phenomena are normal and proper maintenance will restore your pool to its beautiful natural wood colour.
Here are the steps to follow to maintain a wood structure pool.
Focus on the wood used for the manufacturing of pools
Intended to be often sprayed with water, the wood used to manufacture a wood structure pool must be rot-proof. There are two categories:
– Naturally rot-proof wood species, for example, teak, iroko, meranti dark red, green ebony, red cedar…
– Classic species, mainly pine, are treated in an autoclave to become rot-proof: the wood is then impregnated at heart, according to a specific injection process under pressure of a fungicide and insecticide substance. It is then labelled class IV.
In both cases, the wood used is resistant to moisture, wood-eating insects and fungi: at no time is treatment necessary to prevent rotting if the wood is class IV (autoclave treatment) or class V (most exotic species).
Note: wood sold or used in construction, whether for swimming pools or others, is classified into 5 categories, from I to V according to the NF EN 335-2 standard: from class, I suitable exclusively for indoor use, to type V ideal for use in a marine environment, in permanent contact with seawater. Class IV corresponds to exterior wood subjected to frequent or permanent humidification.
So make sure that the wood of your pool is class IV or V. Unfortunately, there are still a few manufacturers offering class III wood pools: in this case, there is not much to do except to turn against the seller if you notice wood rot.
1. Clean the wooden structure of your pool
Under the action of splashes, vegetal pollution and earth projections, the coping, beaches, and even the external walls of your wooden pool get dirty.
A good cleaning is then necessary.
Clean the walls of the pool
There is no fixed periodicity to observe, just clean when the need is felt by proceeding as follows:
– Add a bit of liquid black soap to a bucket of water, or a squirt of dishwashing liquid will do the trick.
– Arm yourself with a quack brush soaked in soapy water and scrub to remove the dirt thoroughly.
– Rinse thoroughly with water.
Note: If you have a pressure washer, you can use it instead of scrubbing but remember to set it to moderate pressure.
Clean wooden coping and decks
– Hose down frequently to remove the bulk of the dirt.
– Occasionally, clean more thoroughly with a brush, soapy water, or pressure washer.
– Rinse with a hose thoroughly to prevent a soapy residue from making the coping stones slippery.
2. Degrease the wood

This step is not always necessary, depending on the condition of your pool. It’s also possible that the vertical walls have kept their colour while the horizontal surfaces of the coping and decking, which are directly exposed to UV radiation, have more or less become gray.
– Use a wood cleaner to get rid of stains and graying. Proceed as follows:
– Start with a good cleaning of the wood as described in step 1, and let it dry well.
– If the wood is in terrible condition and very stained, sand it lightly beforehand (use a fine abrasive) and then dust it off.
– Shake the product well before use.
– Apply the product generously, in the direction of the wood fibres, with a brush or a long-haired roller.
– For vertical surfaces, proceed from top to bottom.
– Work in small areas (no more than 10 m² at a time) and let the product work for 15 minutes.
– In case of stains or dirty wood, scrub with a brush.
– Rinse thoroughly.
– Allow drying for 3 days before applying a saturator (essential after using the wood stain remover).
Note: use 1 litre of cleaner for 8 to 10 m² of the surface.
3. Feed the wood with a saturator
The wood cleaner is only a preliminary step: the saturator will thoroughly remove the grayish tint and restore the original colour, i.e. saturate the wood.
The purpose of the saturator is to nourish the wood in depth, protecting it from possible cracking. It is the product to use to maintain your wood pool, rather than a stain, which has more disadvantages than advantages in this case.
Good to know: commercial saturator products contain anti-UV agents, which protect the wood for a certain period.
To apply the saturator, proceed as follows:
– Shake the product well before use.
– Apply the saturator generously with a brush or a long-haired roller.
– Remove excess product with a clean cloth (the product must penetrate the wood and not remain on the surface).
– Due to the unequal absorption of wood, the saturator should be reapplied numerous times, with no drying time in between, until the wood is thoroughly impregnated and “refuses” the substance.
– Ideally, it should not be cold or wet for 24 hours after treatment.
The frequency of maintenance of a wooden structure pool depends on external parameters (sun, dryness, rain). On average, count:
– 2 applications of saturator per year on horizontal surfaces (coping stones and beaches);
– 1 application of saturator every year or every 2 years on the outside walls.
The frequency of application of the wood stain remover is more variable, depending on the weather conditions and your tolerance: a slightly greyed wood is not necessarily unpleasant to the eye.
Equipment to maintain a wood structure pool
Grass brush
Cloth
Wood degreaser
Sanding paper
Brush
Outdoor wood saturator
Liquid black soap


1 thought on “3 Steps to Maintain a Wooden Pool”