How to Install Horizontal Eavestroughs
The eavestrough is an essential element of your roof. Indeed, this system made of zinc, aluminum or PVC allows the evacuation of rainwater and protects your house and its foundations. The eavestrough is made of different elements. There is the horizontal part, which collects rainwater directly, the fittings and the vertical pipe, which allows the water to be evacuated by guiding it downwards.
The installation technique depends on the type of eavestrough. What steps are involved in installing a horizontal eavestrough? Let’s see below.
The different elements for the installation of an eavestrough
To understand how to install an eavestrough, you must first know the different elements that make up this system. The eavestrough takes the form of an eavestrough with a sloping bottom. This is the horizontal part.
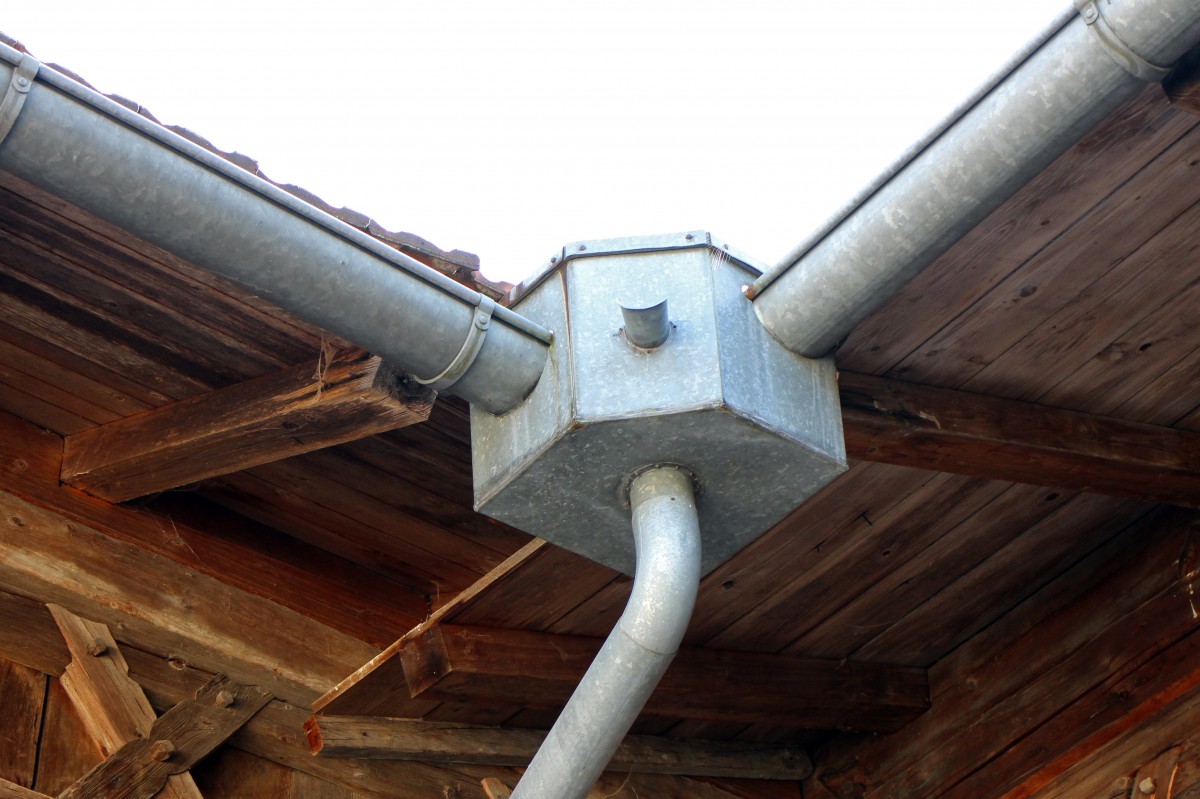
The eavestrough outlet (or birth) then allows the collected water to be evacuated towards the downspout, which is a vertical pipe.
There are different types of eavestroughs. There is the hanging eavestrough, which is installed over the roof, and the crawling eavestrough, which slides under the roof covering without overflowing.
The steps to install the horizontal eavestrough
First of all, there are standards to respect for the installation of an eavestrough. It is important to know this information before starting the work.
Then, the installation of the horizontal eavestrough requires a rigorous layout before proceeding to the installation of the hooks and the assembly. We will see in the next paragraphs how to install the horizontal part of your eavestrough safely.
Rules to follow for the installation of horizontal eavestroughs

First, for the installation of your eavestrough, you must respect the installation of a slope of 5 millimetres per meter, measured with a level, to promote the flow and evacuation of water. The slope is achieved by adjusting the different levels between the hooks.
Certain distances must also be respected to install a horizontal eavestrough. You must place an eavestrough outlet every 12 meters along the length. Each eavestrough is then connected to a downspout.
How to define the dimensions of your horizontal eavestrough? To know the necessary dimensions for your eavestrough, take into account the projected surface of your roof, but also the slope of the roof. The volume of rainfall in your area is also important information in choosing the development of the eavestrough.
The eavestrough layout before fixing
Before fixing the eavestrough, you have to draw an eavestrough line. This operation is important because it allows you to determine the location of each hook. You must take into account a spacing of 50 centimetres between each hook. If this does not correspond to the distance between the rafters, provide a fascia board.
We still recommend that you assemble the various components of your eavestrough on the ground before fastening. This will ensure that all the parts are present but also that the eavestroughs and pipes fit well on your façade and the height of the house.
Fixing the hooks of the horizontal eavestrough
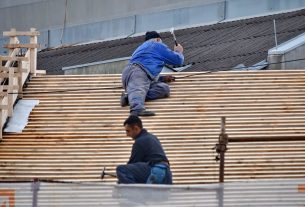
The installation of a horizontal eavestrough is quite simple, with a system of fixing hooks on the rafters, following the layout made.
For a solid and durable installation, it is important to use stainless steel screws to fix the hooks. Start by drilling a hole (diameter depending on the type of hook) to attach the first hook on the high point side. Repeat the same operation for the low point.
Using a chalk line and a level, check that the slope of the eavestrough is 5 millimetres per meter. Then continue installing the hooks every 50 centimetres.
For a ramped eavestrough, the installation technique is the same, but the hooks will be attached through a lining strip or hemmed strip.
The assembly of the horizontal eavestrough
Now that the horizontal eavestrough is fixed, it is necessary to make the connection with the pipes. This step is rather technical and must ensure the water-tightness of the whole system.
There are different ways to assemble the eavestroughs and downspouts, depending on the materials. The connection is made at each birth of the eavestrough. This can be :
A connection by gluing: this method concerns mainly the PVC eavestroughs.
A connection by welding: this technique is used for copper or zinc eavestroughs. The water-tightness between the eavestrough and the downspouts is thus perfect.
An interlocking connection: in this case, the eavestroughs and downspouts are interlocked. For perfect water-tightness, it may be wise to add silicone seals.
Eavestrough maintenance and cleaning
Eavestroughs are an often overlooked part of the roof when it comes to roof maintenance. And yet, they can be the source of significant water infiltration in your home when they are poorly maintained. A clogged eavestrough, for example, can cause serious leaks and lead to major repairs later on.
Whether it is made of aluminum, zinc, copper or PVC, your eavestrough requires regular maintenance. The first step is to remove all accumulated debris. It is also possible to clean the upper part with a high-pressure cleaner.
Installing and maintaining your eavestrough is an important step in ensuring that your home is watertight. We advise you to call a professional company for the installation and cleaning. Ask for several quotes before you decide!