Does the wind whistle through your windows when it’s gusty outside, eh? Do you feel cold drafts around your window frames even when they’re shut tight? Sounds like it’s time to caulk those pesky gaps and cracks around your windows. Caulking your windows is a fairly simple DIY project that can make your home more energy-efficient and comfortable. Here’s a handy guide to walk you through the caulking process.
Why Caulk Your Windows?
Caulking around windows serves several important purposes. First, it seals air leaks that let out heated or cooled indoor air. This improves your home’s insulation and energy efficiency, saving you money on utility bills. Second, sealing gaps stops outside noise and dust from entering through cracks. This helps keep your home quieter and cleaner. Finally, filling voids around windows with caulk improves aesthetics by creating an even, uniform seal.
What Type of Caulk Do You Need?
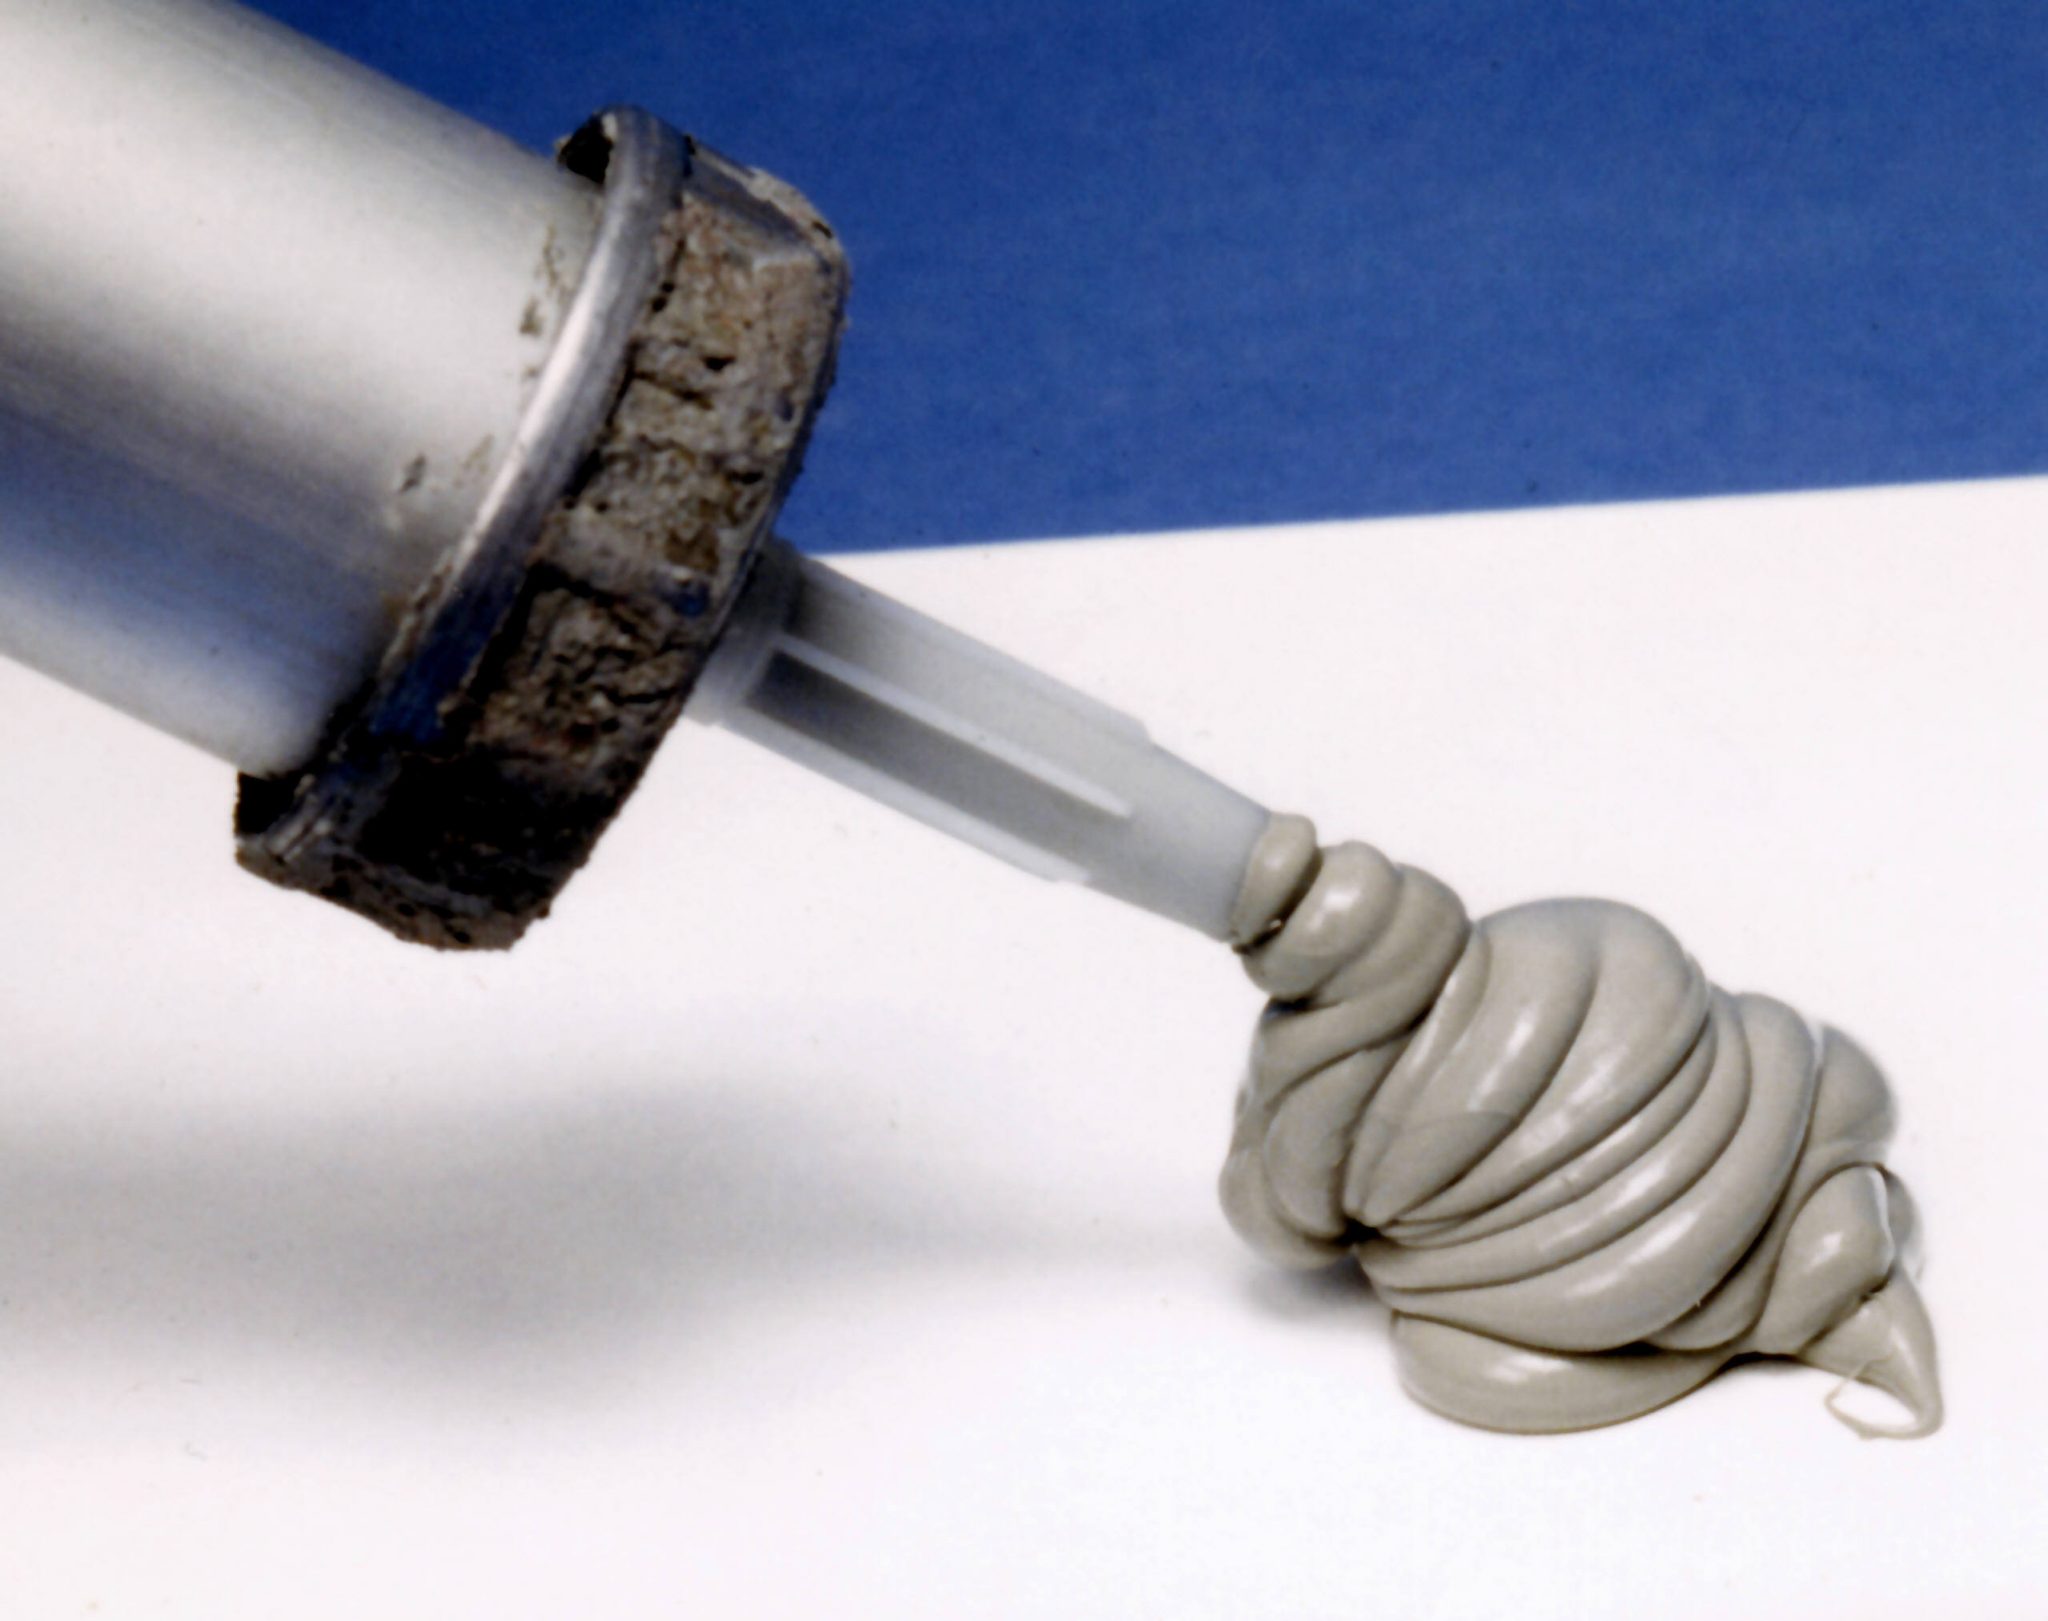
For window caulking, the best choice is a high-quality paintable latex caulk. Latex offers maximum flexibility which prevents cracking as your home shifts with temperature changes. Paintable latex caulks won’t react with window paint or trim like oils. Look for caulk rated for at least 20-30 years durability. Match the caulk colour to your window frames to make repairs virtually invisible.
Gather Your Materials
First, assemble your caulking supplies. You’ll need a caulking gun, caulk, a putty knife or plastic applicator, paper towels or rags, rubbing alcohol, and masking tape. Make sure to get paintable latex caulk in a colour that matches your window trim. Also have a utility knife on hand to cut the caulk tube tip.
Prep the Area
Start by cleaning the area thoroughly with rubbing alcohol. This removes any dirt, oil or old caulk residue so the new caulk can adhere properly. Wipe the surface with paper towels.
Once clean and dry, put masking tape along the top and sides of the window frame, leaving just the gap exposed. This helps keep the caulk line straight and neat.
Load the Gun
Cut the tip off the caulk tube at a 45-degree angle to break the seal. Insert the tube into the caulking gun barrel. Pull out the plunger and squeeze the caulk into the barrel, then replace the plunger.
Apply the Caulk
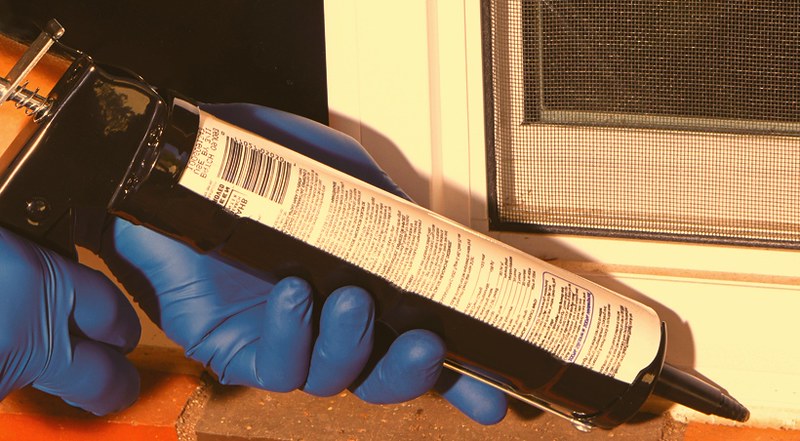
Now you’re ready to caulk. Hold the gun at a 45-degree angle and apply steady pressure to the trigger as you run a smooth, consistent bead along the length of the window gap.
Slow down at the corners to avoid messy overlap. Don’t skimp on caulk – the bead should be wide enough to fill the entire gap.
Smooth the Bead
Once the gap is filled, use a putty knife or plastic applicator to smooth the bead. Press lightly and run the tool along at a 45-degree angle to force the caulk into the crack. Remove any excess with a rag.
Don’t try to wipe the bead perfectly smooth or you may remove too much caulk. The goal is to leave a light, consistent bead that fully seals the void.
Remove the Tape and Clean Up
Carefully remove the masking tape before the caulk dries. If you wait too long, the tape may stick or even peel off some caulk. Use a damp rag to wipe away any small caulk smears or residue.
Let it Dry
Give the caulk at least 24-48 hours to fully cure before exposing it to rain or water pressure. Caulk dries from the outside in, so don’t be fooled if the surface feels dry quickly. The interior caulk needs 1-2 days to harden completely.
Maintain Your Caulking
Properly caulked windows make your home quieter, more comfortable and energy efficient. However, caulk doesn’t last forever. Inspect window caulking annually and reapply fresh caulk as needed. With regular maintenance, your windows will stay sealed and draught-free for years to come.
5 Key Caulking Tips:
- Use high-quality latex caulk for flexibility and long life
- Thoroughly clean and dry the area first
- Apply a consistent bead into a clean gap
- Smooth with light pressure at a 45° angle
- Allow caulk to fully cure before water exposure
Caulking your windows helps stop air leaks and improves your home’s energy efficiency. Investing a little time in this simple DIY home sealing project can lead to big savings on your energy bills! Proper caulking also helps block dust and noise from entering through window cracks, making your living space cleaner and quieter.