Every home undergoes wear and tear over time, with walls and floors being particularly susceptible to the signs of aging. From scuffed walls to cracked tiles, interior surface repairs are inevitable but manageable. In this blog post, we’ll explore expert tips for tackling these common issues, empowering homeowners to rejuvenate their living spaces with confidence.
-
Patching Up Worn Walls:
Worn and scuffed walls are a common sight in high-traffic areas of the home. Whether it’s the result of furniture bumps, children’s activities, or the passage of time, patching up these imperfections is an essential part of maintaining a fresh and inviting interior.
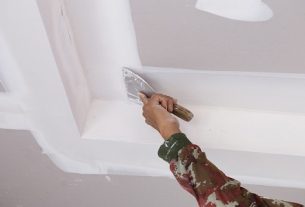
Tip 1: Gather the Right Tools and Materials: Before starting any wall repair project, ensure you have the necessary tools and materials. This typically includes spackle or joint compound, putty knife, sandpaper, and paint that matches your wall color.
Tip 2: Prep the Surface: Clean the damaged area to remove any dirt or grease. Use a putty knife to apply spackle or joint compound over the worn or scuffed spots. Feather the edges to ensure a smooth transition with the surrounding wall.
Tip 3: Sand and Paint: Once the compound is dry, sand the repaired area until it’s smooth. Finish by painting over the patched spots with the matching wall color. This simple process can breathe new life into your walls and make them look fresh and well-maintained.
-
Sealing and Replacing Cracked Tiles:
Cracked tiles not only compromise the aesthetic appeal of a space but can also lead to more significant problems if left unaddressed. Fortunately, tackling cracked tiles is a manageable task with the right approach.
Tip 1: Assess the Damage: Begin by assessing the extent of the damage. For hairline cracks, a quick fix may be possible. However, larger cracks or multiple damaged tiles might require a more comprehensive approach.
Tip 2: Remove and Replace: For individual cracked tiles, carefully remove the damaged tile using a grout saw and a chisel. Once removed, clean the area thoroughly. Apply fresh adhesive and set the new tile in place. Allow the adhesive to cure before grouting.
Tip 3: Grout Carefully: Choose a grout color that matches the existing grout for a seamless look. Mix and apply the grout, ensuring it fills all the spaces between the tiles. Wipe away excess grout with a damp sponge, and let it dry completely.
-
Navigating Wallpaper Woes:
Worn or peeling wallpaper can significantly detract from a room’s overall appearance. While wallpaper repairs may seem intimidating, they are entirely feasible with the right techniques.
Tip 1: Assess the Situation: Evaluate the extent of the damage. If it’s a small tear or bubble, repairs can often be made without having to replace the entire section of wallpaper.
Tip 2: Repair Tears: For small tears or rips in the wallpaper, use a clear wallpaper adhesive to gently glue the torn edges back together. Smooth out any air bubbles with a wallpaper roller.
Tip 3: Deal with Peeling Edges: If the edges of the wallpaper are peeling, carefully lift the loose edges and apply adhesive underneath. Smooth the edges back into place, ensuring a tight seal.
-
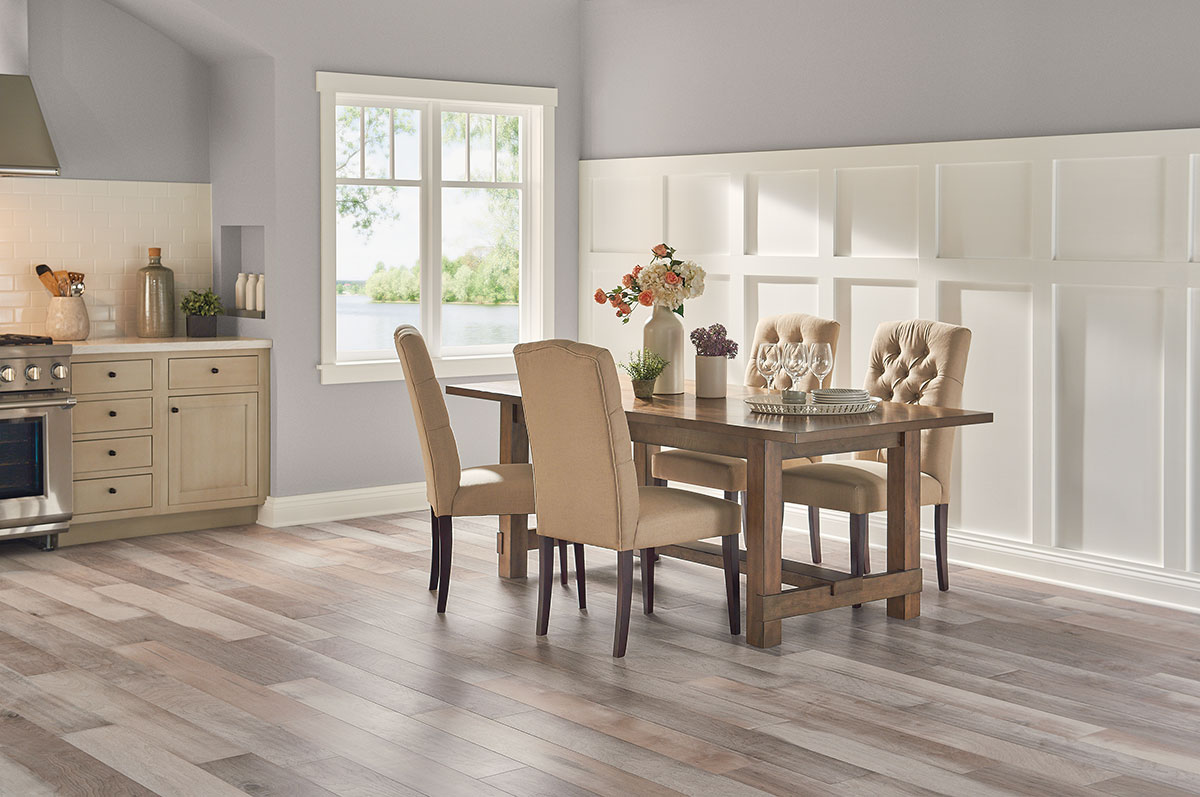
Restoring Hardwood Floors:
Worn and scratched hardwood floors are common in homes with heavy foot traffic or pets. However, restoring the luster of your hardwood floors is a feasible DIY project.
Tip 1: Assess the Damage: Determine the severity of the scratches. For minor surface scratches, a simple buffing and refinishing may suffice. Deeper scratches or gouges might require more extensive repairs.
Tip 2: Buff and Refinish: For surface scratches, lightly sand the affected area with fine-grit sandpaper. Clean the area thoroughly, apply a matching finish, and buff the floor to restore its shine. This process should help diminish the appearance of minor scratches.
Tip 3: Filling Gouges: For deeper scratches or gouges, use wood filler that matches the color of your floor. Apply the filler, smooth it out, and allow it to dry. Once dry, sand the area and refinish the floor for a seamless look.
-
Rejuvenating Painted Surfaces:
Over time, painted surfaces can become dull, chipped, or stained. Rejuvenating these areas doesn’t always require a full repainting; strategic touch-ups can make a significant difference.
Tip 1: Spot Touch-Ups: Identify areas where the paint has chipped or worn. Use a small brush to touch up these spots with matching paint. This targeted approach can revive the appearance of your painted surfaces without the need for a complete repaint.
Tip 2: Clean Stains: For stained painted surfaces, a gentle cleaning solution can often do wonders. Mix a solution of mild soap and water, and use a soft sponge or cloth to gently clean stained areas. Avoid abrasive cleaners to prevent damage to the paint.
Tip 3: Consider Accent Walls: If wear and tear are extensive, consider embracing the concept of accent walls. Choosing a vibrant or contrasting color for a single wall can draw attention away from imperfections while adding a fresh and stylish element to the room.
Tackling worn walls, cracked tiles, and other interior surface repairs doesn’t have to be a daunting task. With the right tools, materials, and a bit of know-how, you can breathe new life into your home. Whether you’re addressing scuffed walls, cracked tiles, worn wallpaper, scratched hardwood floors, or faded paint, these expert tips will empower you to rejuvenate your living space with confidence and creativity. Transform your home, one repair at a time, and enjoy the refreshed and vibrant atmosphere that follows your efforts.