Contents
– Definition of facade rendering
– Facade plaster: preparation
– Application of tyrolean plaster
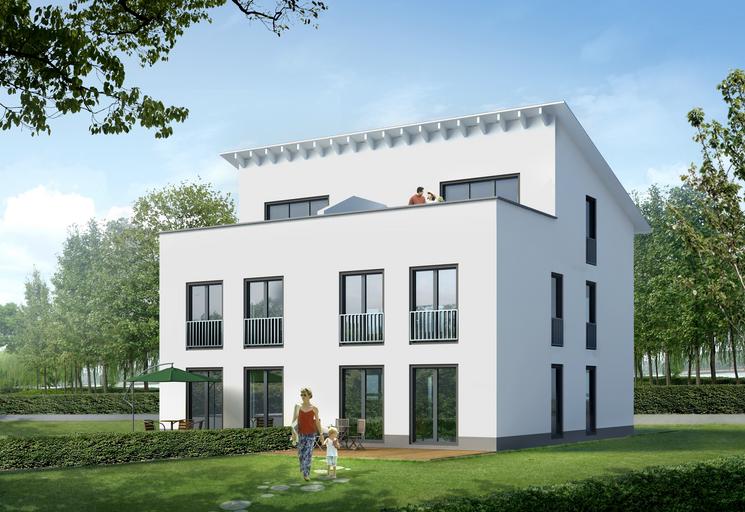
Render is applied as a finish to a smooth protective coating on a concrete, stone or brick facade.
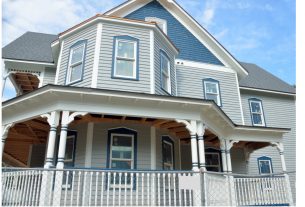
It is not applied to a wooden facade, as this type of facade does not require rendering.
Definition of facade rendering

Among the possible finishes for a ceiling, you can choose between plaster, paint, wallpaper, fabric or render.
facade render is an exterior plaster. The term plaster is an old term that has come into common usage to refer to all facade plaster and decorative interior plaster.
We define rendering as a decorative facade rendering with a granular appearance, such as Tyrolean rendering. It is therefore applied as a finish to a smooth protective plaster.
However, it is possible to refresh a render with compatible facade paint.
Facade rendering: preparation
Whatever the material, you should not apply rendering during periods of frost or heatwave. The risk is that the coating may peel off and crack.
You should not apply the first coat of render on new material until at least one month after completing the construction.
The substrate must be clean and sound. Moss, mildew, pollution stains are cleaned, and any cracks or holes are filled.
Tyrolean plaster is not thick: about 3 mm thick. It cannot cover surface defects or material joints. The surface must therefore be perfectly smooth and protected before application.
Base the preparation according to the type of surface:
– New surface in a raw state
– Renovation / previously coated materials
Preparation of the surface
– Application of a water-repellent levelling compound.
– Application of a facade render.
– Perfectly flat surface.
– Plaster in perfect condition.
Application of Tyrolean plaster
Tyrolean plaster is applied in thin layers to cover the surface completely.
It is useless to try to do everything at once; each coat will cover and fill the next one to obtain an opaque finish.
Preparing the Tyrolean plaster and priming the machine
– Prepare your plaster according to the instructions and follow them to the letter.
– You have time to work; the workability of the product is generally several hours.
– Spray water on the substrate without soaking it and without making significant drips.
– Do not fill the zip-line; it is heavy, and the plaster will spray unevenly.
– Use a cut plastic bottle (about 40 cl) to fill the tank.
– The machine is primed with about two doses of plaster. Then one dose for the refill.
– You can adjust the grain size of the sprayed plaster with the index on the side of the machine. This lever moves in steps.
– To prime, release the bar (the index) and turn the crank to load the combs.
– Put the slide back on the notches and choose the grain size by testing to see the effect.
– When you are satisfied, you can start plastering the facade.
Application of the Tyrolean plaster
– The machine faces the facade and is placed horizontally against you.
– Stand about 50 cm from the wall.
– Work from the bottom upwards in horizontal strips, one overlapping the other.
– When you go up, hold the machine at arm’s length, and the same applies when you go down.
– Always turn the crank at the same pace, slowly.
– Keep the machine upright to make this first pass of plaster, which is the most important.
– If necessary, go back to your work to fill in enough but without making a mess.
– The base is covered but not perfect; it is just necessary that the application is regular.
– Immediately apply the second coat of plaster, starting from the beginning but this time holding the machine at a 45° angle to the substrate.
– Make a pass on the right (or left, depending on your hand). Cover the entire wall.
– Make a final pass, this time on the left (or right, depending on your hand).
– The plaster should become well covered and a little thicker.
– Here again, you can go back over your work to even it out.
Finishing the plaster
You can leave the rendering with the grain you have chosen. It will then have its characteristic grainy appearance, like roughcast.
– It is still possible to give it another aspect by using a smoothing machine.
– If the plaster is a little coarse or too thick, this will give it a more homogeneous and uniform appearance.
– Wait until the plaster has started to set, about 15 minutes.
– Flatten the ridges of the plaster with the smoothing tool, without insisting and without removing material.
– Hold the float almost flat on the wall.
– Smooth it out in an upward motion. Always use the same motion.
– All the small ridges are smoothed out, but the hollows remain.
– This gives the plaster relief and a velvety feel.
– Allow drying, protecting the surface from the weather and strong winds if necessary.
– Use a tarp that is detached from the substrate.
If you wish, you can get in touch with a plastering specialist. And, remember to share your experience in the comments below.


1 thought on “All You Need to Know About Facade Rendering”