Contents
– Ceiling cracks: preparing the site
– Filling a ceiling crack: what type of plaster?
– Filling plaster: anti-crack ceiling instructions
– Sanding the ceiling before applying the finish
It is essential that the ceiling has a surface condition suitable for the chosen finish: paint, wallpaper, plaster, coating, etc.
Preparing the ceiling consists of eliminating cracks, holes, imperfections in the wall and defects that would worsen over time.
Depending on the condition of the ceiling, this stage can be long and tedious but important: it determines the fitting of your wallpaper or the durability of your paint.
Cracks in the ceiling: prepare the site
For a clean and successful renovation, the ceiling must be carefully prepared.
First of all, it is necessary to remove everything that covers the roof:
– paint chips,
– old wallpaper,
– old plaster…
Don’t forget to wipe off any dust or spider webs with a cloth.
Finally, scratch your ceiling with sandpaper if it is covered with gloss or satin paint.
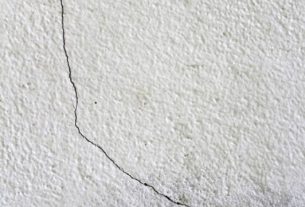
Sealing a ceiling crack: what type of plaster?
The technique for renovating a damaged ceiling depends on the type of crack or hole.
If the cracks are no deeper than 2 to 3 mm, use a simple smoothing plaster.
If the damages are more than 2-3 mm deep, then they should be filled with a filler:
– is in powder form, easy to prepare (available ready to use, but more expensive),
– The filler must be thick for easier application,
– can be used for about 45 minutes,
– to be reserved for small surfaces.
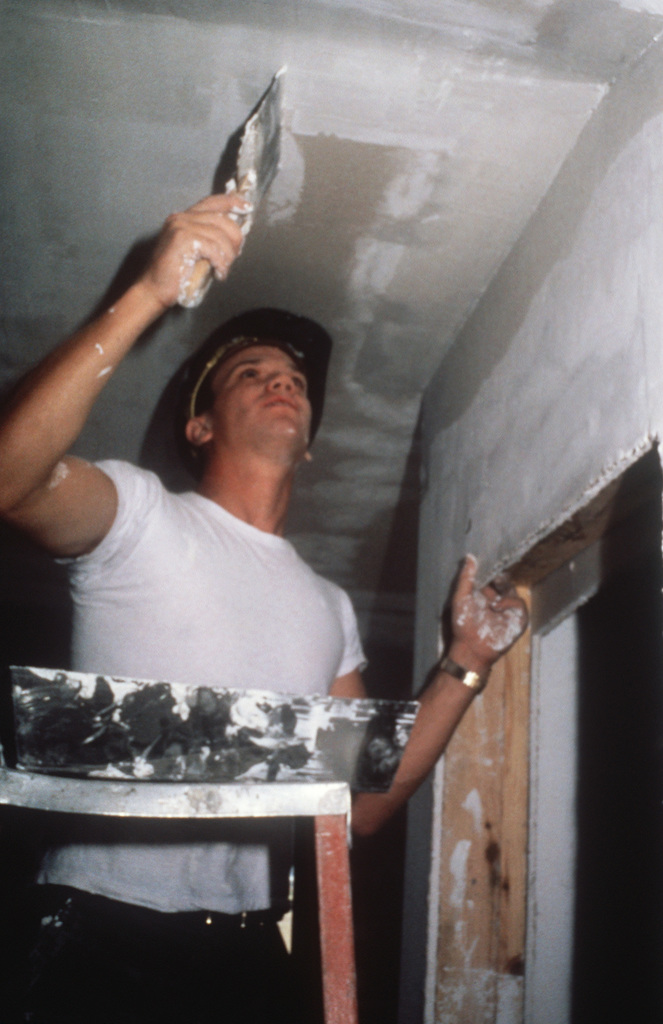
Filling plaster: instructions for using anti-crack ceiling
Applying filler to a damaged ceiling is done differently depending on the type of crack.
Single crack: plaster only
Extend the crack or hole with a triangular scraper, removing anything that looks crumbly and don’t forget to remove the pegs if they exist.
Dust the inside of the hole or crack with a brush.

Moisten the hole for better adhesion of the plaster, and then, using a spatula or a painter’s knife, apply the plaster by forcing it in. As it dries, the application will shrink.
Repeat this process one or more times if necessary.
Tape larger cracks
If the crack is larger, wider or longer, a non-woven or fibreglass strip (calico) will be required.
Fill the widened crack with plaster.
Then, the calico (strip) must be buried under a filling plaster to solidify the fragile wall: this is done with the fingers to impregnate the strip well.
The paper strip can be laid in several pieces to fit the shape of the crack best.
Use a plaster blade to spread and smooth the plaster; no difference in level should be visible at the end.
Sand the ceiling before applying the finish
Sanding makes it possible to perfect the wall’s condition, make it smooth and even, remove any dirt or other traces still present, to smooth out any irregularities in the plaster.
To prepare a wall before wallpapering, a 60-grit abrasive is sufficient.
Then remove the dust that has stuck to the surface after sanding: use a clean, soft broom for this.
Are you looking for first-class ceiling repair services?
Whether you have a damaged ceiling that needs to be repaired or you’re looking to restore your roof, call MELBOURNE CEILINGS! They can install and repair plaster and plasterboard ceilings. Also, among their services, you will find Suspended Ceiling, Ceiling Tiles, Acoustic Ceiling, Acoustic Tiles, and UltimaMax Stretch Ceilings.
Read more:
And, don’t forget to comment below.


2 thoughts on “How to Repair Ceiling Cracks”