
Summary
– Gutter installation: making the layout
– Gutter installation: different types of implementation
– Installing a gutter: assembly or floor and cutting
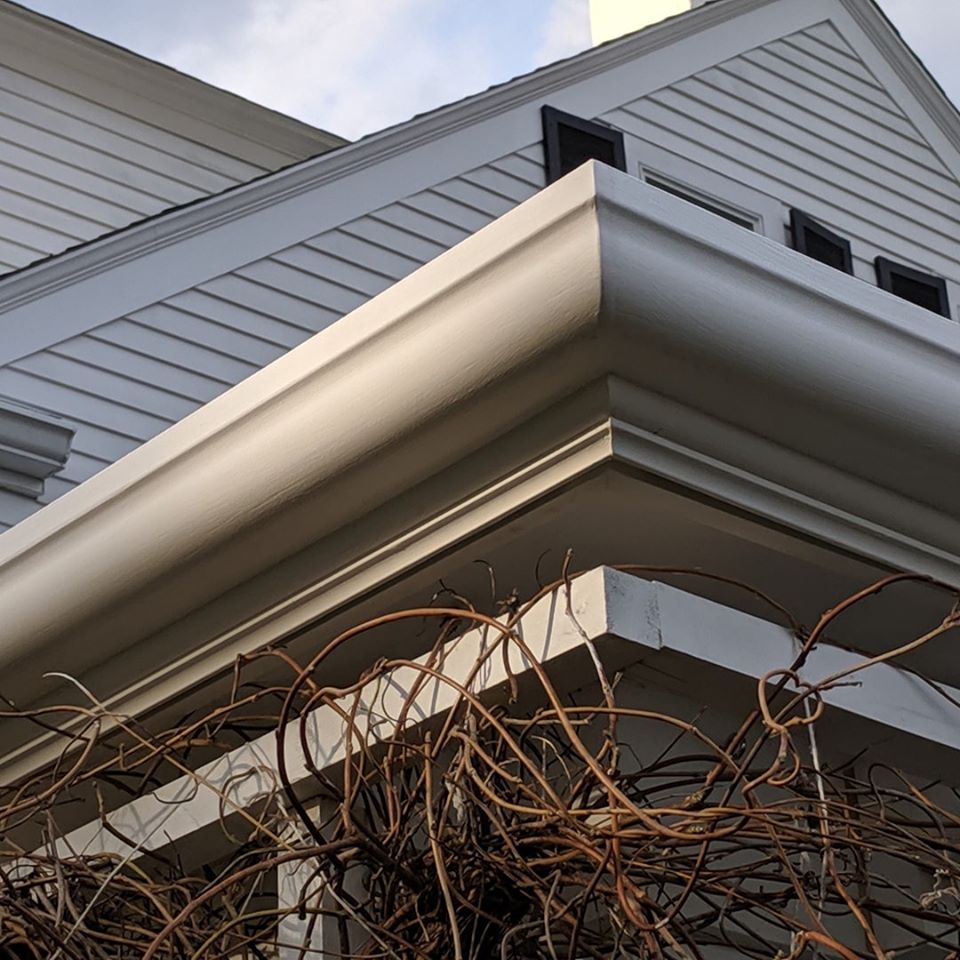
Eavestrough installation is the last step in the installation of a gutter. When referring to the channel of the trough that runs along your roof, you can refer to it as an eavestrough. And you say gutter when you’re talking about the water-draining system on the ground. There is a succession of actions to be carried out methodically:
– check that the standards related to the installation of a gutter are observed,
– make the gutter layout,
– proceed with the installation of the horizontal gutter.
Gutter installation: drawing the line
The first step is to draw a gutter line.
Gutter layout: a must before installing the gutter
This exercise allows you to determine precisely the:
– exact location of the gutter to collect all the rainwater,
– length of the gutter profile required,
– characteristics, numbers and types of the other elements that make up:
– horizontal gutter (elbow, connection, birth, angle…),
– downspout (downspout, sleeve, collar),
– collection system for evacuation or water recovery.
Another purpose of the layout is to match the type of fittings and joints to the gutter, so the pieces can expand and contract with the seasons without compromising or destroying the gutter line.
Eavestrough installation: how do I draw the eavestrough line?
The horizontal line is drawn:
– for a hanging gutter: on the front part of the rafters, the top of the channel must remain about 2 cm below the roof;
– for a rampant drain: on the lining strip or the upper part of the rafters.
Here is how to do it:
– nail a point at the two extreme points, A (downhill side) and B (opposite side), on the same level line,
– calculate the slope, locate the low point C of the downspout (thus 5 mm below point A for 10 meters long),
– stretch a string between B and C,
– note the location of a hook every 50 cm,
Also, mark the place of each corner.
Attention: to reinforce the structure, you must place a hook 5 cm from any corner, connection or gutter birth.
Good to know: Some hooks are sold in batches; they are then numbered and have a slight shift in height compared to the previous one, the lowest number representing the highest point. These hooks allow you to avoid integrating the slope in the gutter layout.
Gutter installation: different types of implementation
Gutter installation can have several types of configuration.
Here are some possible configurations:
– a straight gutter without return with:
– on one side: a gutter inlet,
– on the other side: an end, because the eavestrough does not extend beyond, the following facade not being overhung by a roof slope,
– a gutter closed on both sides (between two walls, for example): an expansion joint must exist at least at one point of this line, at the level of the birth or a junction,
– the gutter surrounds the entire perimeter of the roof,
– several expansions must be provided, at least one per line.
Installing a gutter: assembly or floor and cutting
Before proceeding with the final installation of your horizontal gutter, it is advisable to assemble all the elements of the ditch on the ground (profiles, fittings, elbows):
In the case of clip-on parts, this allows you to practice and rehearse before climbing the ladder.
This way, you can check that you have all the parts needed to ensure the continuity of your lines:
– number of expansion points provided,
– the number of hooks.
You can then cut the profiles to the correct length.
This cut must be:
– made with a hacksaw,
– perfectly straight
– can be filed in the case of PVC gutters.
Hope this post has been able to provide you with an insight into eavestrough installation. Don’t forget to comment below.


1 thought on “How to Install Your Eavestrough”