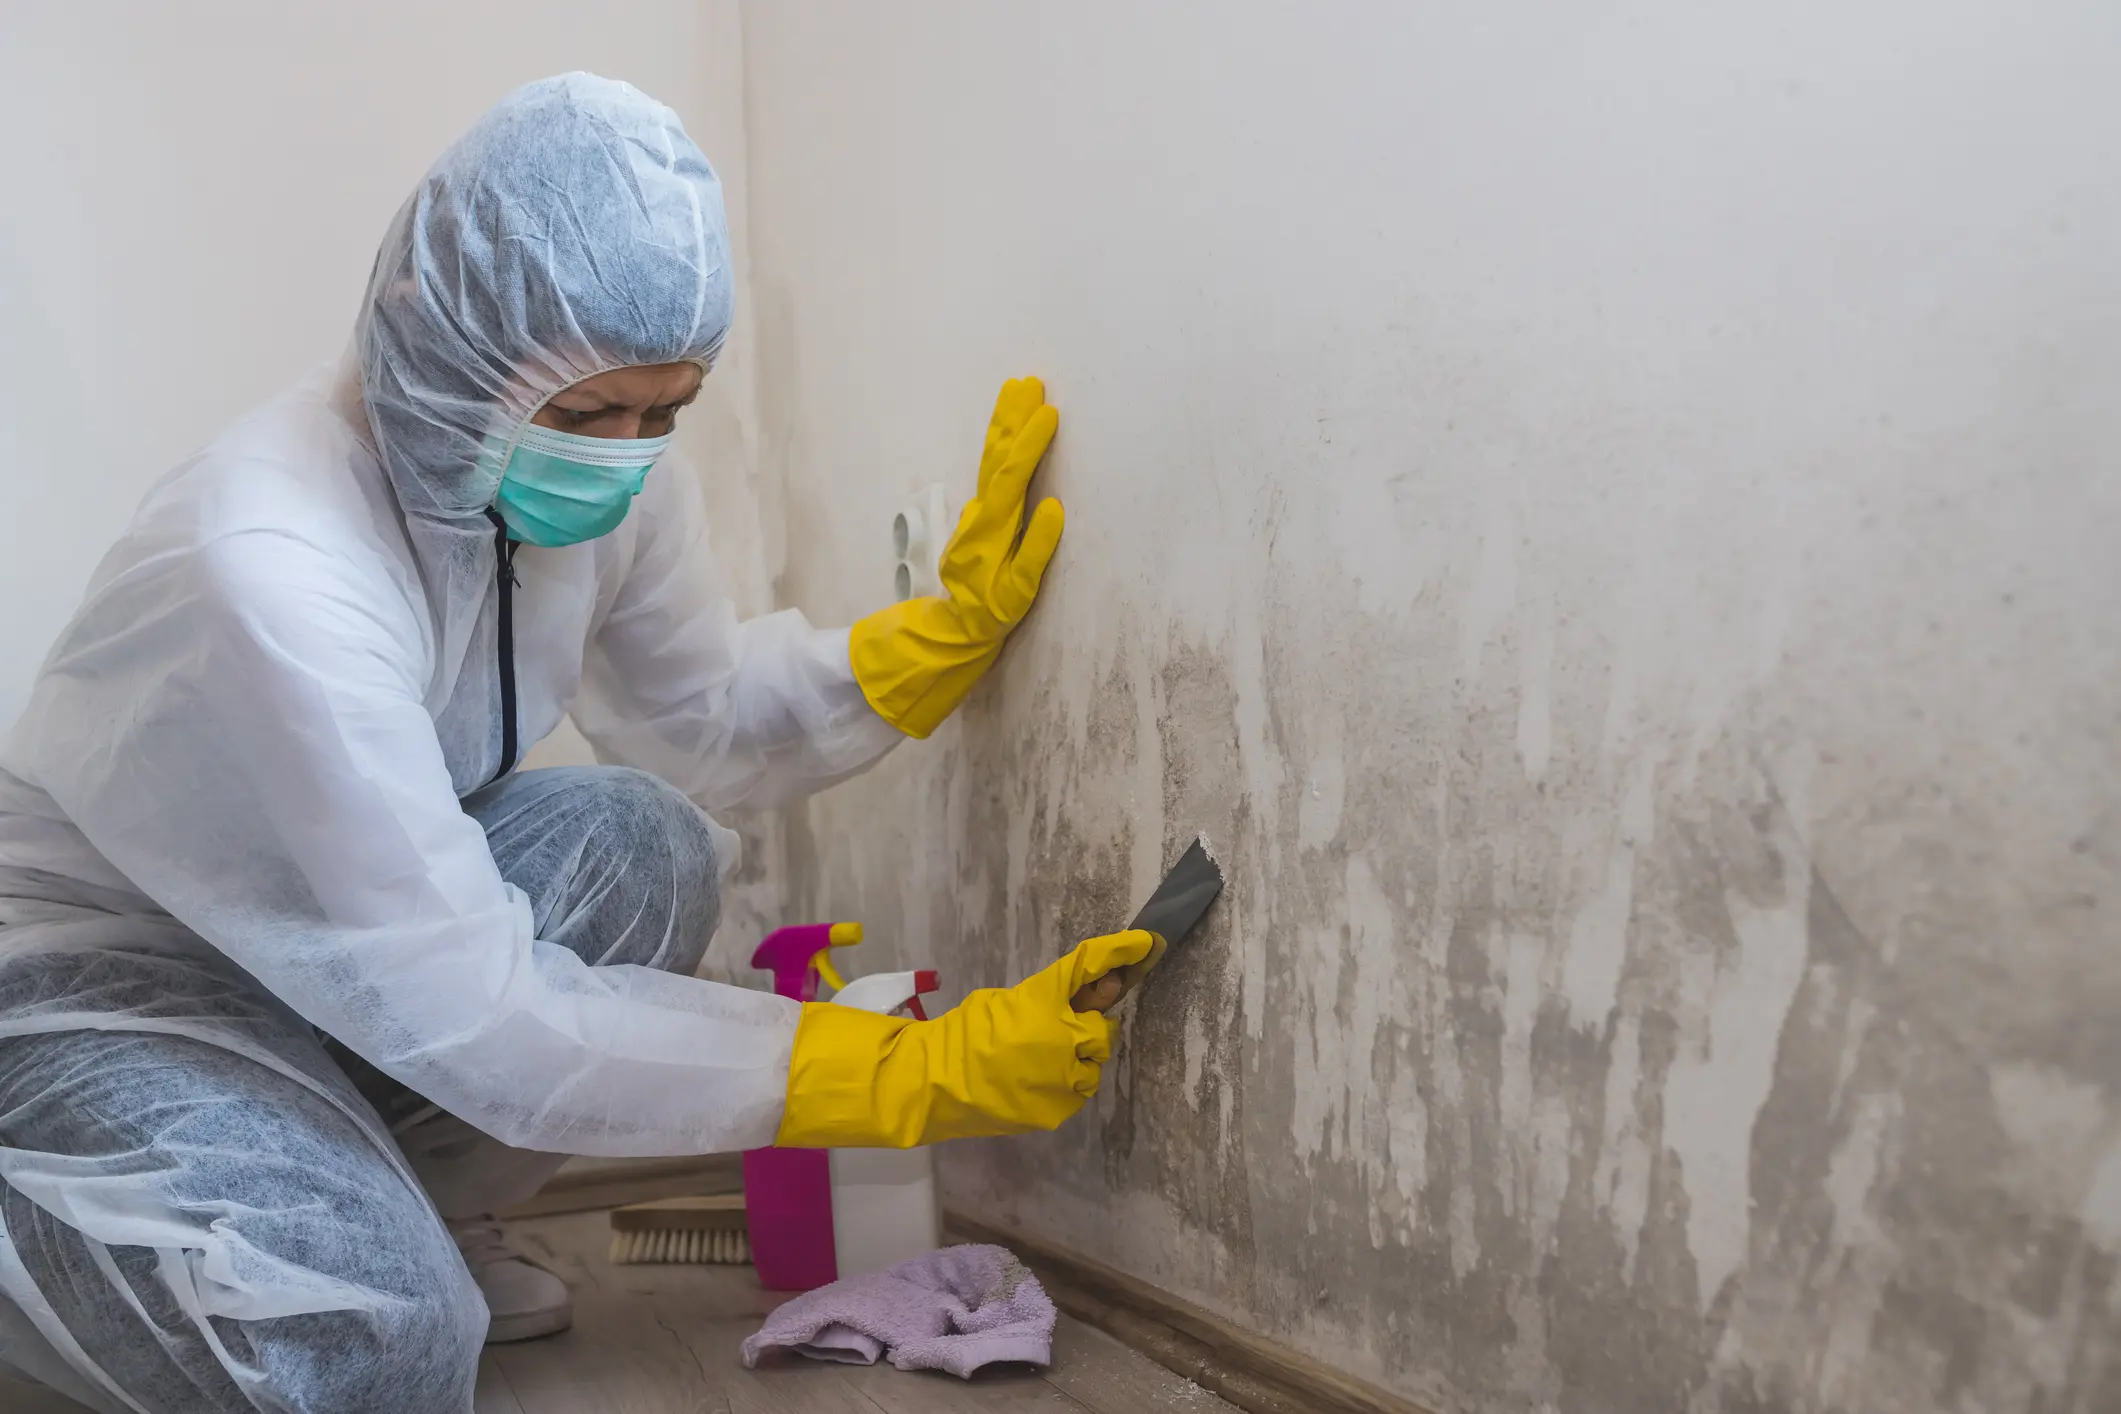
Rising damp is one of the most common types of damp in a property, which occurs when groundwater seeps through the building’s foundations and causes the walls to become damp. Rising damp can be a very damaging issue, causing the decay of doors, skirting boards, windowsills, and woodwork. So, if you are concerned about your situation, then you may want to check the solutions mentioned below.
The Clearing and Drilling Phase

Step 1:
Using a hammer and chisel, cut through the wall render from the inside. Along your wall, look for areas that are discolored and feel wet to the touch. Wear thick work gloves and remove any loose or weak wall pieces by hand. Put the blade edge of your chisel against the wall 3-4 in (around 7.7-10.3 cm) above the highest point of the rising damp after you’ve removed as much as you can.
To break the wall render apart, hammer the end of your chisel. Remove all of the rising damp-affected areas down to the floor. Your brick wall’s render is the plaster or cement-like material that covers it.
If you need to quickly cut through a plaster wall finish, use an angle grinder. If rising damp is only affecting a part of the wall, you do not need to remove the render from the entire room.
Step 2:
Drill a hole every two and a half inches (6.4 cm) along the lowest mortar line. Use a hammer drill with a 12-inch (1.3-centimeter) masonry bit. Drill between the first and second layers of bricks up from the floor, also known as the mortar line. To make a hole in the mortar, pull the trigger on your hammer drill and apply firm pressure. Continue drilling holes in the affected area until they are 2 12 in (6.4 cm) apart or 3 holes per brick. Check that each hole goes at least 34 times through the bricks.
If you don’t have one, look for hammer drill rentals at local hardware stores.
Wear a facemask and safety glasses because drilling through brick creates a lot of dust.
Addition Tip: If you’re treating rising damp on a wall on the outside of your house, you can drill into the bricks from the outside if you want.
Step 3:
To remove any dust, vacuum the holes. Hold the hose attachment of your vacuum up to each hole to clean it out. If all of the dust is removed, the DPC will not adhere as well.
The Application Phase
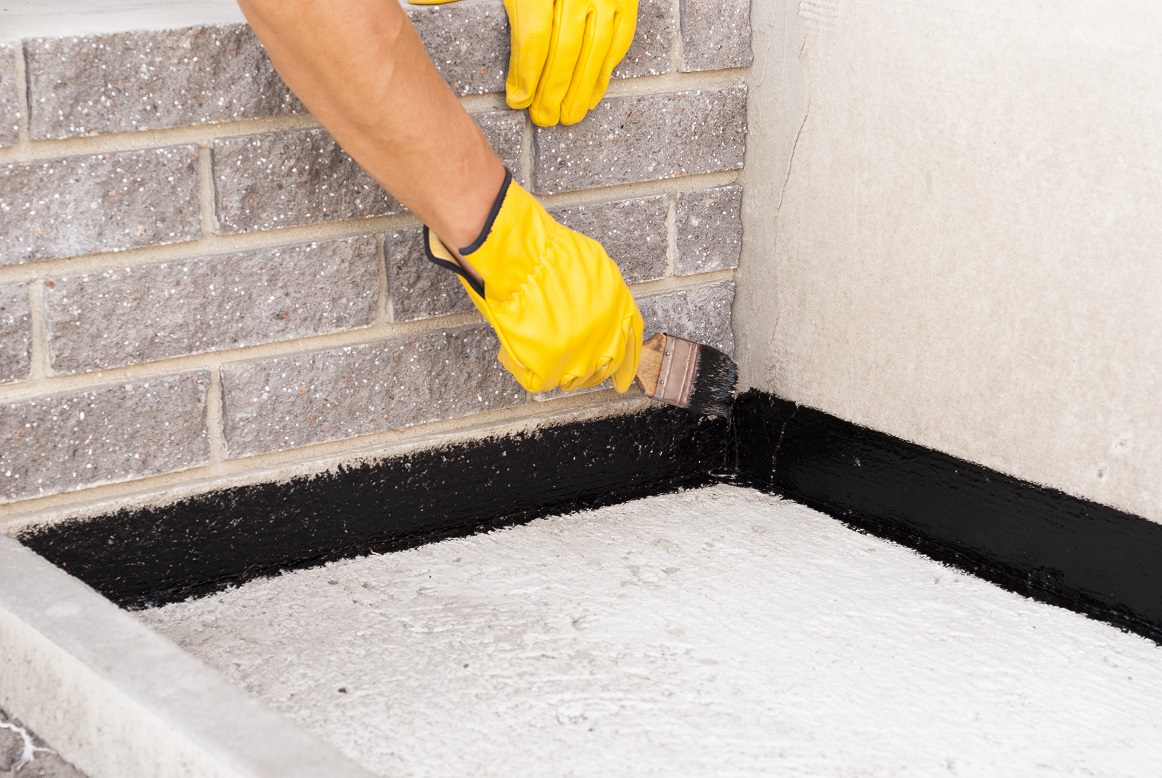
Step 4:
Using a caulk gun, pipe DPC cream into the holes. Load the DPC cream tube into your caulk gun and remove the nozzle tip. Insert the nozzle as deeply as possible into the hole and pull the caulk gun trigger. Allow the cream to fill the hole before slowly pulling the nozzle out. Rep this procedure for each hole in your bricks.
The quantity of DPC cream required is determined by the length and thickness of your wall. For instance, according to experts, 1 US gal (3.8 L) of DPC cream will cover 30 ft (9.1 m) of a 9 in (23 cm) thick wall.
DPC cream is available in hardware stores and online. If you don’t have a caulk gun, you can use a pressure pump pack, similar to what you’d use for a garden sprayer.
Step 5:
Allow the cream to set overnight. Your cream will eventually turn into a liquid and absorb into the surrounding bricks, making them waterproof. Allow the cream to sit for at least 12 hours to allow it to set inside.
Step 6:
Allow another cream treatment to set the following day. After the first layer of cream has dried, re-insert the nozzle of your caulk gun into each of the holes and use another layer of cream. Allow the cream to set for another 12 hours so that it can absorb into the pores in the bricks.
You may need to purchase another package of DPC cream depending on the size of the area affected by rising damp.