Contents
– Step 1: Prepare the substrate for the installation of PVC tiles
– Step 2: Option 1: Install square PVC tiles
– Step 2: Option 2: Install rectangular PVC tiles
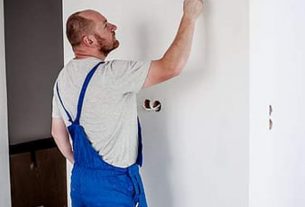
PVC tiles are becoming a common solution to refinish floors without much effort. There is now a wide range of products with different colours, sizes and formats. From single-colour tiles to imitation wood or tile, there is something for every taste and room in the house. The installation of these tiles, most often self-adhesive, can be performed quickly by a novice handyman.
Here is how to install PVC tiles.
1. Prepare the substrate for the installation of PVC tiles
PVC tiles are thin (between 2 and 4 mm). Therefore, any imperfections in the substrate will be felt through the tiles. It is therefore essential that your substrate is rigid, dry and smooth. If this is not the case, here are some preparation methods.
On concrete
Direct installation on concrete is not recommended because the tiles will not stick. Also, concrete is rarely perfectly smooth. However, if you must lay your PVC tiles on concrete, it is still possible with proper preparation:
– Remove dust from the surface.
– Make a levelling coat.
– Apply a primer.
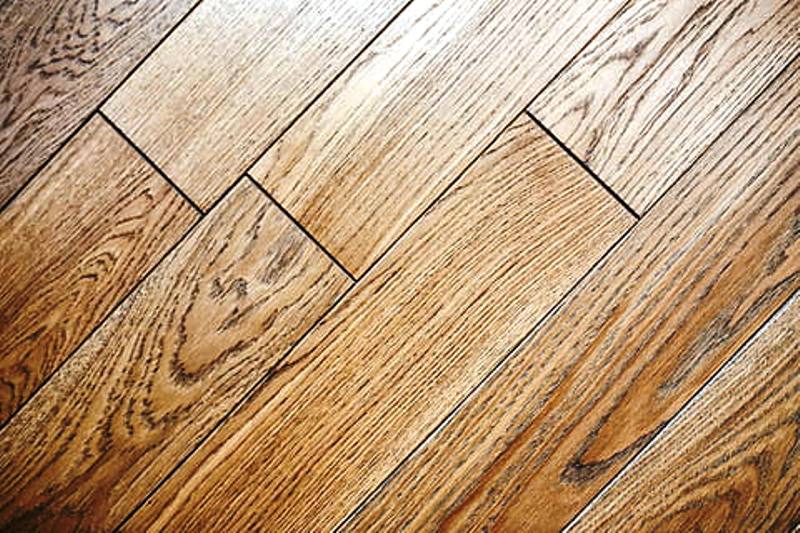
On a parquet floor
Several methods allow you to stop feeling the cracks between each board:
– Permanently: apply a special levelling compound for parquet floors to fill the gaps.
– Temporarily: glue or staple rigid sheets of hardboard on the floor.
On a tiled floor
The main risk is to feel the tile joints. To avoid this:
– Dust your floor and wash it with a St. Mark’s type detergent.
– Fill the tile joints with a smoothing compound.
– Once the filler is dry, sand it so that it is exactly level with the tiles.
– Apply a primer.
2. Option 1: Install square PVC tiles
When purchasing PVC tiles, it is essential to allow for about 10% extra tiles and store them at room temperature for at least 24 hours before installation to not suffer from temperature differences once they are glued.
Prepare for installation
Start with the center of the room:
– Mark with a pencil, on the floor, the middle of 2 opposite walls.
– Connect these two points with a ruler.
– From the middle of this line, draw a perpendicular line using a PVC tile as a square, and extend this line to the walls.
– Lay tiles, without gluing them, all along these 2 lines. The last solid tile of each line must be more than 2 cm from the wall. If this is not the case, shift the lines.
Important: the direction of installation is indicated by arrows on the back of each tile. Be sure to observe it when gluing your tiles.
Glue your PVC tiles
– Remove the protective film from the first tile and glue it at the intersection of the lines.
– Press this tile firmly with a cloth to expel air and facilitate adhesion.
– Continue on a quarter of the room, gluing the tiles together to form a staircase.
– Proceed in the same way for the rest of the room, leaving the cutouts aside for the end.
Make your cuts
To make the cutouts fit, proceed as follows:
– Without gluing it, place a tile (tile A) on the last tile of the row.
– Place a tile B between tile A and the wall.
– Draw a line on tile A where tile B ends.
– Cut tile A along the line with a cutter and glue it in place.
– Do the same for all the other tiles to be cut.
This method of cutting tiles allows you to make custom cuts in all types of room corners (straight and not straight).
Tip: If the tiles are to be installed in several rooms, start in the same way in the center of one of the rooms. Once you reach the threshold of the room, continue your length to the next room.
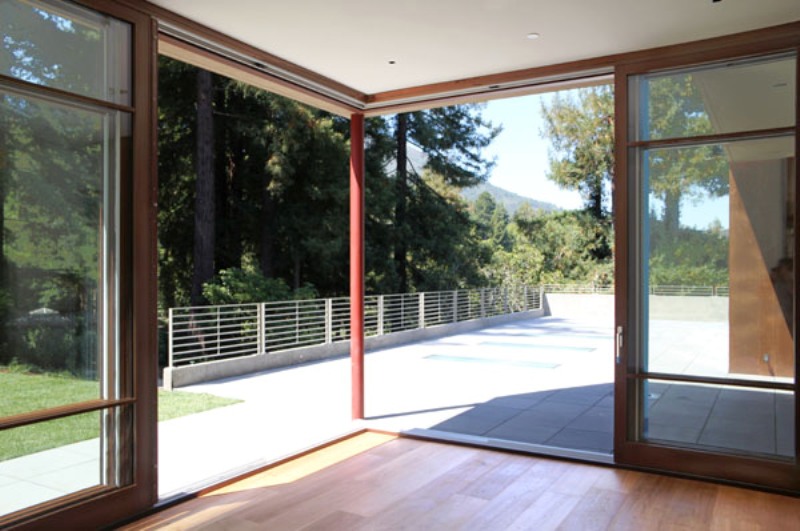
Option 2: Install rectangular PVC tiles
Like option 1 above, allow for about 10% extra tiles when purchasing PVC tiles and store them at room temperature at least 24 hours before installation. They do not suffer from temperature differences once glued.
Tip: Glue your tiles in the direction of the outside light to make the room appear larger than it is.
Case 1: install your tiles in a room with right angles
– Start by gluing a board (rectangular tile) in the corner of the room.
– Glue the other full boards in the row together.
– Cut the last board in the row to size as you do so:
◦ Without gluing it, lay a slab (slab A) on top of the last slab in the row.
◦ Lay a slab B straddling slab A and the wall.
◦ Draw a line on slab A where slab B ends.
◦ Cut slab A along its cut line with a cutter and then glue it down.
– Then, start the second row with the off-cut from the first row’s board.
– Continue in this manner across the entire surface of the room.
– For a nice finish, consider installing baseboards before rearranging the room.
Case 2: Install your tiles in a room without right angles
– Choose a corner.
– Draw a straight line perpendicular to one of the walls of this corner, remembering to take into account the direction of the light.
– Proceed in the same way as for a room with right angles, but start from the perpendicular line you just drew.
– Glue a first tile along the perpendicular line and continue the row.
– At the end of the row, cut the last tile as follows:
◦ Without gluing it, lay a slab (slab A) on top of the last slab in the row.
◦ Lay a slab B straddling slab A and the wall.
◦ Draw a line on slab A where slab B ends.
◦ Cut slab A along its cut line with a cutter and then glue it in place.
Note: this method allows you to make fair cuts even on non-straight walls.
– Start again on the other side of the room with a tile cut in half and then finish the second row.
Necessary: If the room’s corners are not straight, you can’t start the second row with the scrap board from the first row.
– To start the third row, use a full board.
– Continue each row by alternating full and half boards.
– For a nice finish, consider installing baseboards before rearranging the room.
Equipment needed to install PVC tiles.
|
Vacuum cleaner |
According to performance |
|
Broom |
From $3 |
|
Recovery cloth |
Free |
|
Carpenter’s pencil |
About $0.50 |
|
Cutter |
$3 approx. |
|
Smoothing compound |
$5 for 1 kg |
|
Levelling compound |
Starting at $15 |
|
Alkaline detergent |
$3 approx. |
|
Tape measure |
Starting at $4 |
|
Sander |
Starting at $30 |
|
Primer |
Starting at $21 per litre |
|
Mason’s rule |
About $15 |
|
Mop |
Starting at $30 |