
Awnings are one of the most popular types of awnings. It takes the form of a sloped eave and is usually attached over an entrance door and rarely over a stoop or window. In addition to its decorative function, it protects your entrance door against ultraviolet rays and gusts of snow, wind, and rain. Its installation is done in several steps. Discover them in this article with the appropriate techniques and procedures.
Respect the regulations on exterior woodwork

Individuals and professionals (such as restaurant owners and hoteliers) wishing to install an entrance door awning must find out about their municipality’s Local Urban Plan (PLU). Indeed, some municipalities require filing a prior declaration with the town hall for any project of installation of a canopy on a surface between 20 and 40 m².
Measure your front door
Before making any purchase or ordering a custom awning, it is important to measure your front door. Indeed, the size of your future awning must correspond to the dimensions of your door for visual harmony. But note that it varies between 1 m and 1.70 m in length.
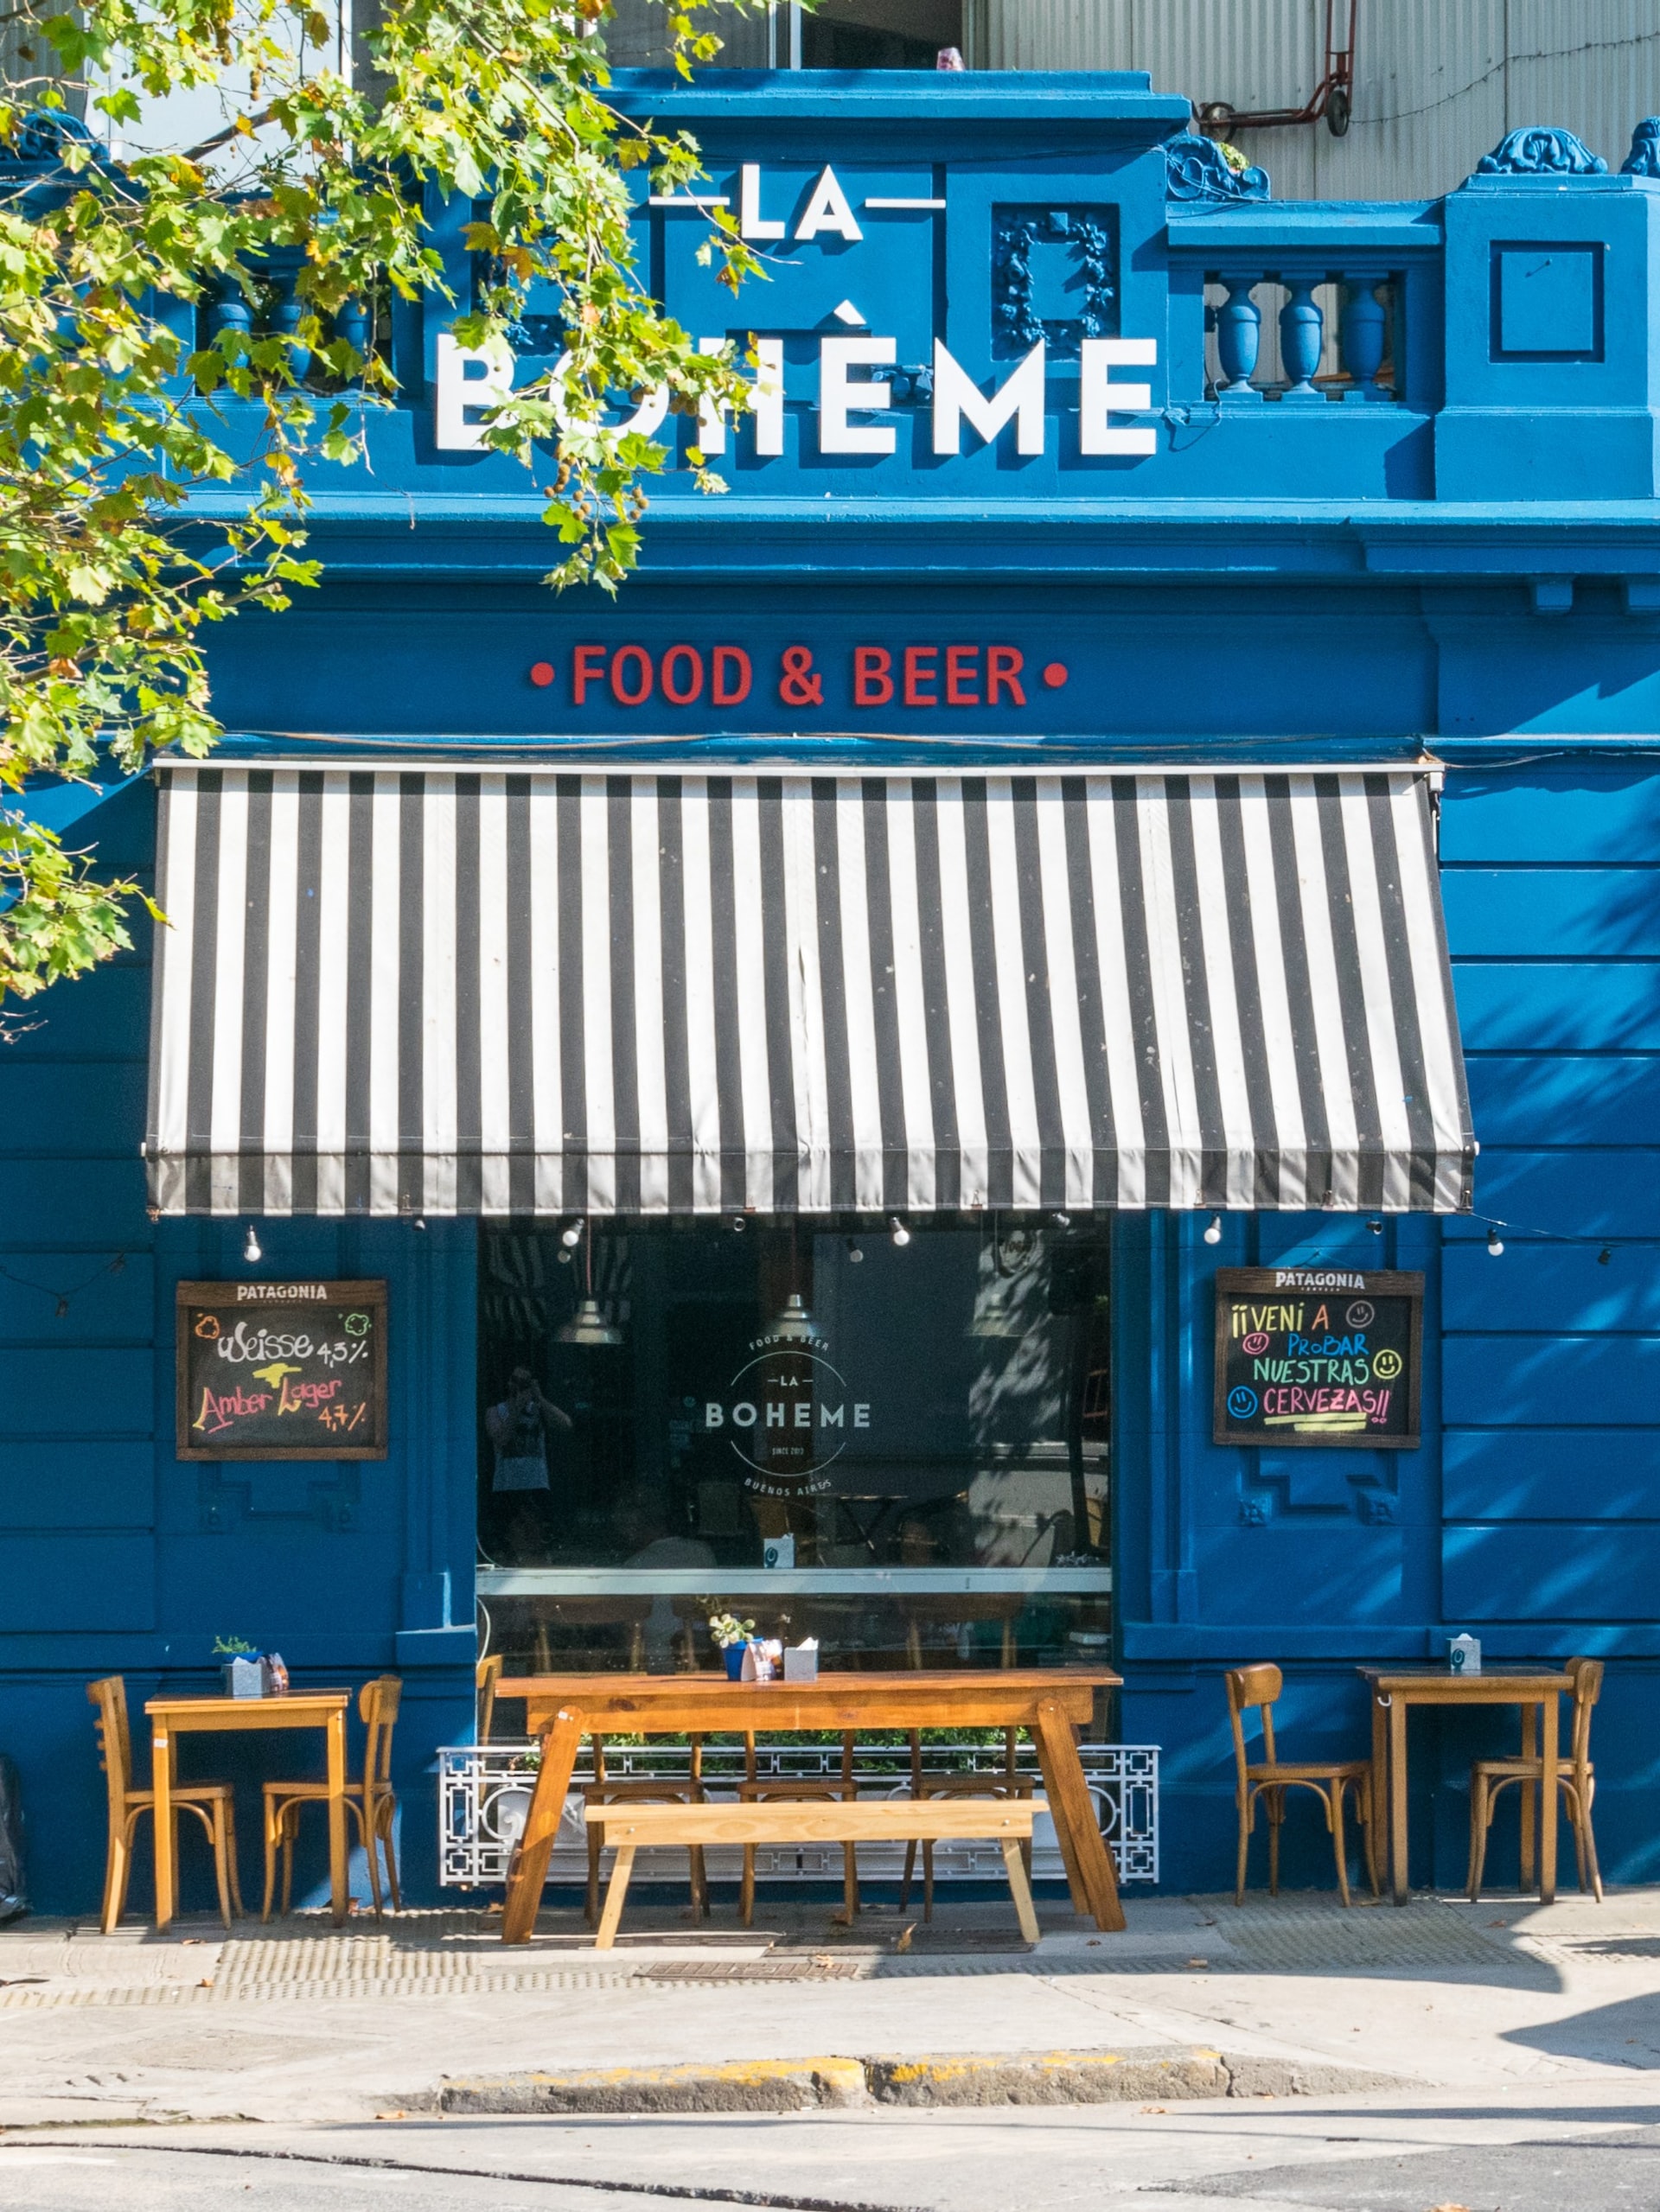
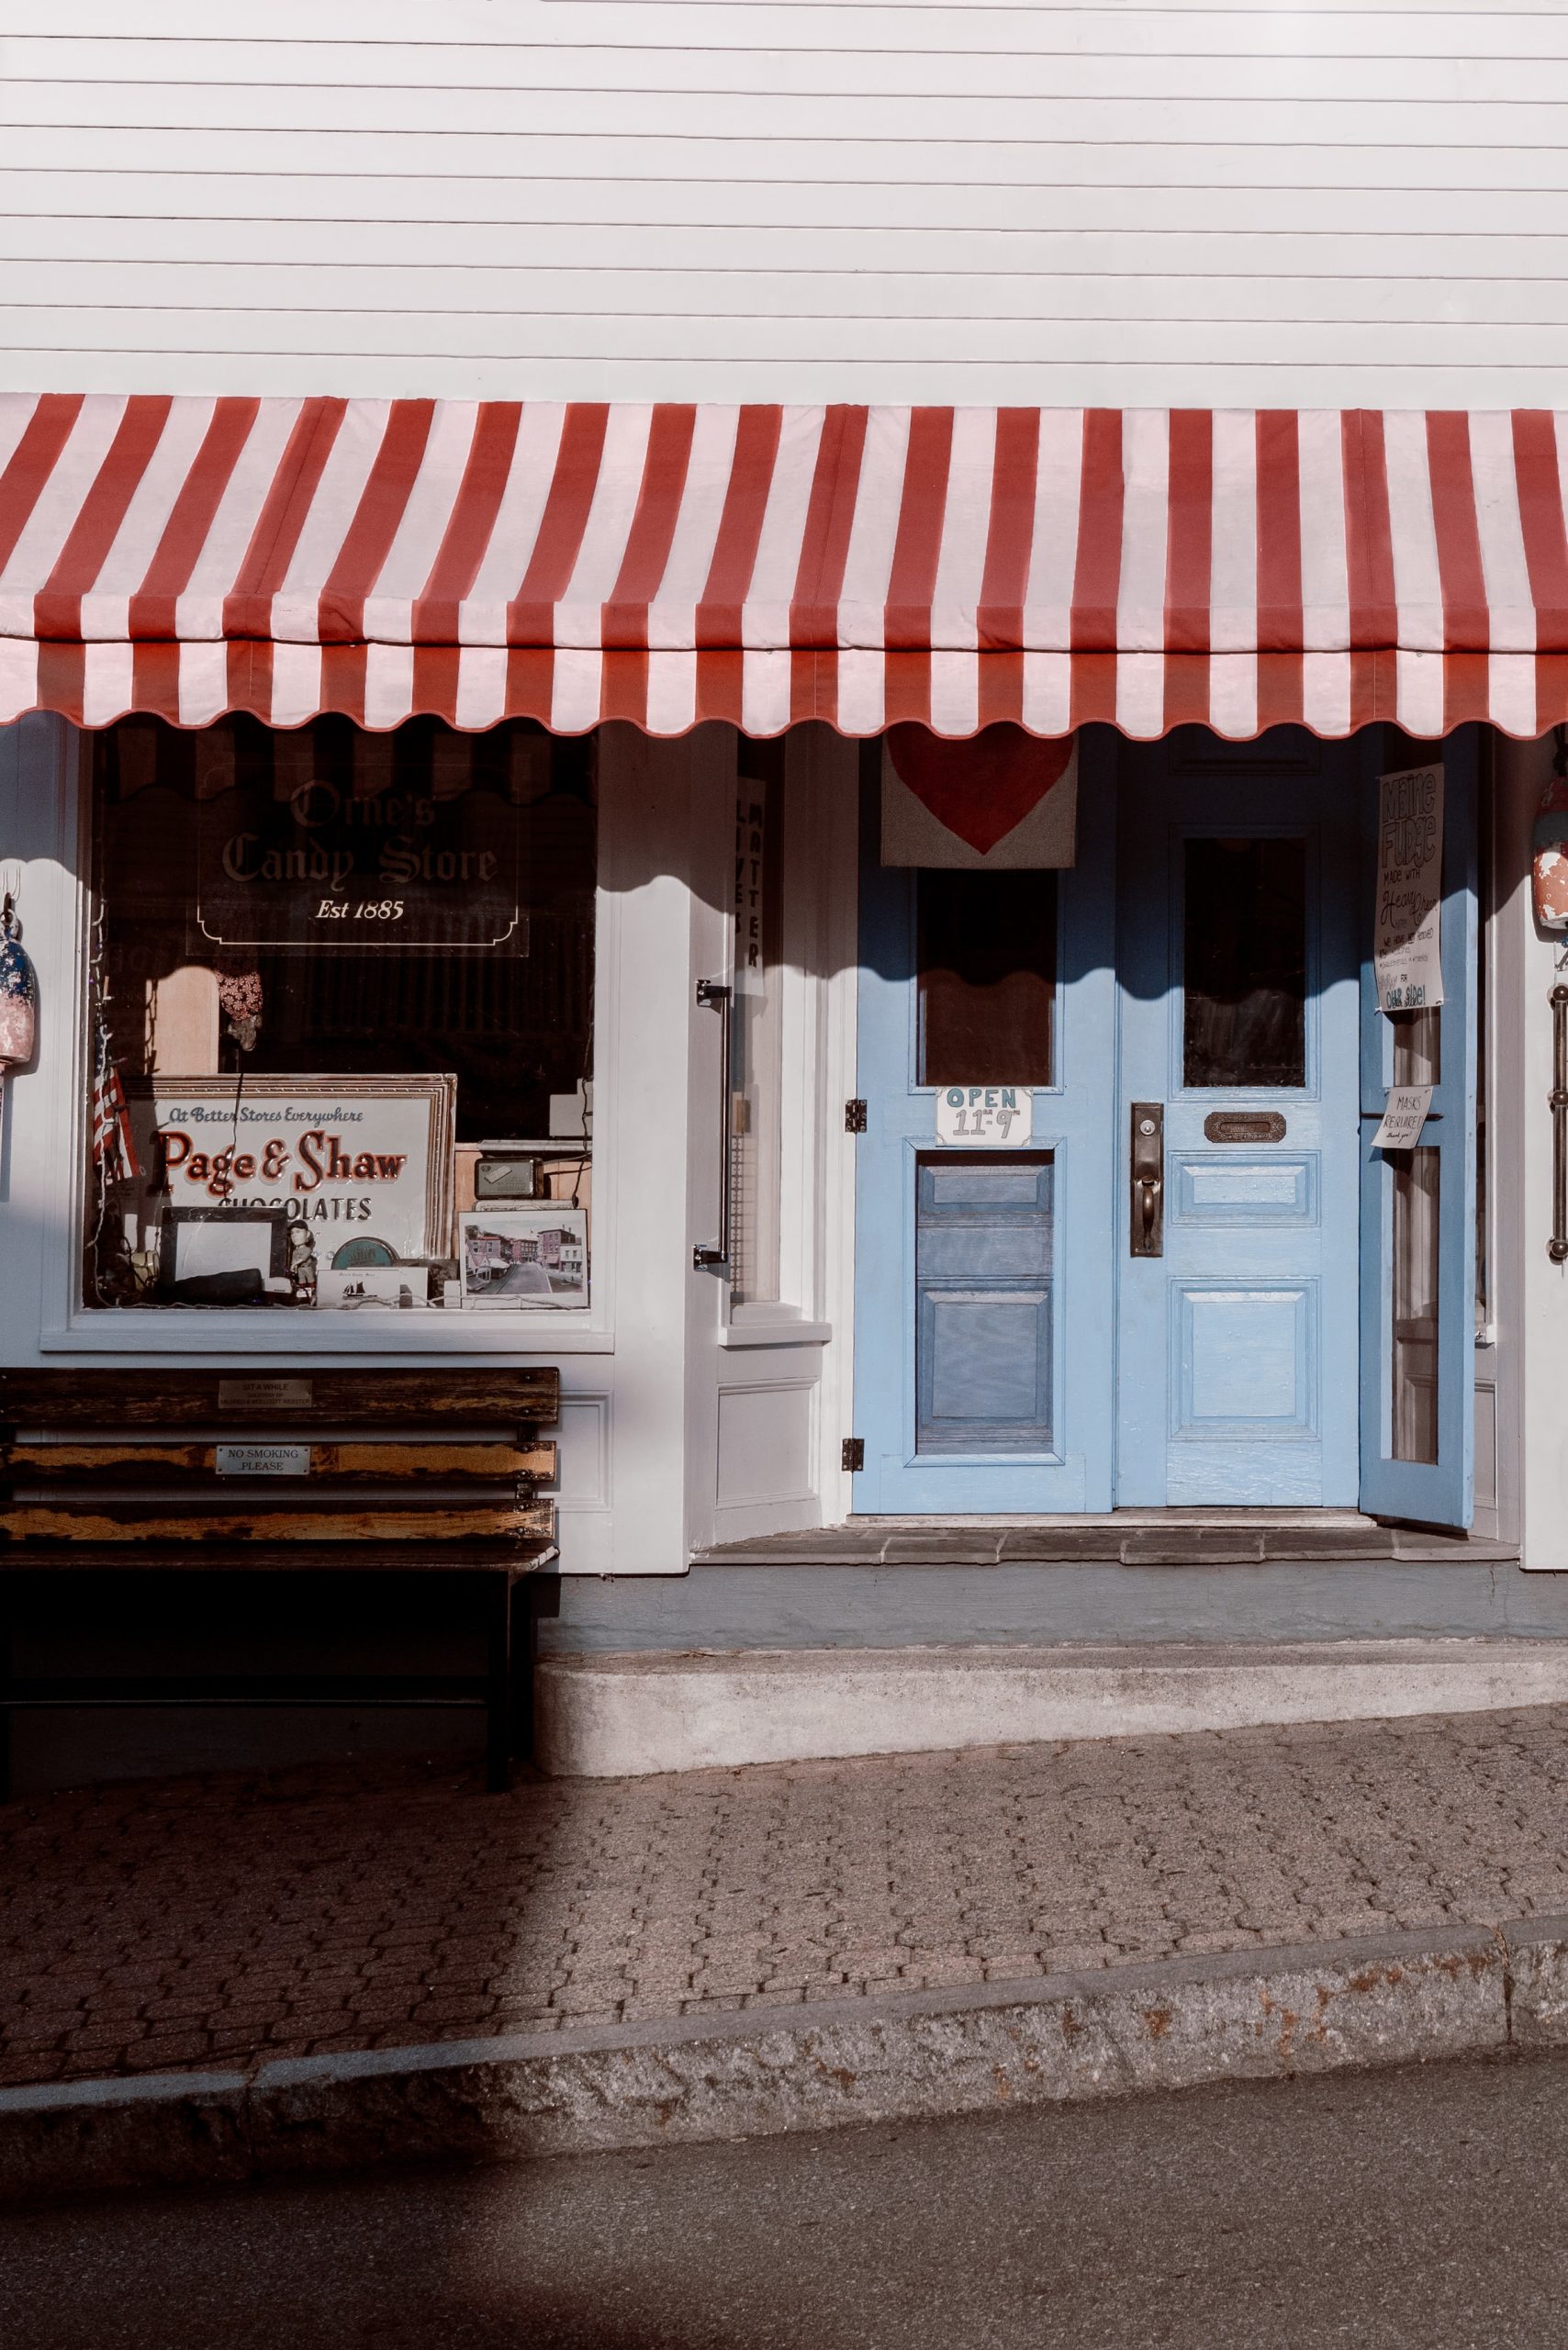
Choose an awning model.
The model of your awning should be chosen according to your taste, the architecture of your house, and your budget. Depending on the model, prices vary between 50 and 500 dollars. Choose a canopy with a wooden frame and a tile roof for a rustic style.
For a modern style, you have a wide choice of materials available on the market. For the support and fastening elements, you can choose between stainless steel, black ABS (thermoplastic polymer), PVC, powder-coated aluminum, and wrought iron. The most common materials for the cover are laminated glass panels, acrylic glass, and transparent polycarbonate or Plexiglas panel. In addition, door awnings come in several shapes: rectangular, square, arched, fan-shaped, quarter-circle, or semi-circle.
Call in a professional
If you are a do-it-yourself enthusiast, you can install your awning yourself. If not, call a specialist in the sale and installation of exterior woodwork, such as Apac Stores in Nogent-sur-Marne.
Gather the necessary tools
To successfully install an awning, gather the following tools: a tape measure, a ruler, a pencil, a stepladder, a drill or an impact drill, and a mallet. A blowgun, a set of pipe wrenches, an extruder gun, a spirit level, and the components of your canopy are also necessary.
Prepare your canopy
Preparing your awning involves peeling off its protective film.
Perform a drilling test
The drilling test allows you to determine the fastening system (heavy, medium, or light fastening) adapted to the nature of your wall (concrete or brick) and the weight of your awning. To do this, you can either drill a small hole or dismantle an already installed fastener.
Draw the anchor points
This is where you will determine the location of the wall fixings. To do this, mark 4 anchor points using the ruler and pencil. Make sure they are straight with a spirit level.
Start the fixing
To begin the fixing, drill holes with the hole punch at the anchor points according to the diameter of the screws and the diameter of the fixing plugs. Then dust with the blower and insert the dowels of your awning according to the appropriate fixing system.
Put in place the support of your awning.
Fix the support with dowels, chemical seals, or nuts. In the latter case, do not forget to place washers between the frames and the nuts to block and stabilize the whole. The installation of the support and the cover must be done by at least 2 people.
Install the awning cover
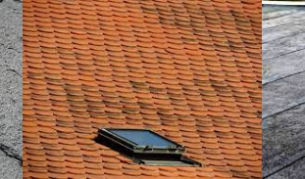
The installation technique depends on the nature of the cover. For example, if the cover is glass, the installation should be based on a wedge and joint system. If it is tile, start with the bottom row, on the right or left side depending on the direction of the interlocking system. The second row is laid on top of the first with straight or crossed joints.
Proceed with the finishing
To finish, install a bead of translucent mastic using the extruder gun to ensure a good seal between your façade and your awning.
Sound off in the comments section below, and tell us what you want to read next and if you want to read more about awnings.
2 thoughts on “Door Awnings: How To Install Them Successfully?”