How to Install Wood Shingles on a Roof
Summary
– Step 1: Prepare the roof
– Step 2: Apply the first few courses of shingles
– Step 3: Apply the next layers
A wood shingle roof can be suitable for all latitudes with the right choice of wood species. The species used are larch, oak, chestnut, and black locust. Properly installed, this type of roofing is 100% waterproof, perfectly resistant to weather, and has a longer lifespan than slate roofs.
Installing wood shingles on a roof is simple but requires following a few basic rules.
1. Prepare the roof
Before installing wood shingles, the roof must be prepared. The DTU (unified technical document) requires a double-bedded roof.
– Install a roof underlayment by stapling it on the first layer of battens.
– Lay the second layer of battens on top of the underlayment.
– Calculate the spacing between the battens according to the size of the shingles. The shingles should be nailed at 60% of the height.
Example: for a 20 cm exposure (visible and exposed part of the shingle), the shingles are nailed every 20 cm.
Note: the slope must be at most 33% to ensure water tightness.
2. Install the first few courses of shingles
Shingles are installed by overlapping. The top row overlaps the bottom row. The work is therefore done from the bottom up.
– Position the first shingle, overlapping it by 3 cm at the eaves and by 2 cm on the side.
– Nail it onto a batten (at about 60% of its height) with stainless steel nails and 15 mm from the edge.
– Drive the nails until the nail head is flush with the wood. Driving the nails in too far can cause the shingle to split.
– Place a second shingle, leaving a 6 mm gap between the two.
– Nail it in the same way.
– Continue in the same manner for the entire row.
It is necessary to apply the second row of shingles on top of the first: this is the overlap.
– Lay the second row of shingles on top of the first, staggering them. The shingles should overlap the joint of the shingles below. This is a cross-joint application.
– Continue applying the shingles over the entire row.
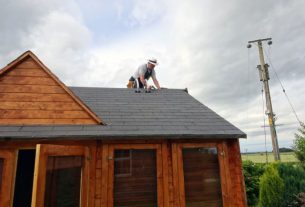
3. Apply the next courses
Continue to apply the shingle courses similarly, systematically overlapping the course below.
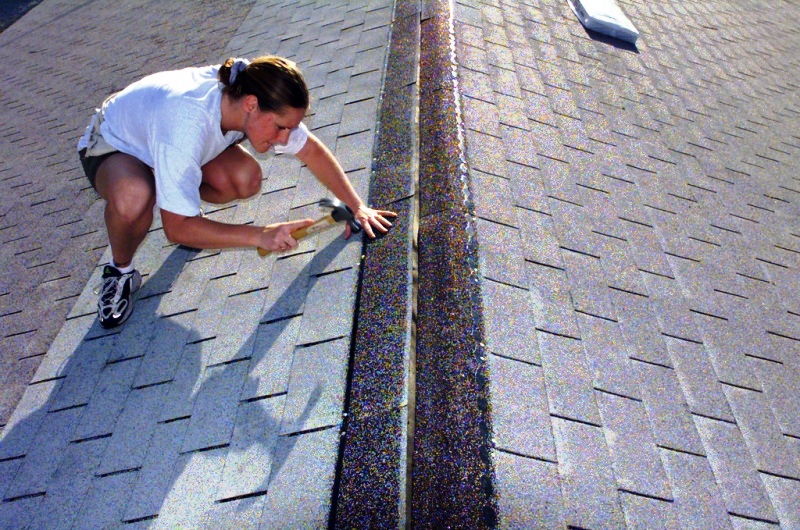
The ridge
The intersection of two roof sections should be installed in such a way as to provide a weathertight joint. The joints should be alternated, and longer nails should be used than on the slopes to penetrate the ridge beam.
– Cut the shingles to a height of about 20 cm.
– Place a shingle against the beam and let it extend a few centimetres beyond the beam.
– Nail it to the beam.
– Place a shingle on the other side of the ridge, overlapping its edge with the first shingle.
– Nail it to the beam.
– Repeat this procedure for the entire ridge, alternating the overlapping edges.
Materials needed to install wood shingles on a roof
Wall stapler
Hammer
Wood saw
Read more:
– Home Design: Why Choose a Hinged or 4-Sided Roof;
– What’s the Purpose of Roof Layout;
Hope this post and the links above have given you an idea of how to install wood shingles on a roof. Remember to share your experience in the comments below, and let us know if you want to read something in particular about roofing.