
4 Steps to Patch a Wall Crack
Summary
– Focus on wall coatings
– Step 1: Prepare the cracked wall
– Step 2: Prepare the filler
– Step 3: Apply the filler
– Step 4: Apply the finishing touches
Filling a crack in a wall is simple and within reach of a novice handyman; a little method is enough.
However, if the opening is deep and reaches the wall’s masonry, it is preferable to call an expert handyman. Look no further than Fix it for You – Handyman!
Focus on wall coatings
Filling or smoothing plaster?
There are two distinct operations, filling and smoothing, each of which requires a different coating:
– The filler is a coating to fill a hole or a crack.
– Smoothing plaster, or finishing plaster, removes defects from the surface of a wall. The surface is smooth and can then be painted or covered with a wall covering.
Often, the two operations follow one another. After filling holes and cracks, the wall surface is smoothed.
Powder coating or ready-to-use coating?
The filling plaster exists in two forms, in powder or ready-to-use paste:
– The paste plaster, more practical, keeps for a long time and avoids preparation. It is therefore well suited to patching small holes.
– The powder coating is suitable in case of larger cracks.
1. Prepare the cracked wall
Smoothing and filling plaster allows for restoration of a wall before applying the finishing: roughcast, lime plaster, paint, wallpaper, etc.
Before filling a crack, it is essential to prepare the support.
The opening should have clean, solid edges and a smooth surface.
– Open the crack with a metal scraper to remove all crumbling parts, plaster, plaster, etc.
– Then, brush the crack and scratch the edges with a wire brush.
– Remove dust by vacuuming the crack.
Filler: for a homogeneous wall
Unlike the smoothing application, the filling plaster is intended for damaged walls with small holes, cracks, visible severities, etc. This coating is quite thick and allows to fill the imperfections of a wall.
After application, it is often useful to apply a smoothing coating to complete the wall preparation before finishing.
A filler in kit or not?
You can find the filler in different forms in large DIY stores:
- large bags of powder: for large jobs, to be mixed with water according to the doses provided,
- small packets of powder: for occasional small jobs, also to be combined with water,
- tub or bucket of ready-to-use coating: ideal for novices, in the form of a paste to be applied directly to the wall,
- ready-to-use coating: this coating does not require any prior preparation.
2. Prepare the filler
If you are using powder coating
– Read the instructions carefully to know the powder/water ratio.
– Prepare small quantities: the plaster dries quickly.
– Pour the powder into a trough large enough to mix easily.
– Add the appropriate amount of warm water to avoid lumps.
– Mix with a spatula to a smooth, creamy consistency. If the coating is too dry, add a little water or a little powder if it is too liquid.
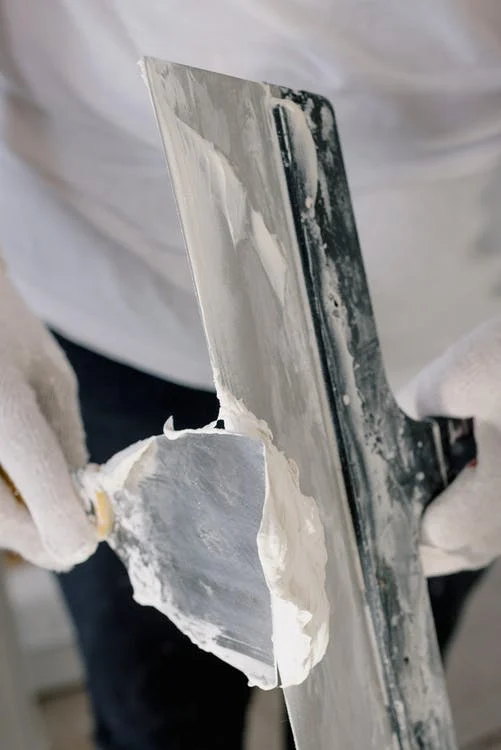
3. Apply the filler
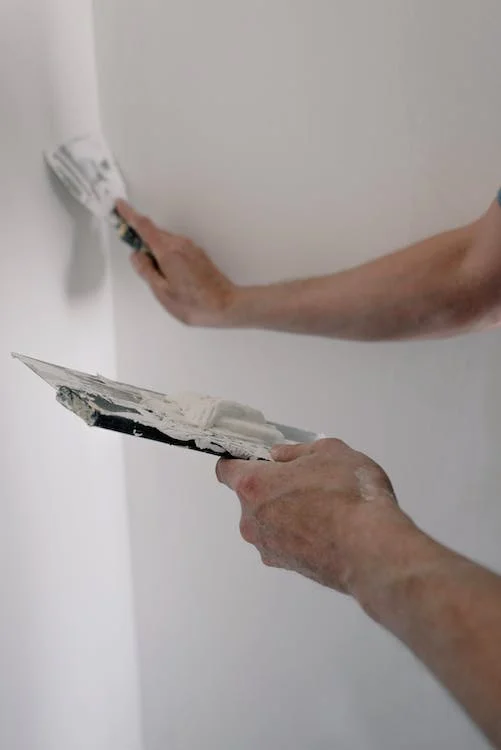
– Place a small amount of filler on a spatula.
– Spread the filler over a larger area than the crack.
– Fill the crack with the filler.
– Make sure that the plaster fills the space.
– Smooth the plaster as much as possible, passing the spatula several times; this will avoid tedious sanding.
– Let it dry for a few hours, depending on the crack size.
4. Make the finishing touches
Lightly sand the area with very fine sandpaper (600 or 800).
In the wall has an irregular surface or where paint or wallpaper is to be applied, apply a smoothing compound on top of the patching compound and the entire wall surface.
Materials needed to fill a cracked wall
Filler
Filler (tube)
Spatula
Wire brush
Triangular scraper
Sanding paper
Vacuum cleaner


1 thought on “4 Steps to Patch a Wall Crack”